Welcome to your Simple Salon account's new 'look' ! Things might seem a little different right now, but not to worry. Almost everything in your Simple Salon account is in the same place that its always been, it's just been given a makeover!
In this update there are a few settings and features that may have been adjusted or tweaked slightly, but in essence they are the same. In this article we'll be highlighting the features that have changed the most:
- Accounts, Settings and Help & Support Menu
- Calendar/Date Selector
- Jump Week
- Appointment Wizard
- Select Services & Client Visit Details - Viewing Client History/Send SMS
- Account Details Page & Settings
- Cash Register Actions Menu—Find Invoice/Find Gift Voucher
- Dome Users—Location Selector
When you login to the Appointments page, there a few differences that you'll immediately notice which differs to the previous theme and layout.
This is mainly the Accounts, Settings and Help & Support menu (on the top right corner); the Jump Week feature; the Appointments Wizard and the Calendar/Date Selector:
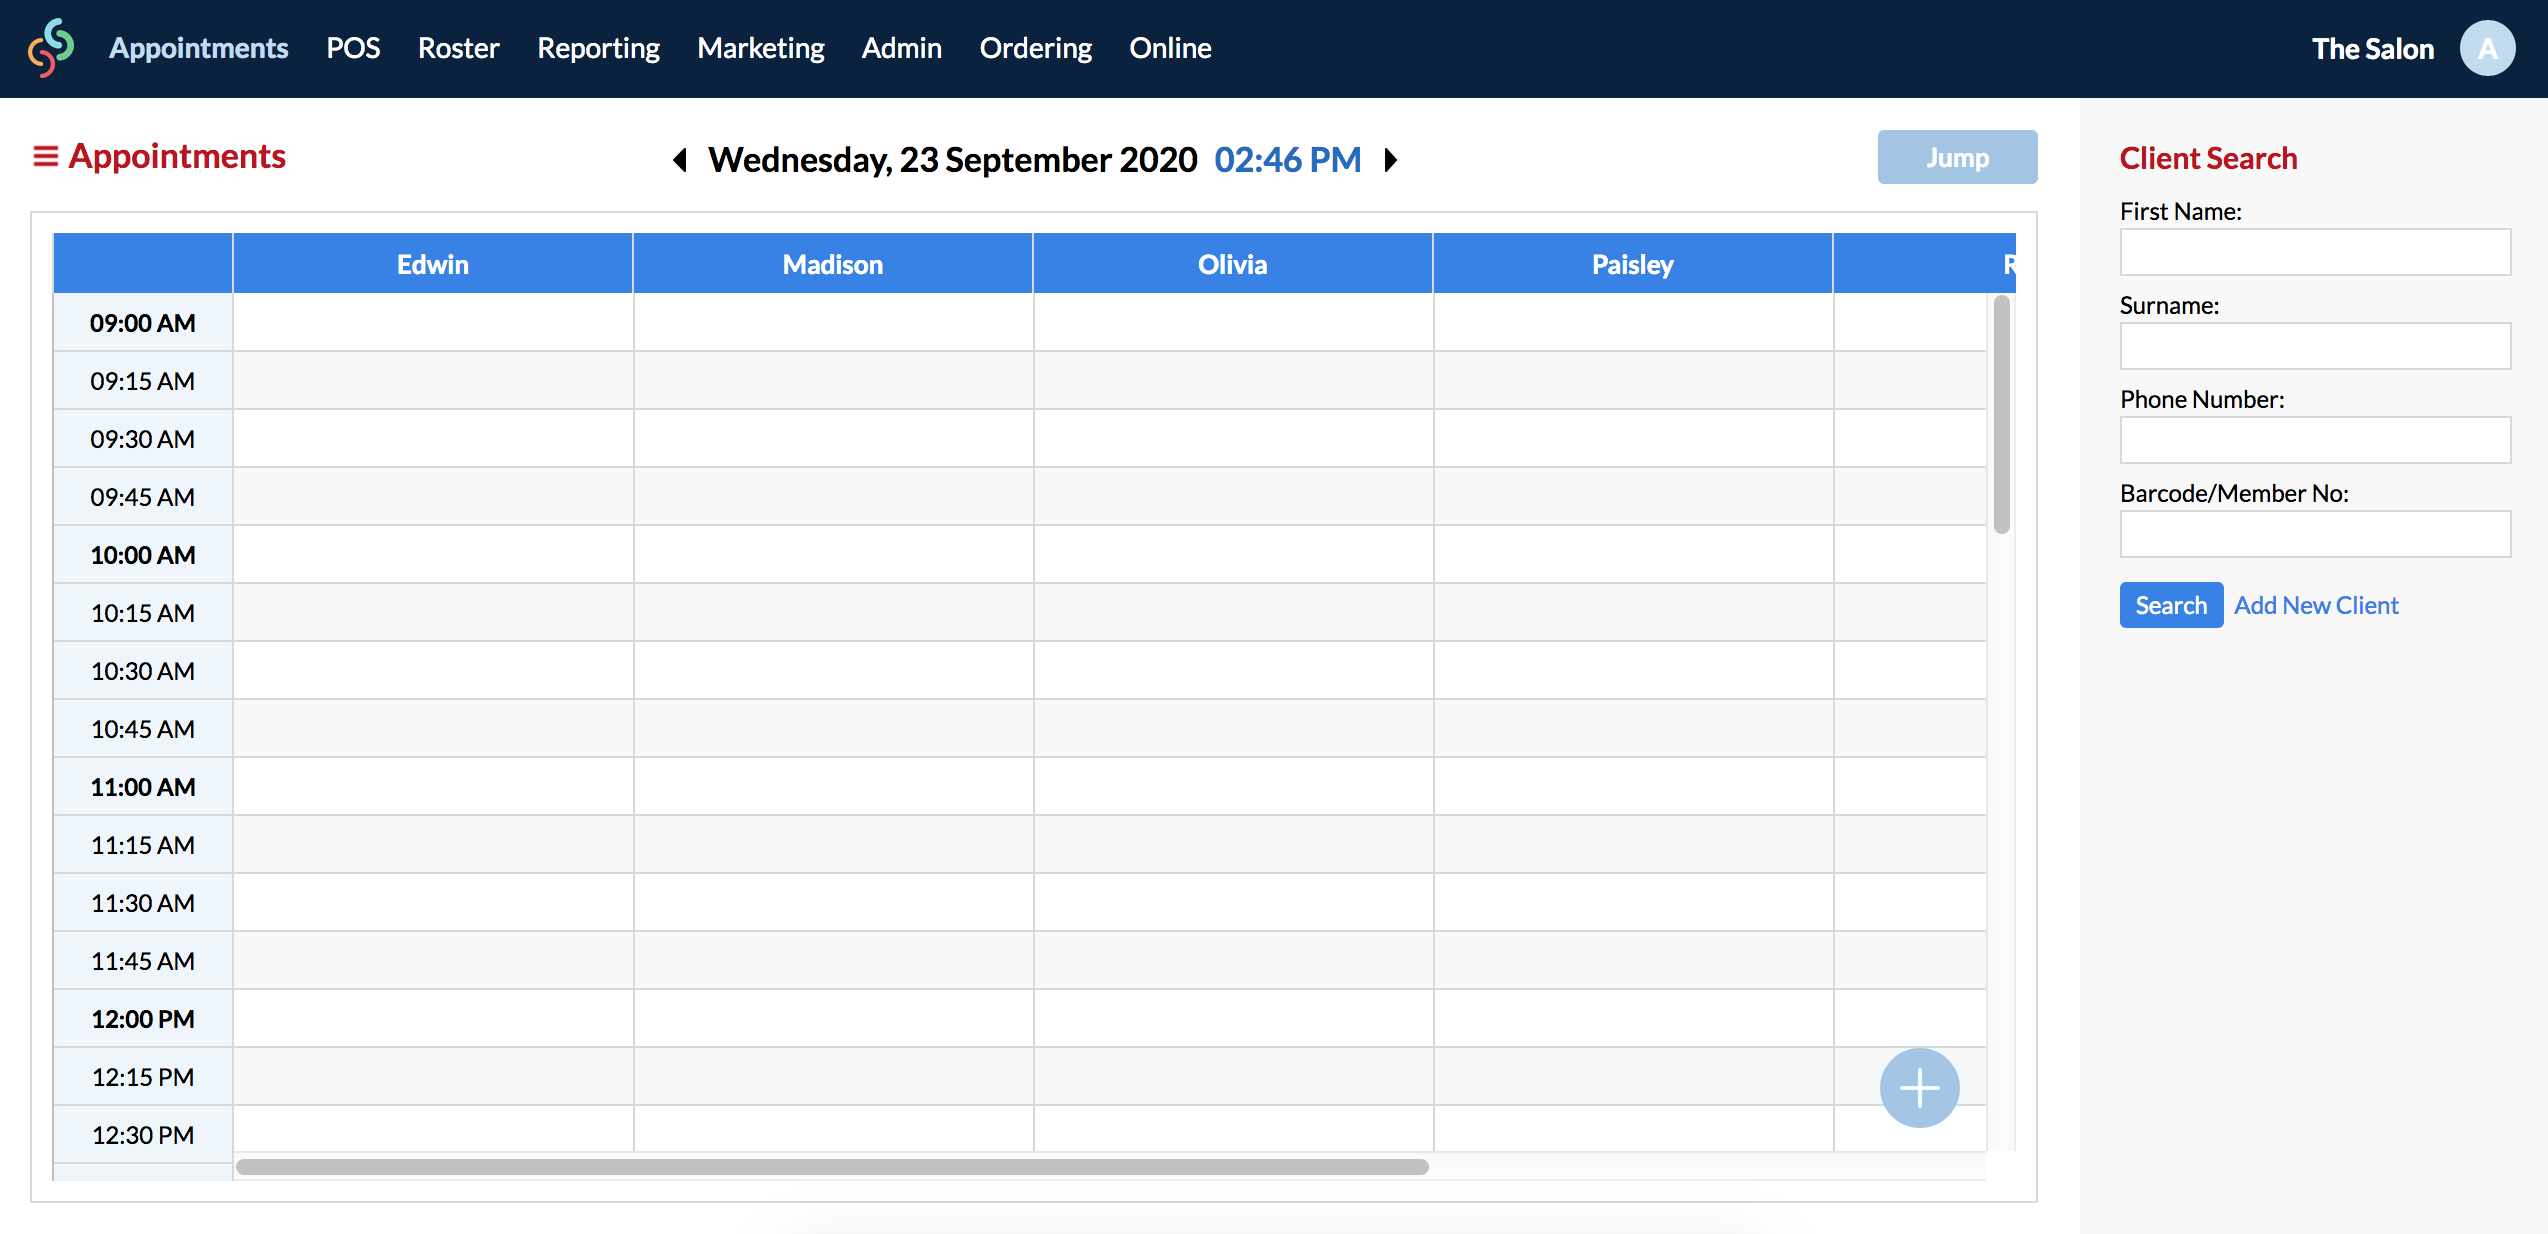
Accounts, Settings and Help & Support Menu
This is still located in the top-right corner, however it has now been converted to a drop-down menu.
Simply click on the icon on the top right to go to either your Account Details Page, System Settings or for Help & Support:
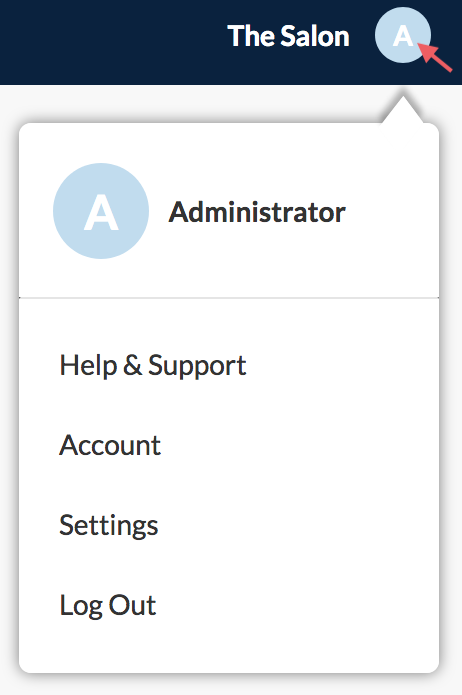
As always, this menu can be selected from no matter where you are in Simple Salon.
Calendar/Date Selector
Instead of the previous calendar icon, you can simply click on the date to bring up your date selector. You'll notice you can now view 3 months at a time:

To go to the next or previous day, click on the arrows beside the date and time:

You can click on the Today button to navigate back to the current day:

Jump Week
To jump to a specific week (8 weeks prior to today, or 8 weeks from today) simply click on the ![]() button:
button:

Appointment Wizard
The Appointment Wizard button has moved, and can now be used by clicking on the ![]() icon (bottom right of your appointments page):
icon (bottom right of your appointments page):

Nothing has changed in regards to how the Appointment Wizard functions however:
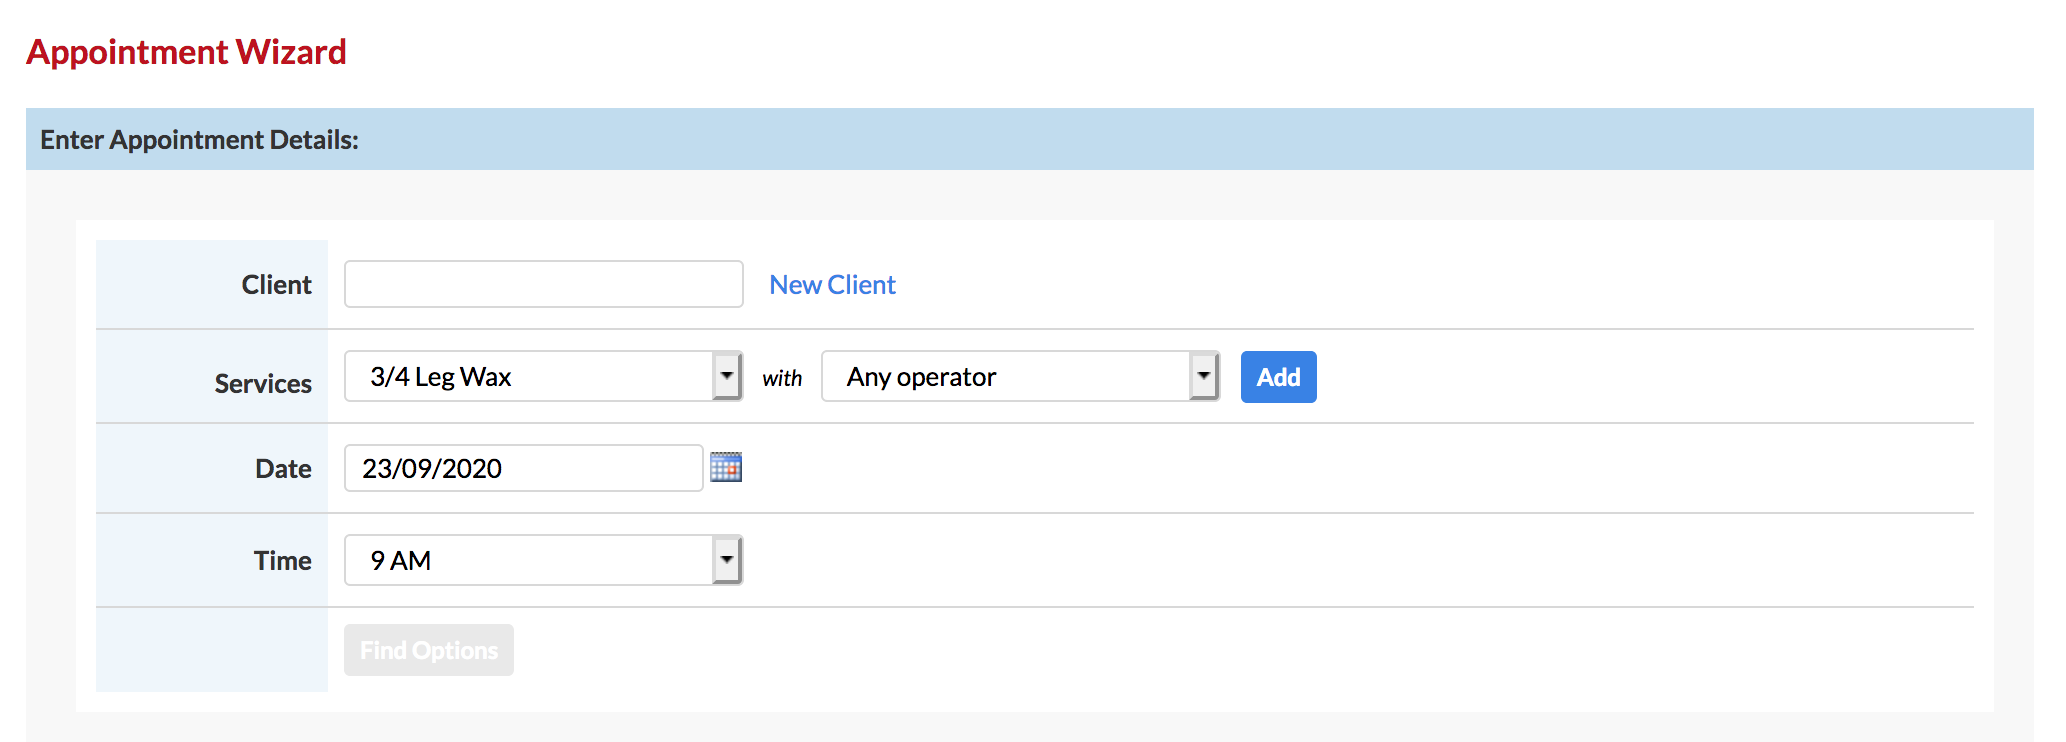
Select Services & Client Visit Details - Viewing Client History/Send SMS
The process of adding a client's appointment into your Appointments Page hasn't changed, although a few features have been added or changed slightly.
You'll notice a new Search Service button. You can click the ![]() icon to toggle between searching for the service, or selecting through the list view:
icon to toggle between searching for the service, or selecting through the list view:
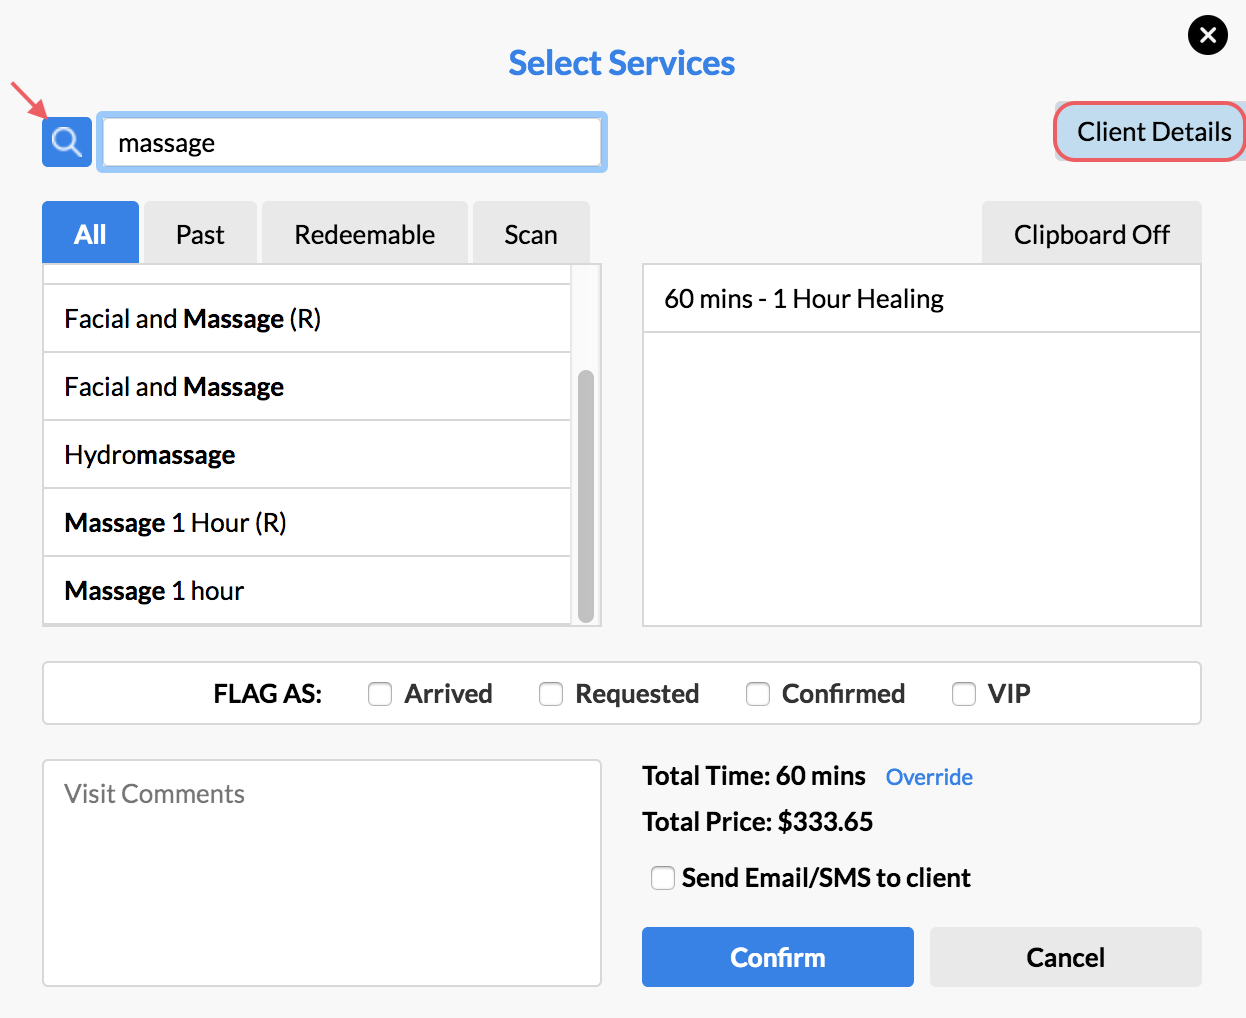
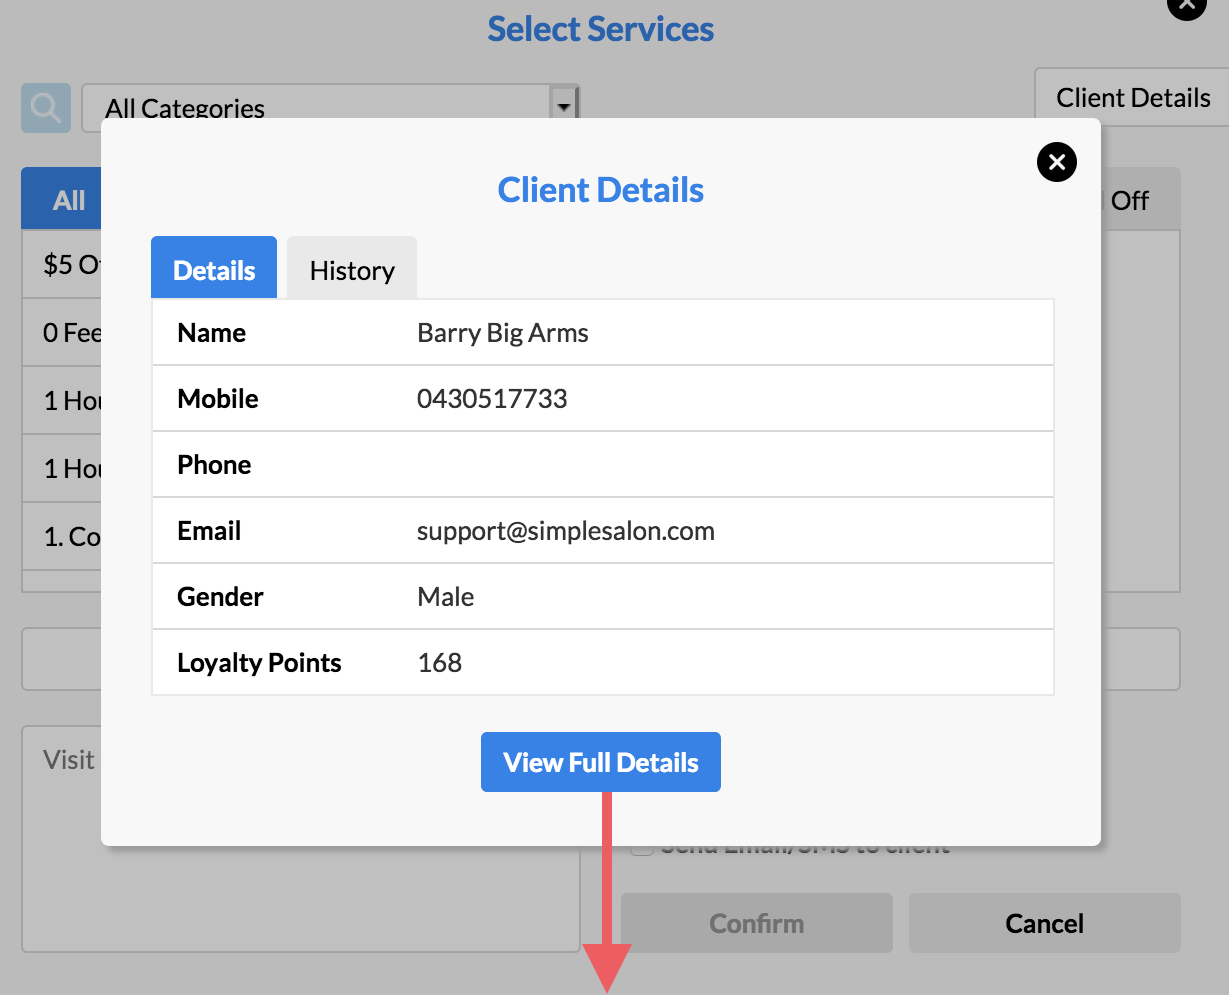
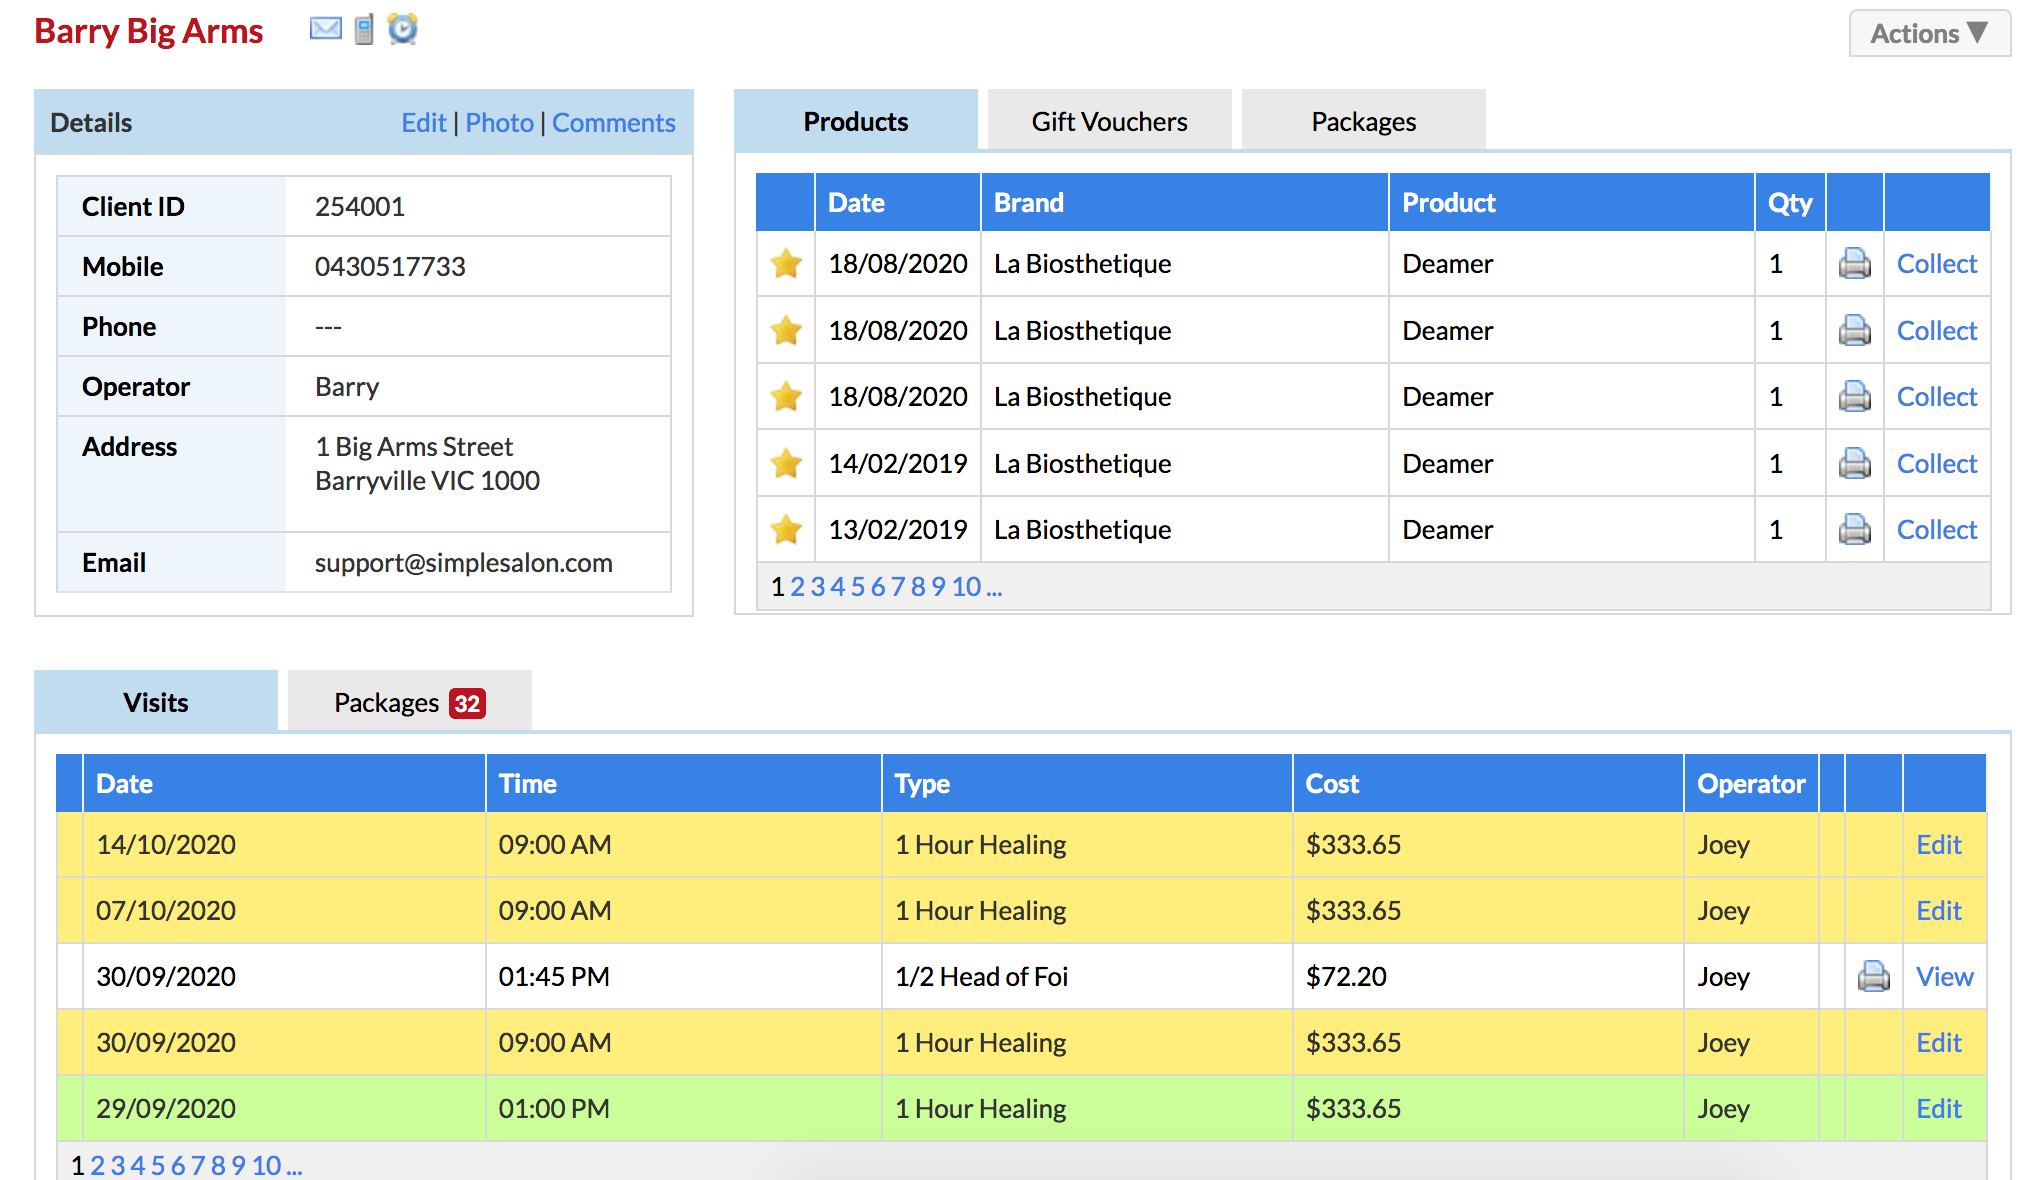
When you are adding in your client for an appointment, you can click Client Details to view Details or you can click on View Full Details to be taken over to their Client Card:
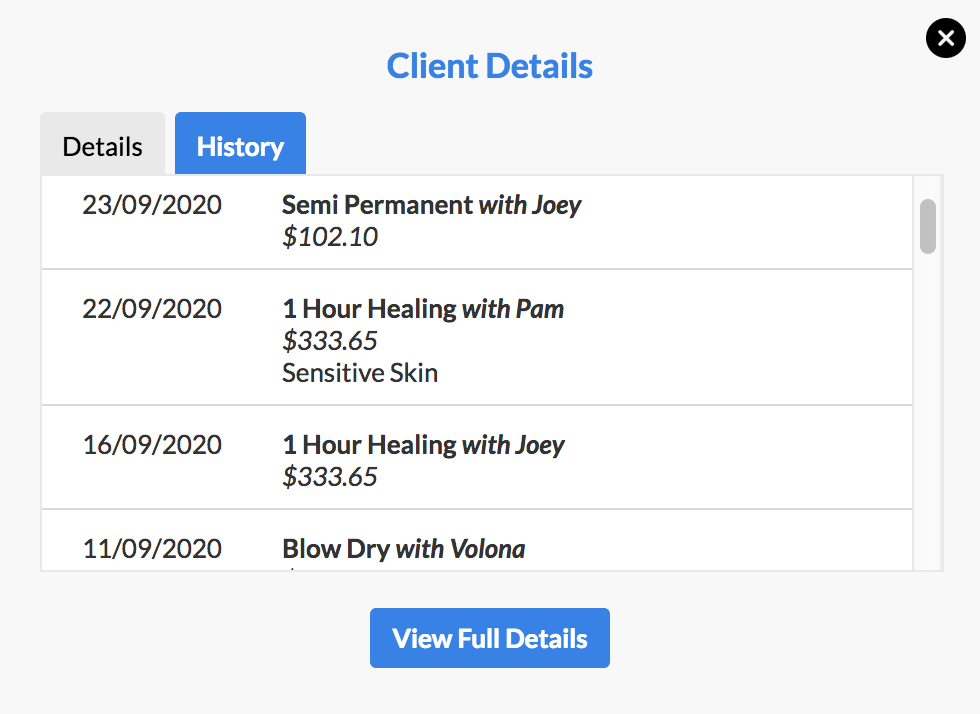
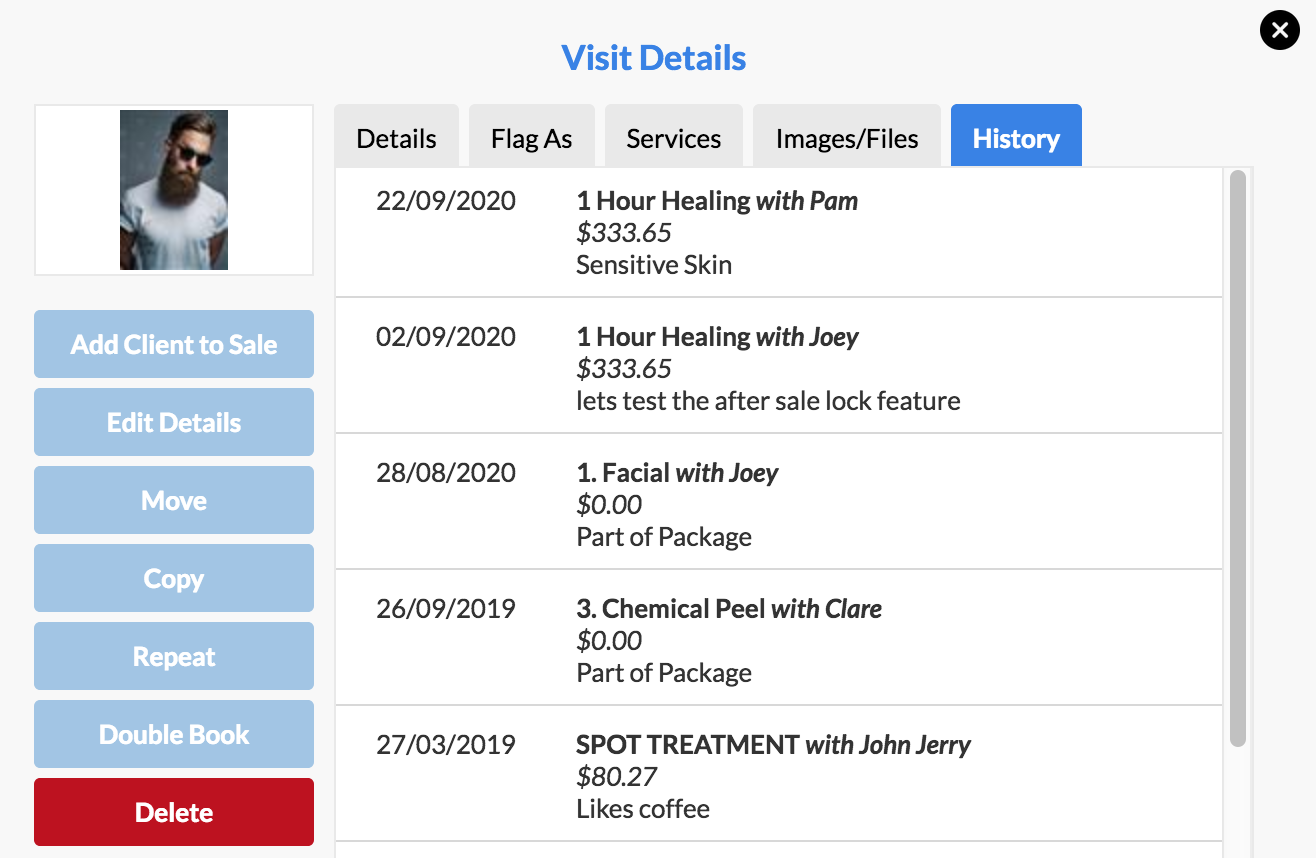
The History tab will show you past visit history along with pricing and any visit comments.
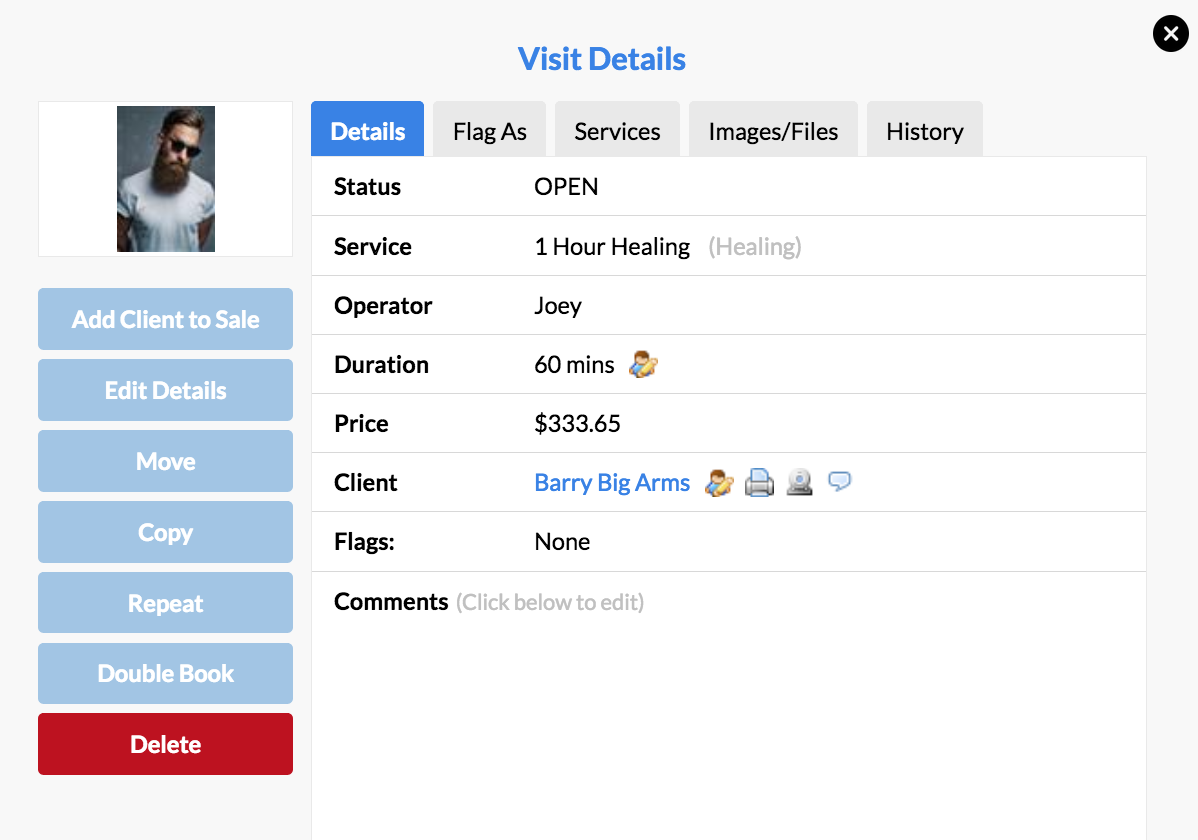
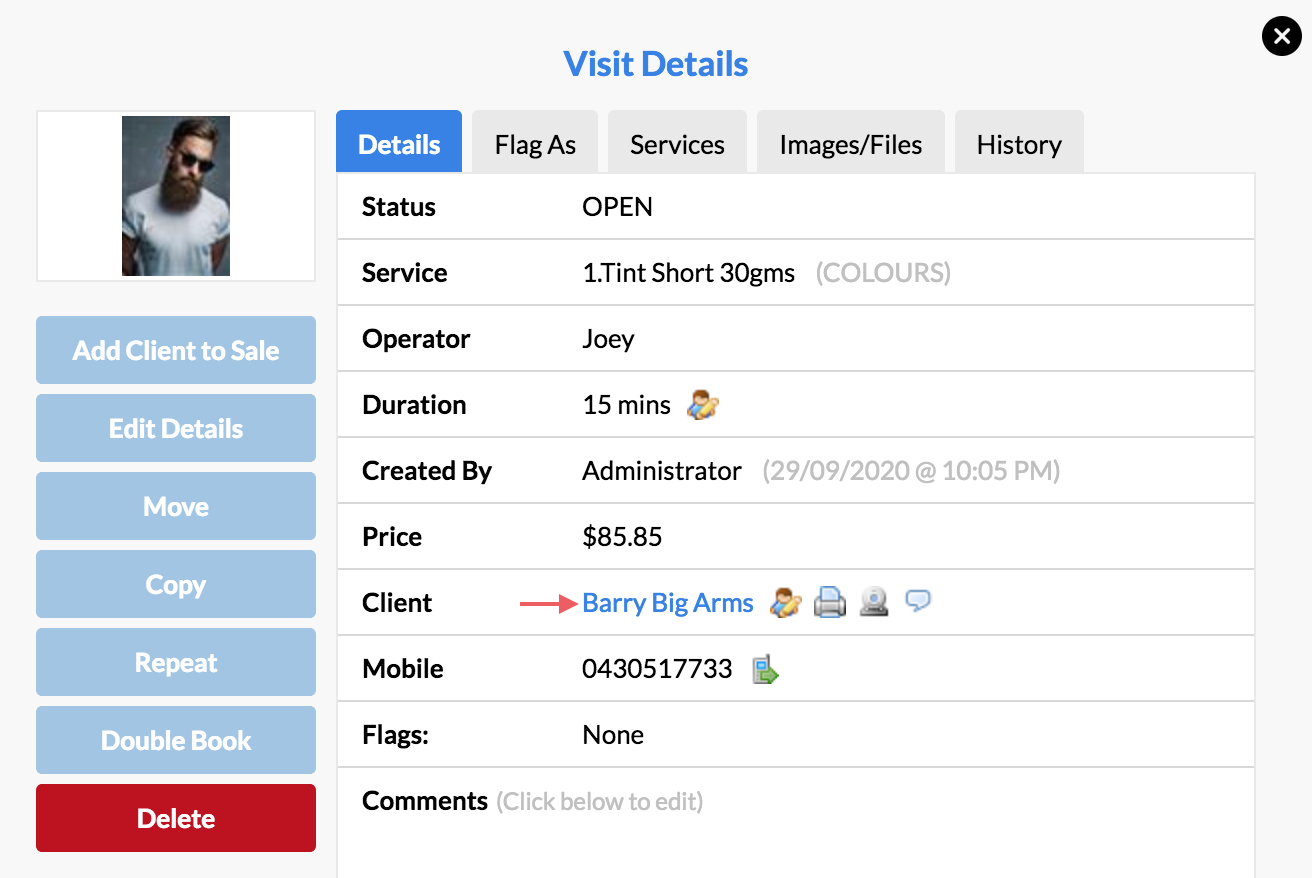
Once you've confirmed and added in a client's appointment—clicking on their name will bring up Visit Details as normal, although you'll notice it looks a little different.
Flags, Add Services (to the appointment) and Upload Images/Files have now moved to the new top menu, alongside History:
To view the client's past and future visit history, simply click on the client's name to be taken directly to their Client Card:
Any past client appointments with comments/notes attached can be accessed directly via the History tab:
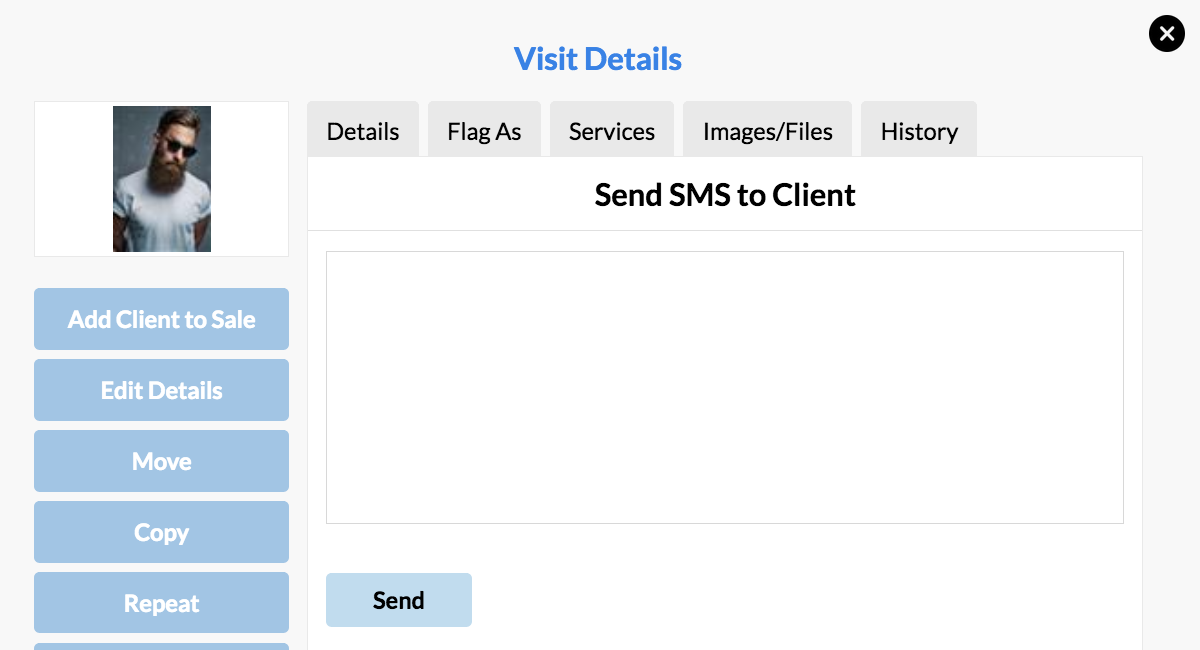
To send an SMS to the client via their appointment, simply click on the phone icon next to their mobile number:

Account Details Page
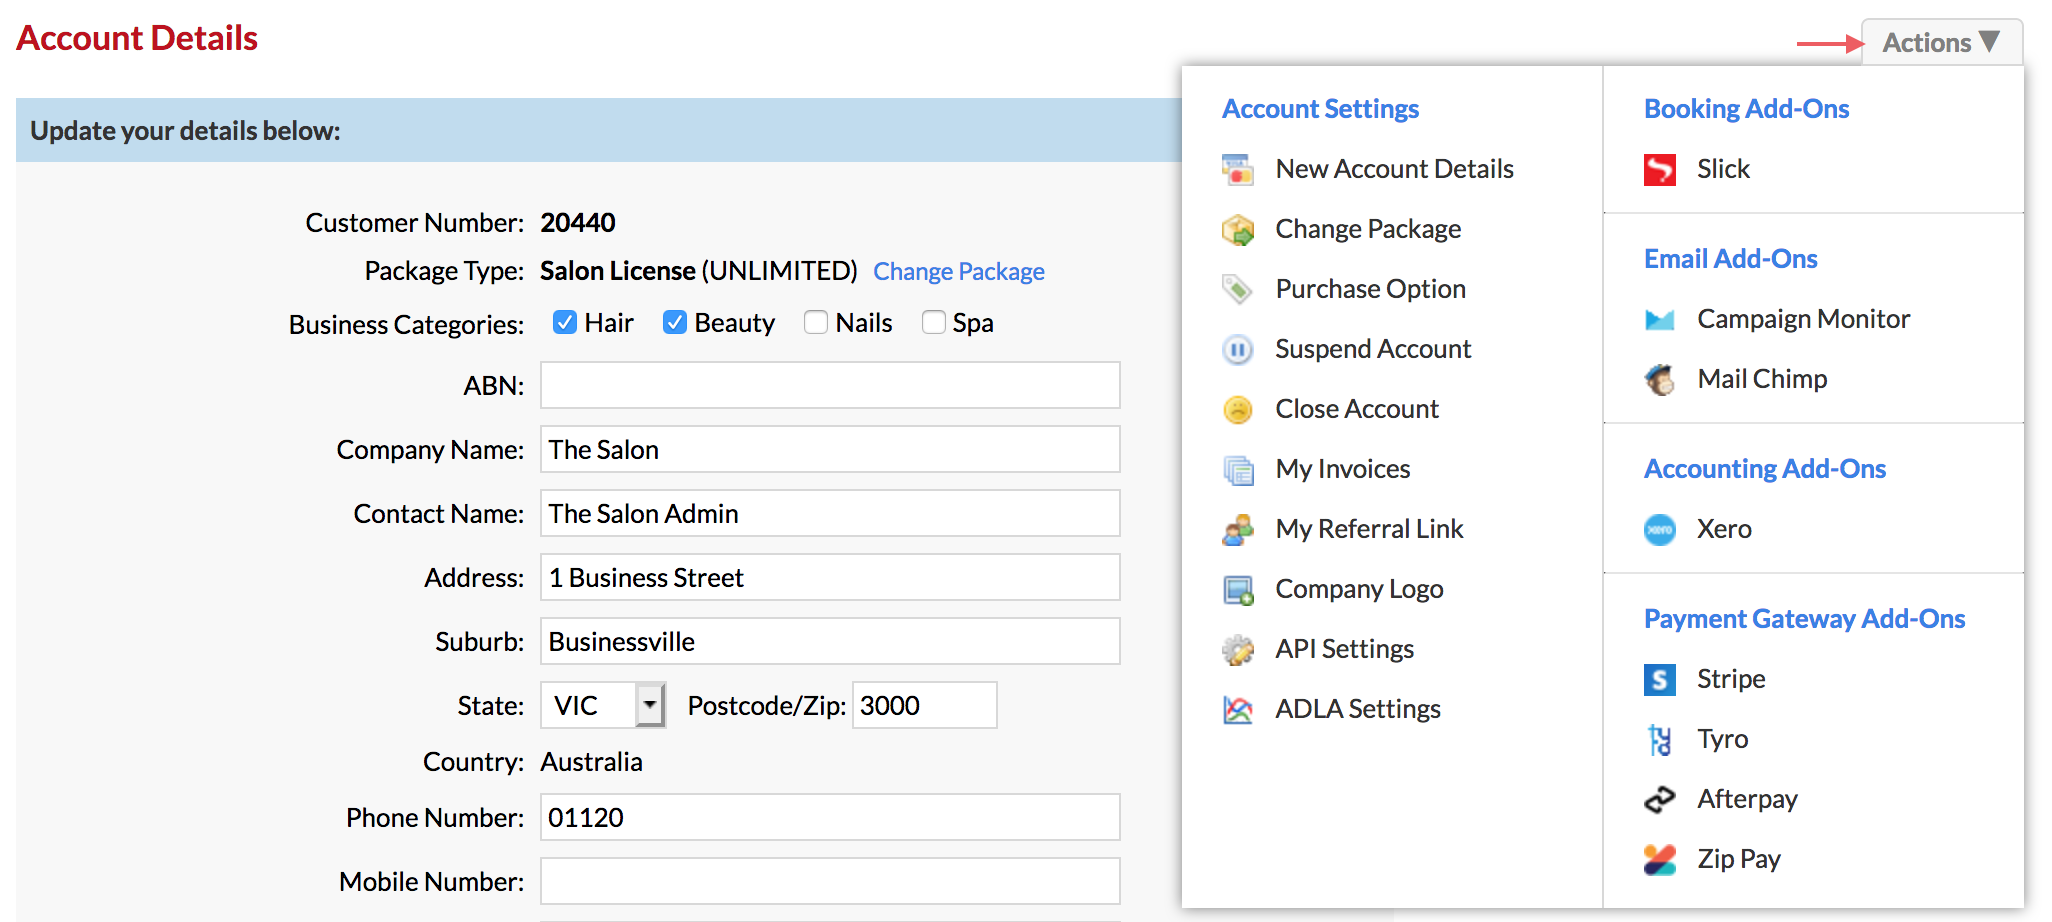
Your Accounts Details page (accessed from the top right drop-down menu), is almost identical to the previous Accounts page. Although your Actions menu looks a little different, it functions the same way:
Settings
The Settings menu will no longer appear as a menu on the right side bar. Instead, you'll receive a Settings window pop-up:
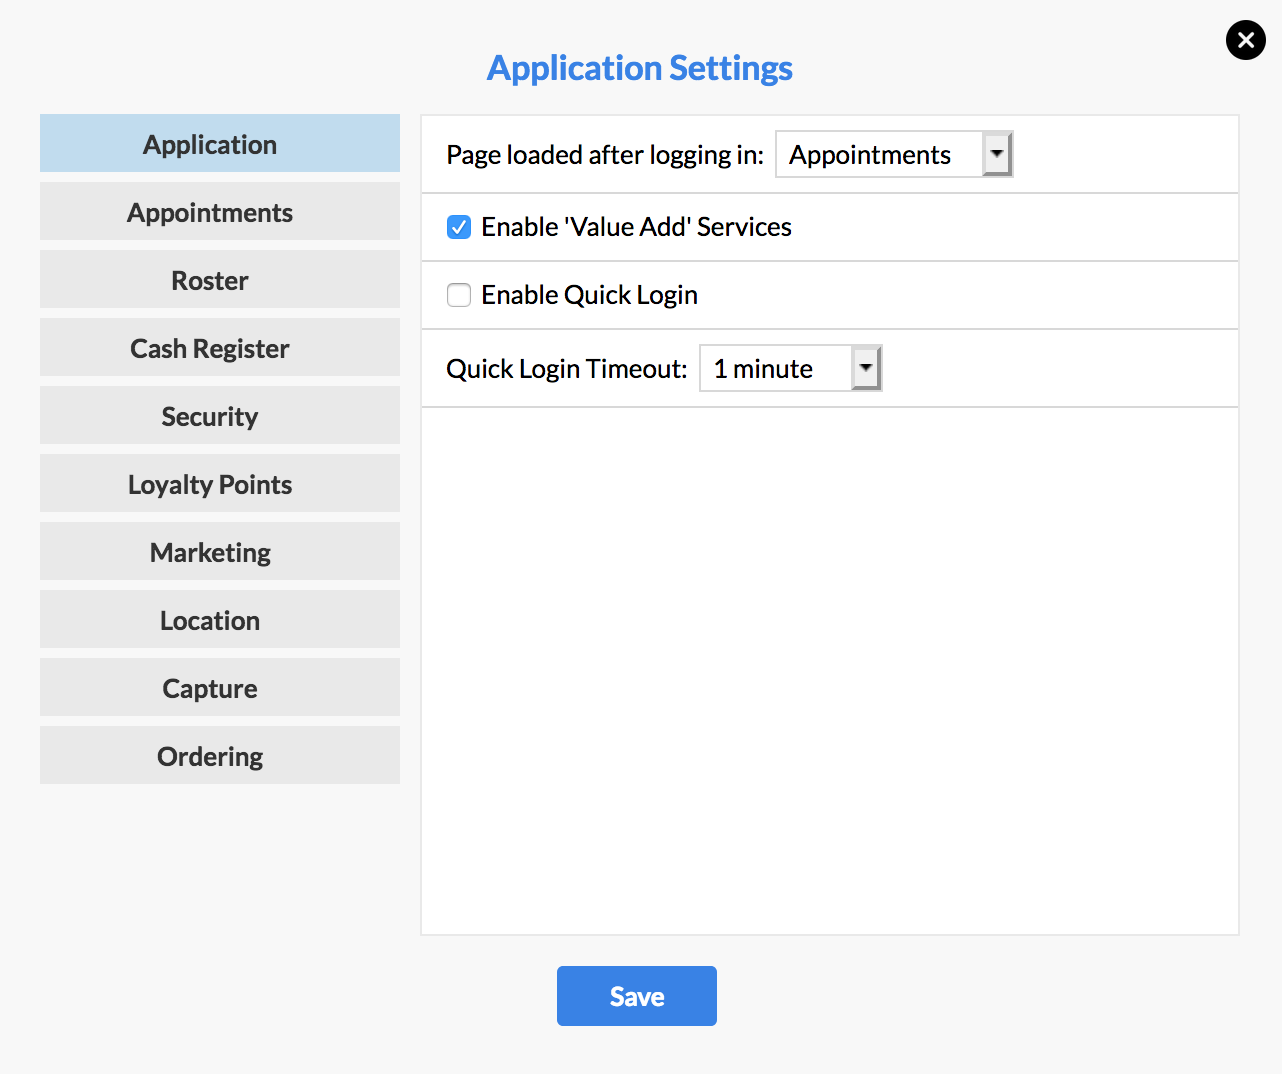
You can now go through each setting on the left hand side, and change settings as you need. You can Save after you're happy with any changes made.
Cash Register
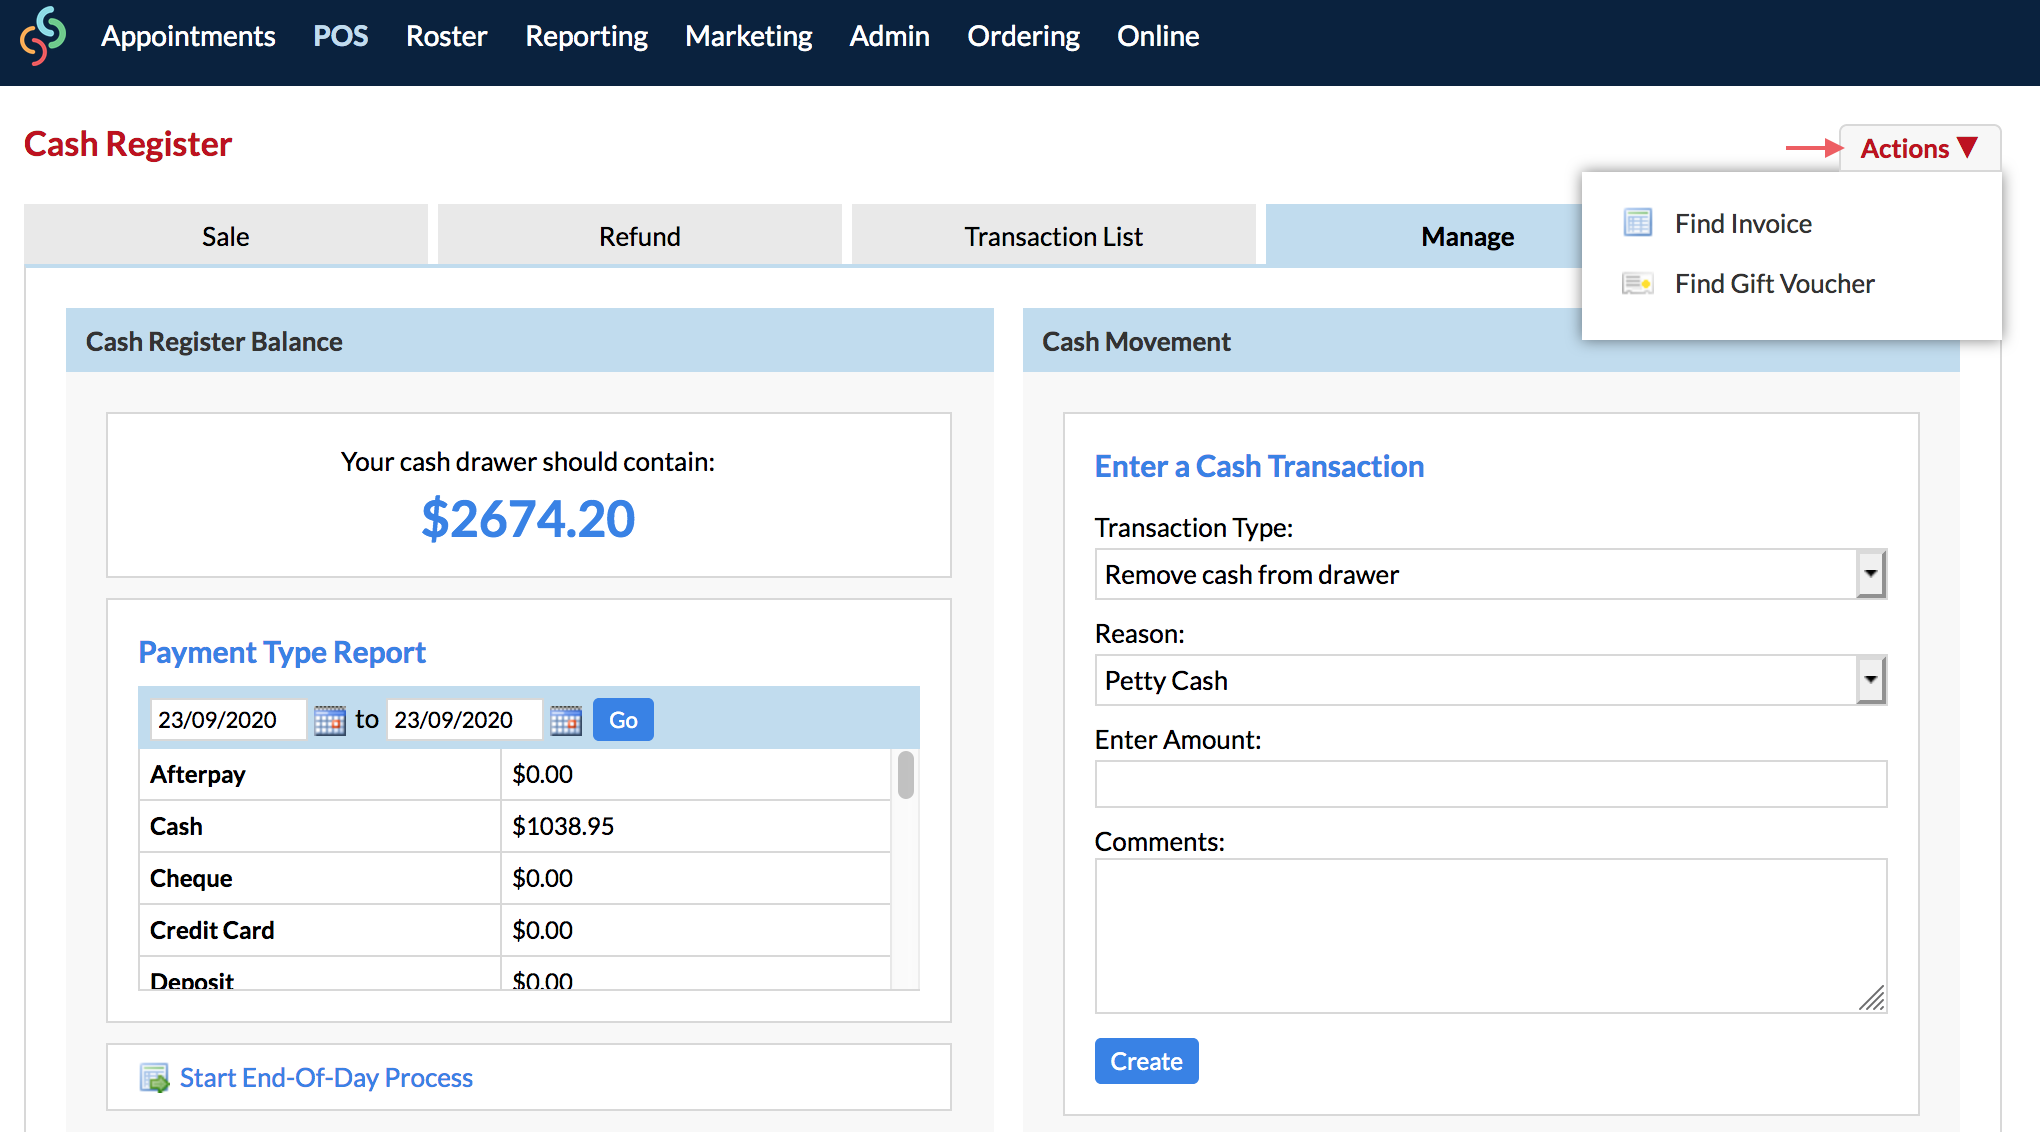
Your Cash Register (POS) now has an Actions menu. This will allow you to locate an invoice via the Transaction Number, or find a Gift Voucher via the Voucher ID.
This Actions menu can be accessed from any tab in POS:
Dome Users—Location Selection
If you have a Dome account, a new Location menu has been added that allows you to easily switch between locations. Simply click on the Location name on the top right side:

These are the main features in your Simple Salon account that have changed, and everything else in your account works exactly as you're used to!
If you have any questions, please send them to us via the Submit a Request option in your Help & Support page—we're here to help!