For an extra level of security, you can opt to have your clients' appointment comments/notes locked manually or after their appointments have been paid for via POS. This ensures that once you've finished your notes for an appointment, appointment comments and notes cannot be changed.
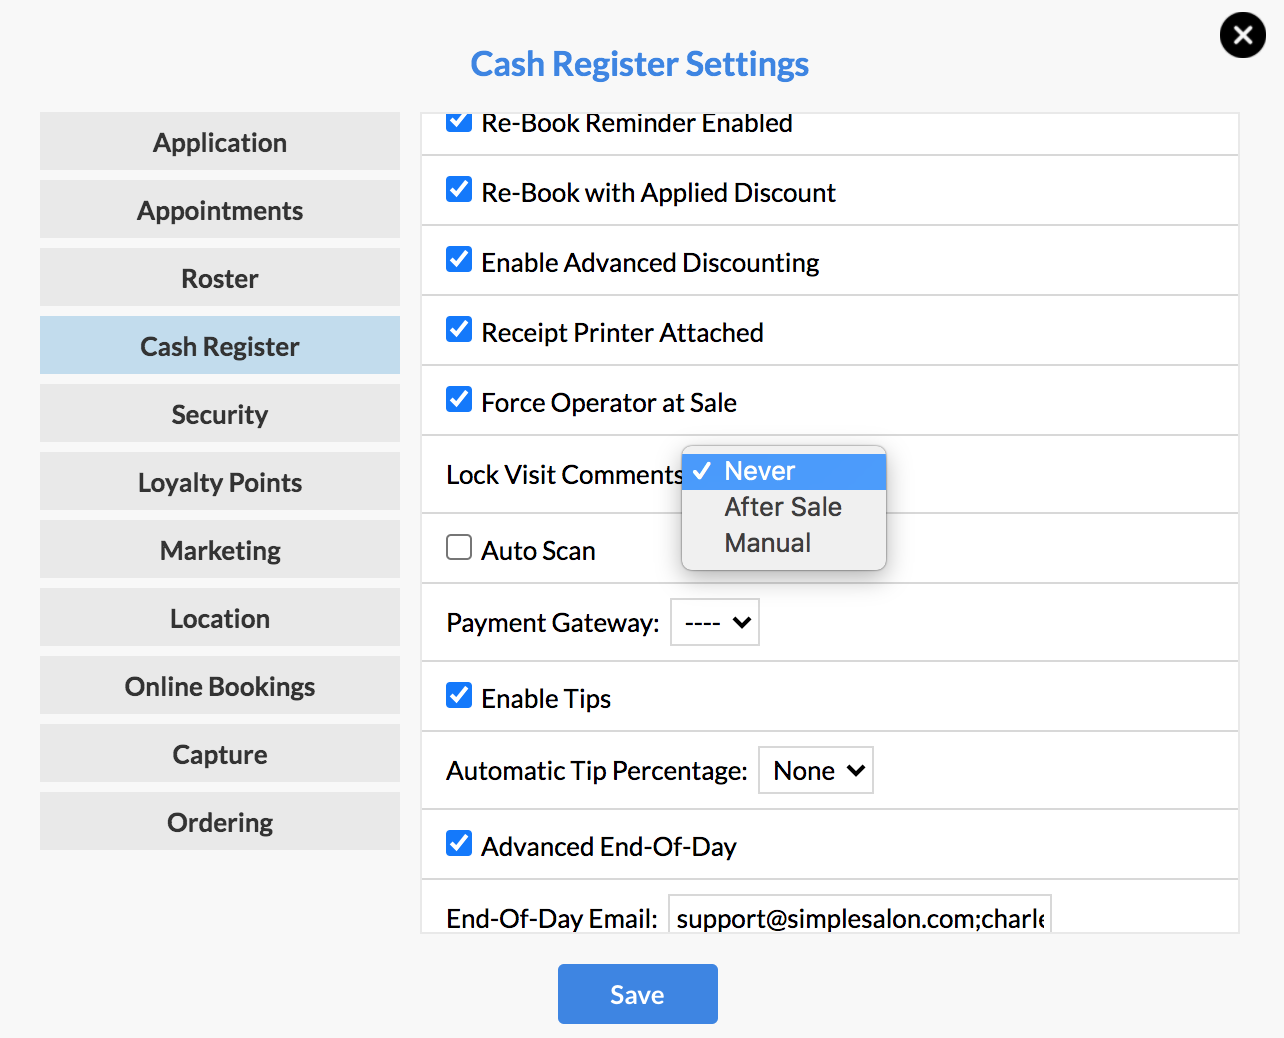
To lock visit notes after a sale, go to Settings on the top right corner, then into Cash Register Settings.
Select an option from the Lock Visit Comments drop down, and click Save.
Let's take a look at how it works.
After Sale
Once the appointment has been processed through POS the comments will be locked.
Go to Appointments and make an appointment. Click the client's name on their appointment to make a note on it.
Enter a note in the COMMENTS box and click Save.

Add the client to the sale and pay for their appointment.
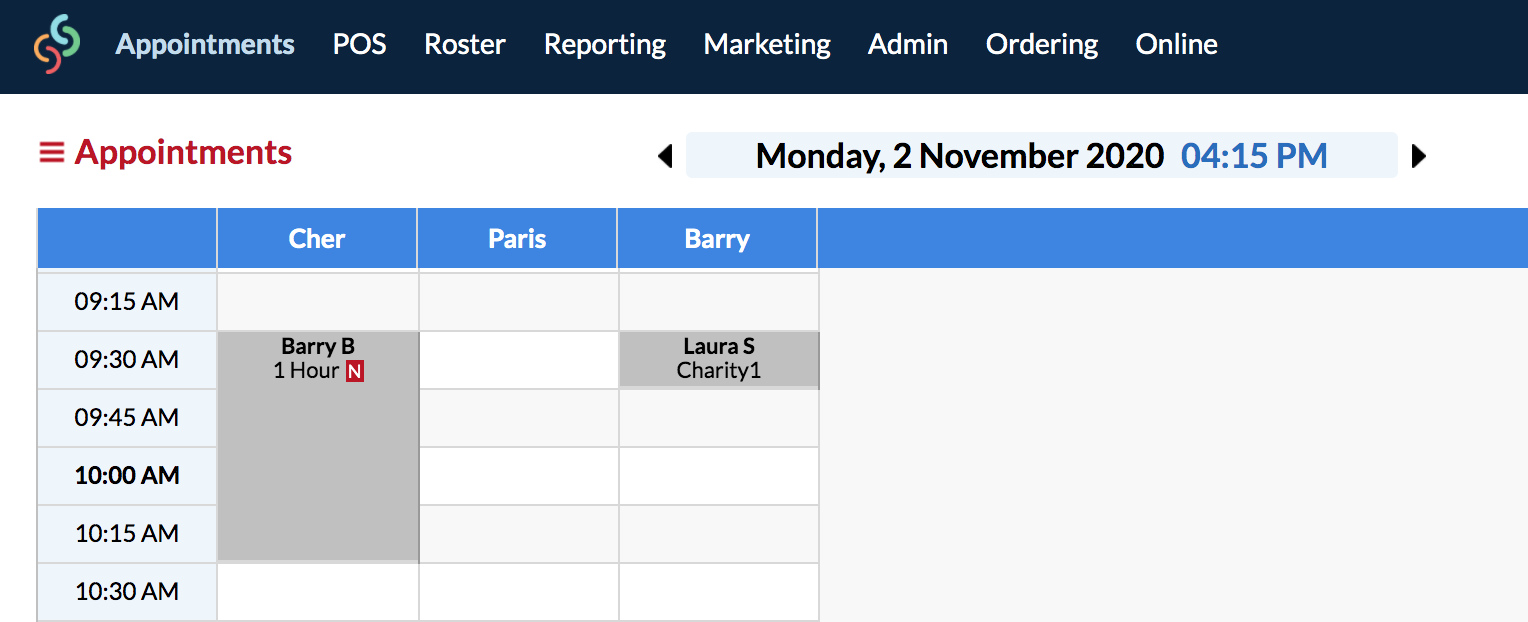
Once you've done that, back on the Appointments page, the appointment will turn grey. The appointment also displays an N to notify you that there is a note on the visit.
Click the client's name on the appointment:
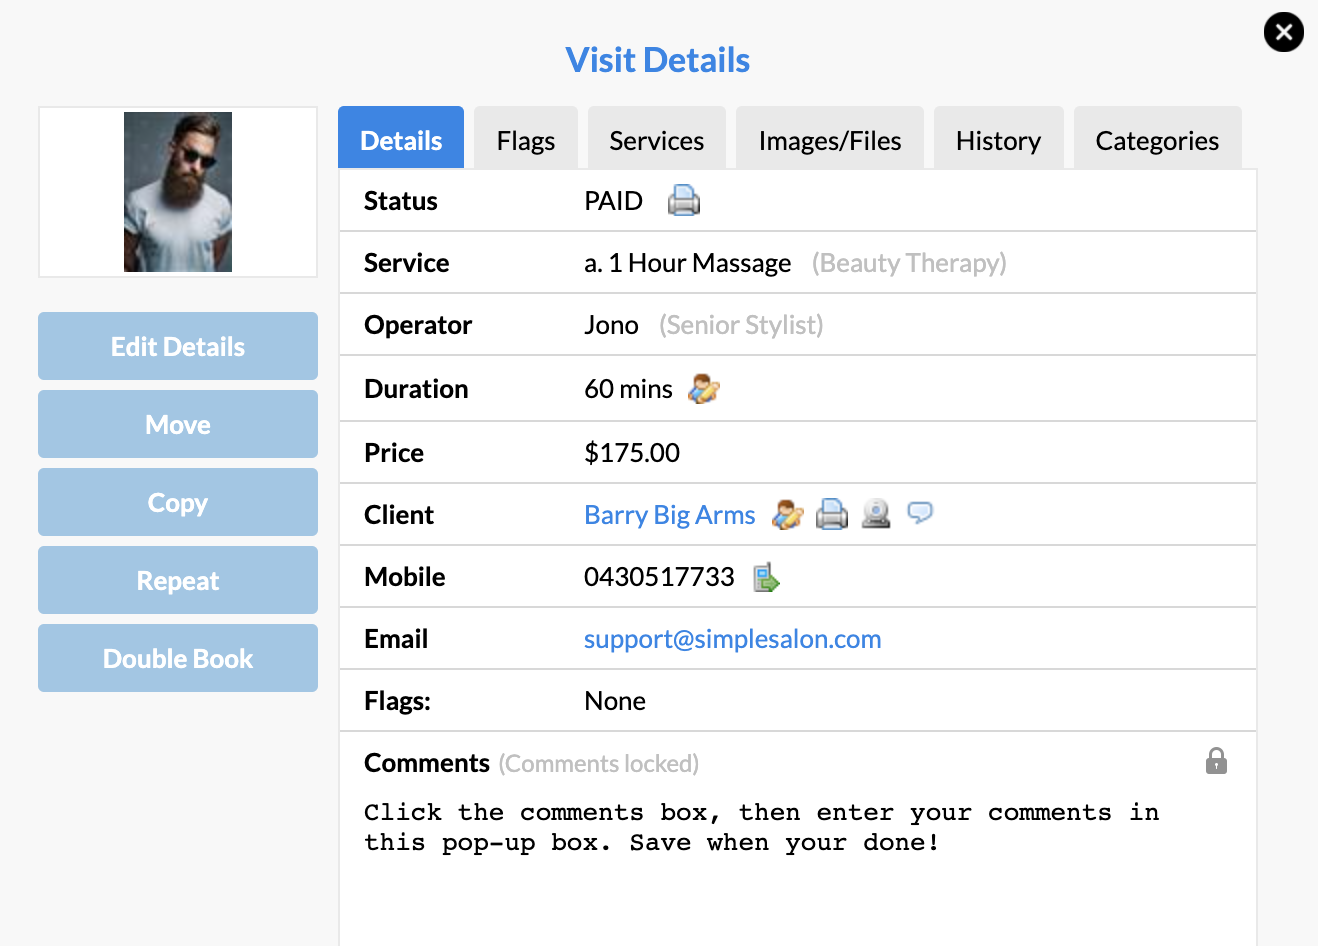
In the COMMENTS box, try and change the note. You are unable to do so—the comment/note is locked.
Manual
Go to Appointments and make an appointment. Click the client's name on their appointment to make a note on it.
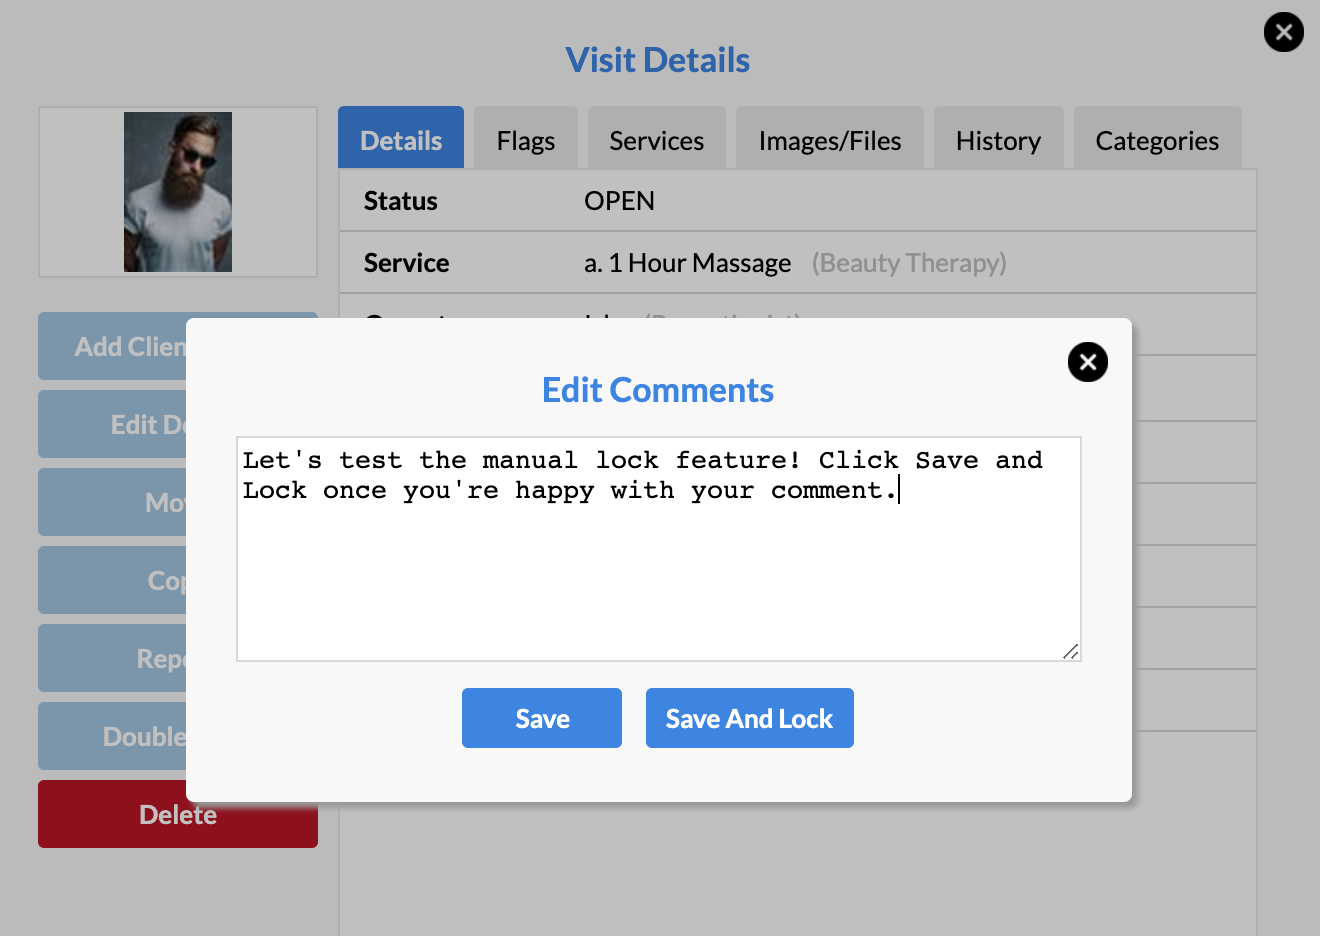
Enter a note in the COMMENTS box and click Save and Lock.
Once you've done that, click 'OK' when the system notifies you that the comments have been updated.
In the COMMENTS box, try and change the note. You are unable to do so—the comment/note is locked.

If you have any questions, please send them to us via the Submit a Request option in your Help & Support page—we're here to help.