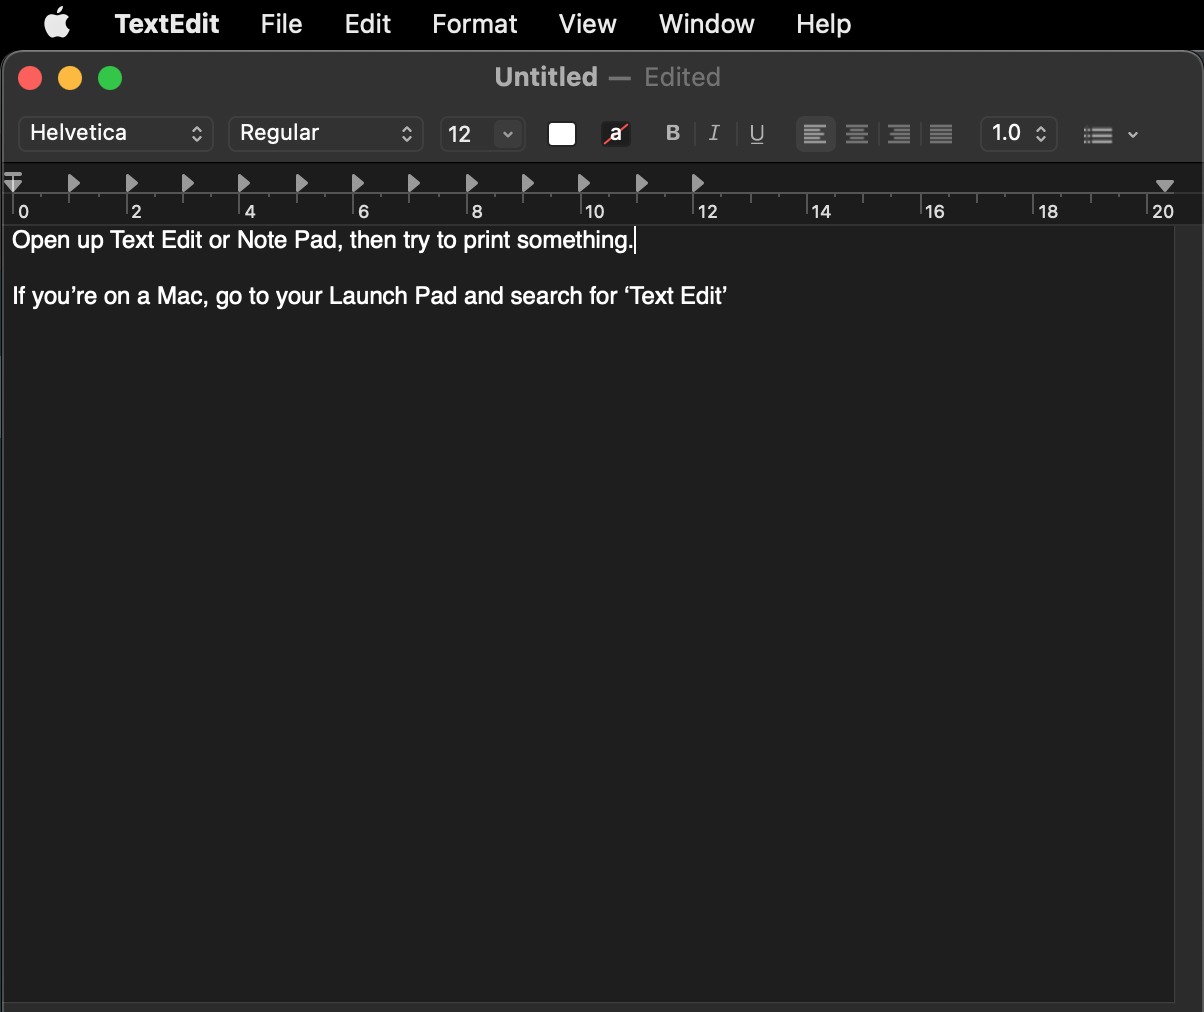
First you'll want to confirm that your printer is working and printing properly. To test this you'll want to go into Text Edit (on a Mac) or Note Pad (on Windows), and try to print something from either of those programs.
If it's working and printing there, then it's ready for use with Simple Salon.
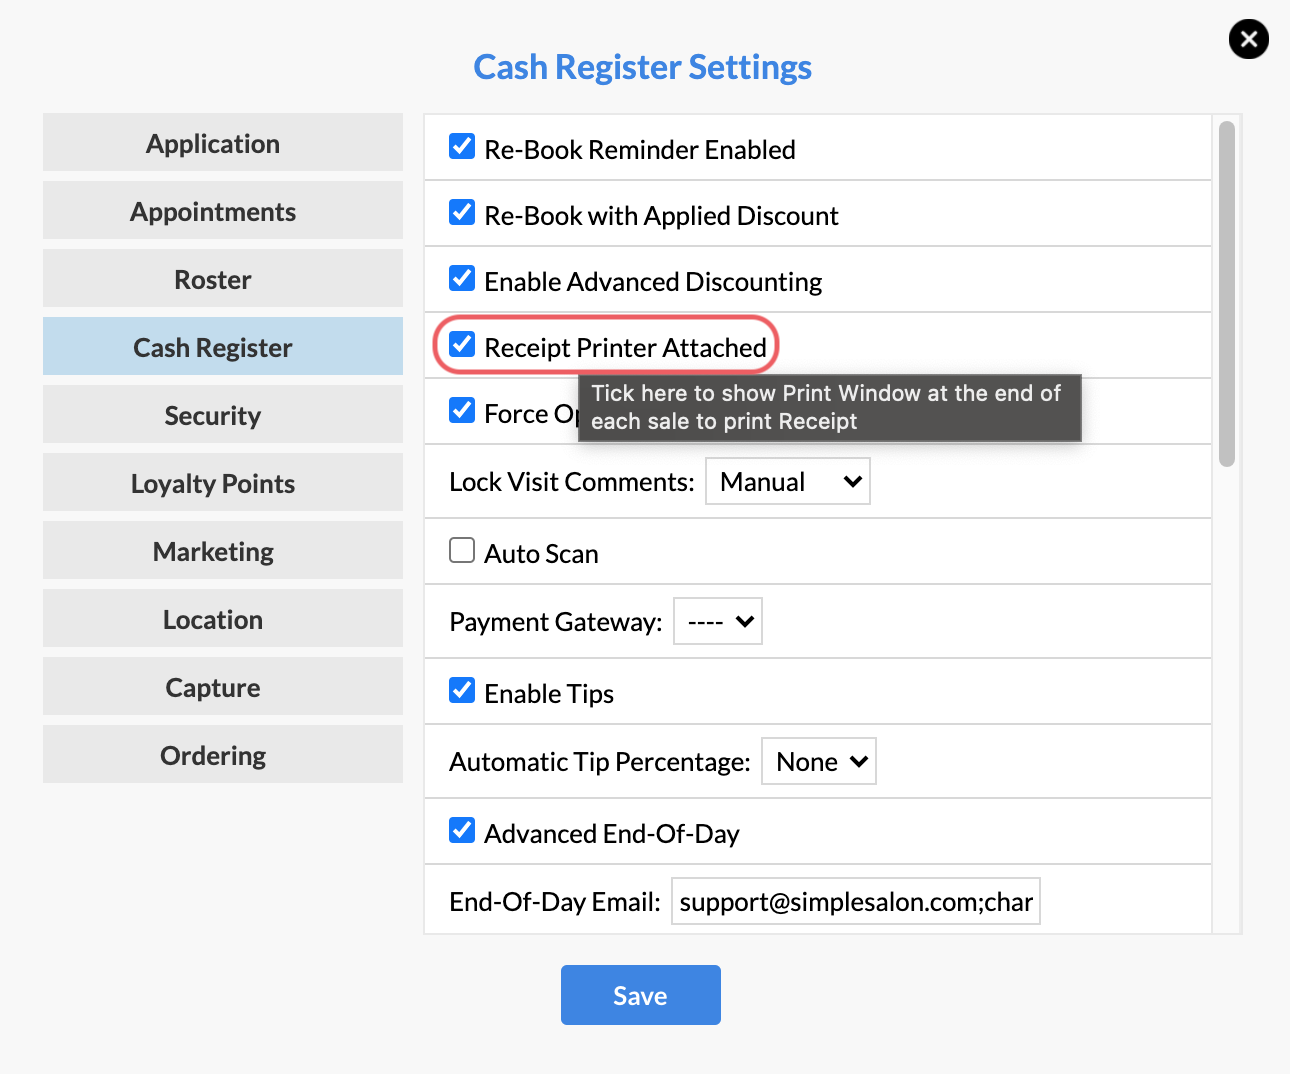
Once you know your printer is working, go to Settings then to Cash Register Settings. Make sure you have Receipt Printer Attached ticked. This will show the print window at the end of every sale, so you can print your receipt.
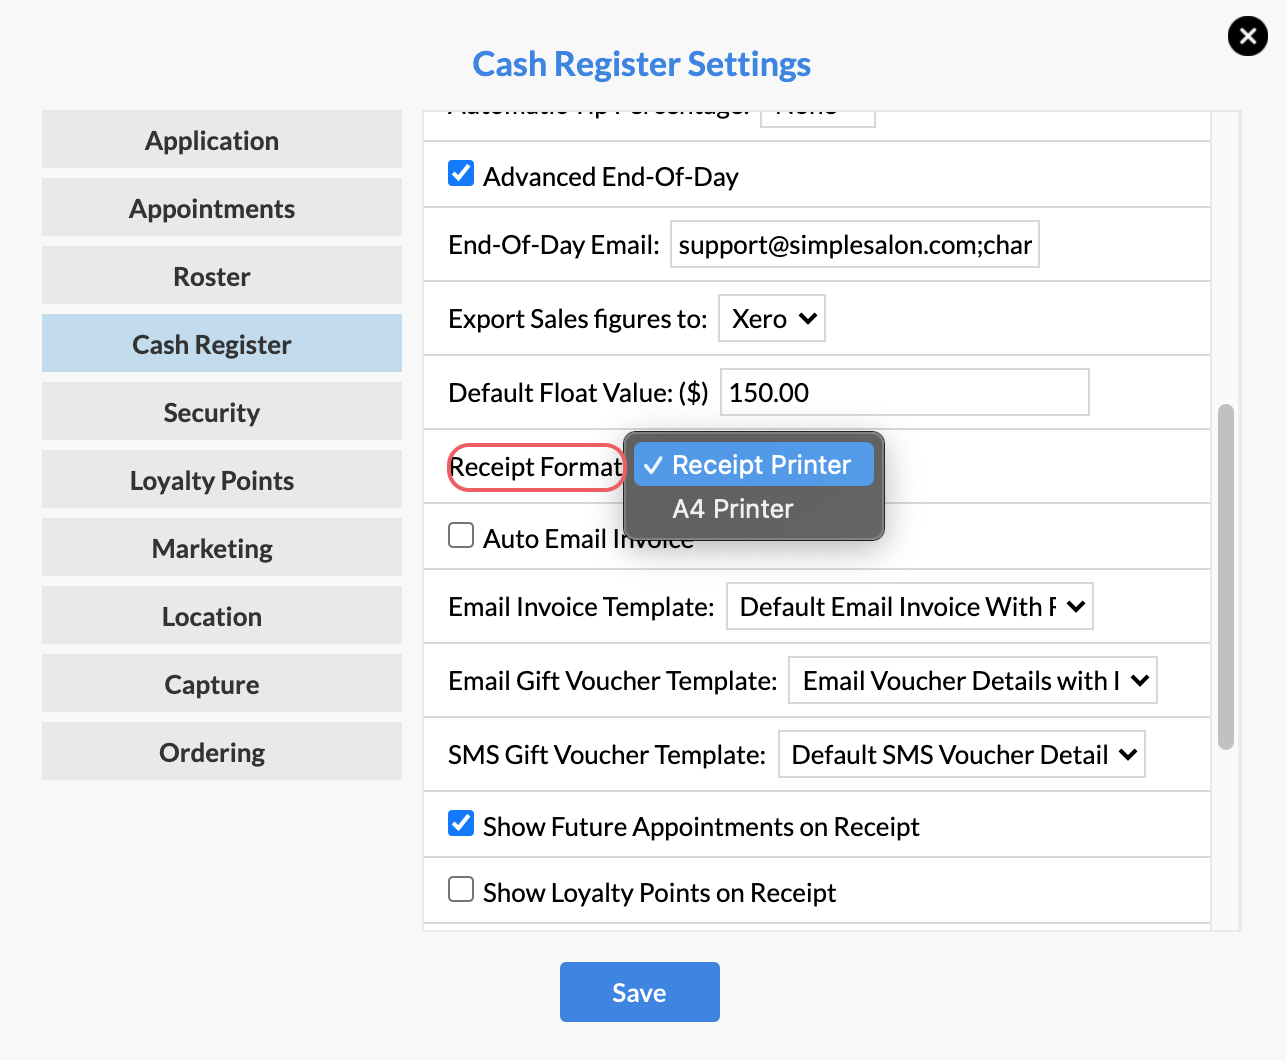
You will also need to select your Receipt Format. Click the drop-down menu and choose either A4 Printer or Receipt Printer.
Now we want to set this printer as the Default Printer. We’re using Google Chrome as our browser on a MacBook. If you’re using a different browser or are on a Windows, the following steps will vary slightly but this will give you a good idea of what you need to do.
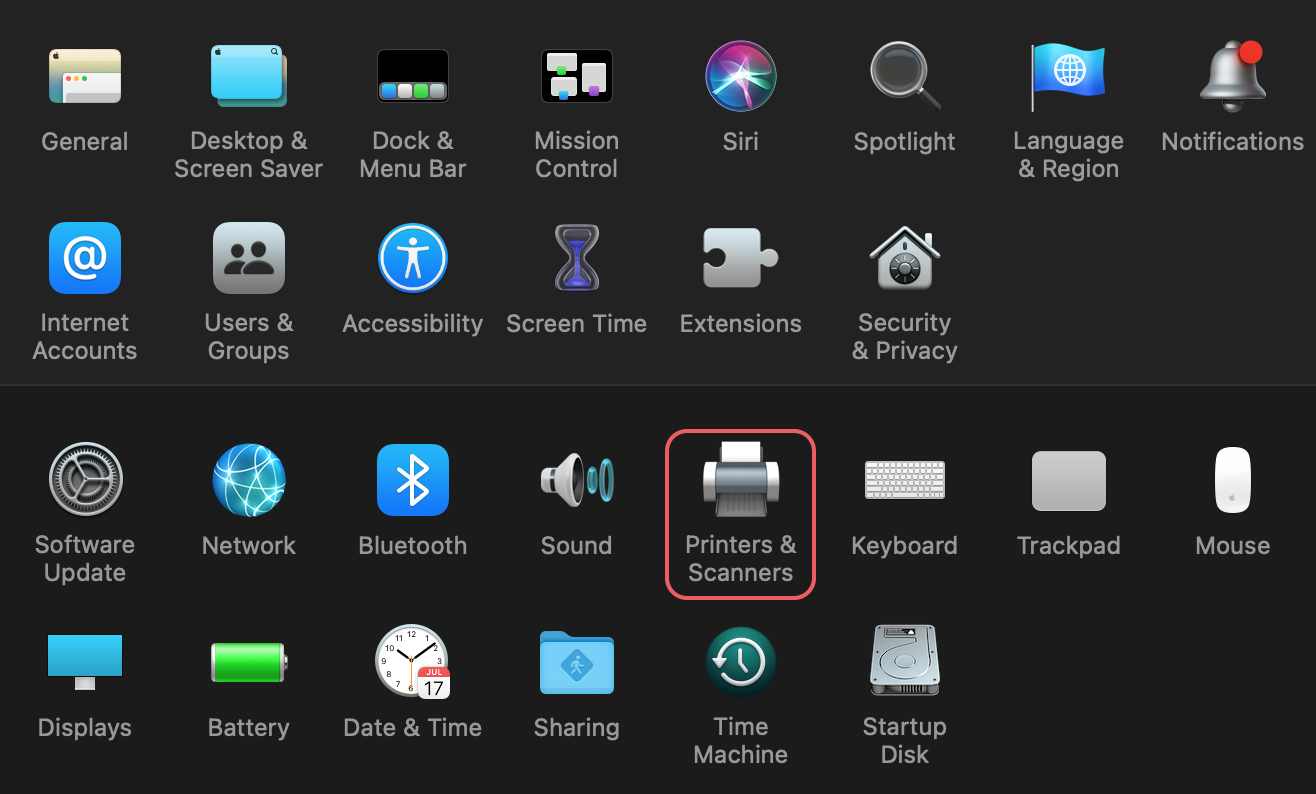
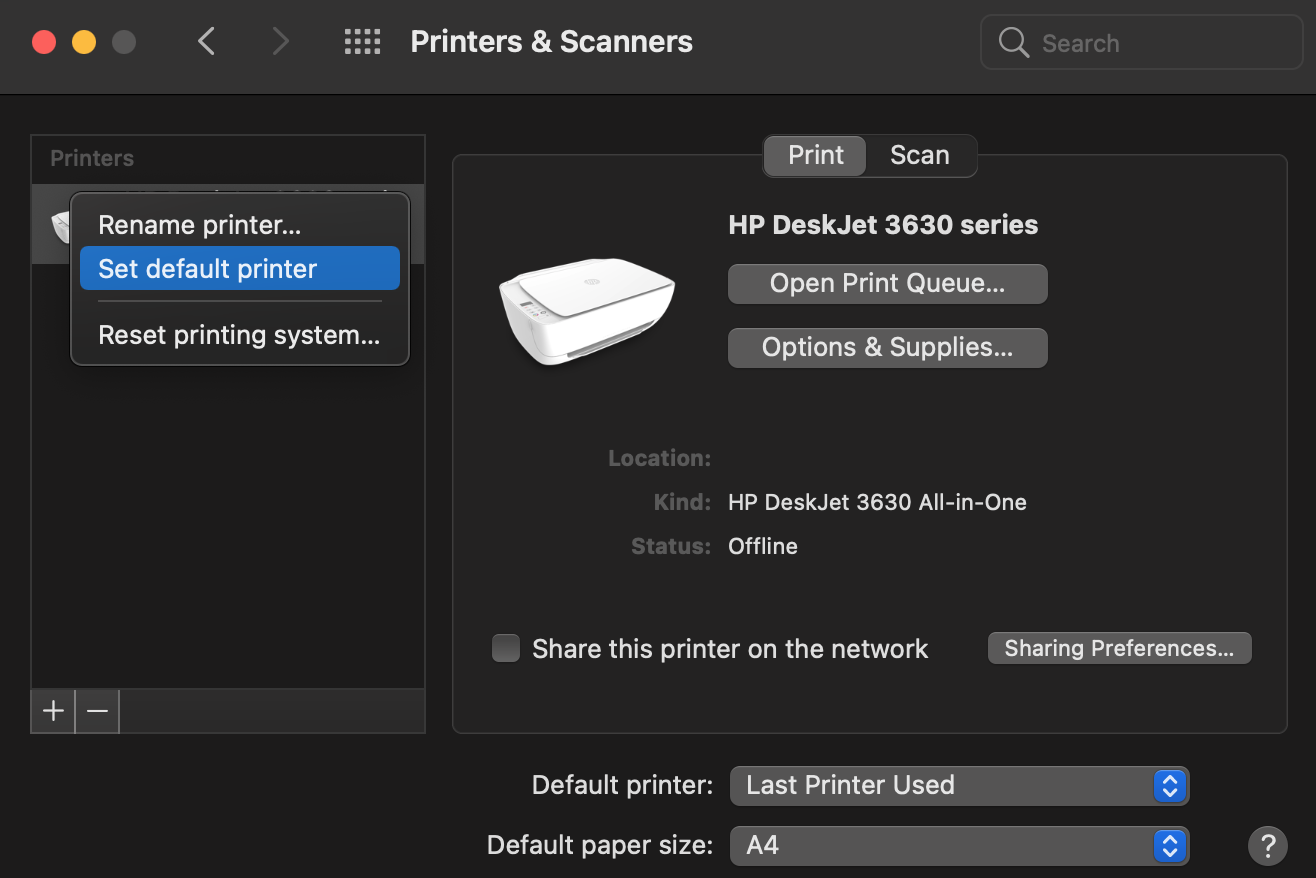
Head over to your System Preferences (or Control Panel) and locate your Printer Settings. On a Mac it’s called Printers & Scanners:
Find your printer, right click it then set it as the default printer. It will now tell you it’s the default printer.
If you’ve got a cash drawer connected to your receipt printer, you’ll need to find the setting to enable your cash drawer to kick out each time a receipt is printed. The following article has more info on how to kick the cash drawer: Let's kick the cash drawer!
Once the printer is set as a default, you can process a sale via POS to print a receipt.
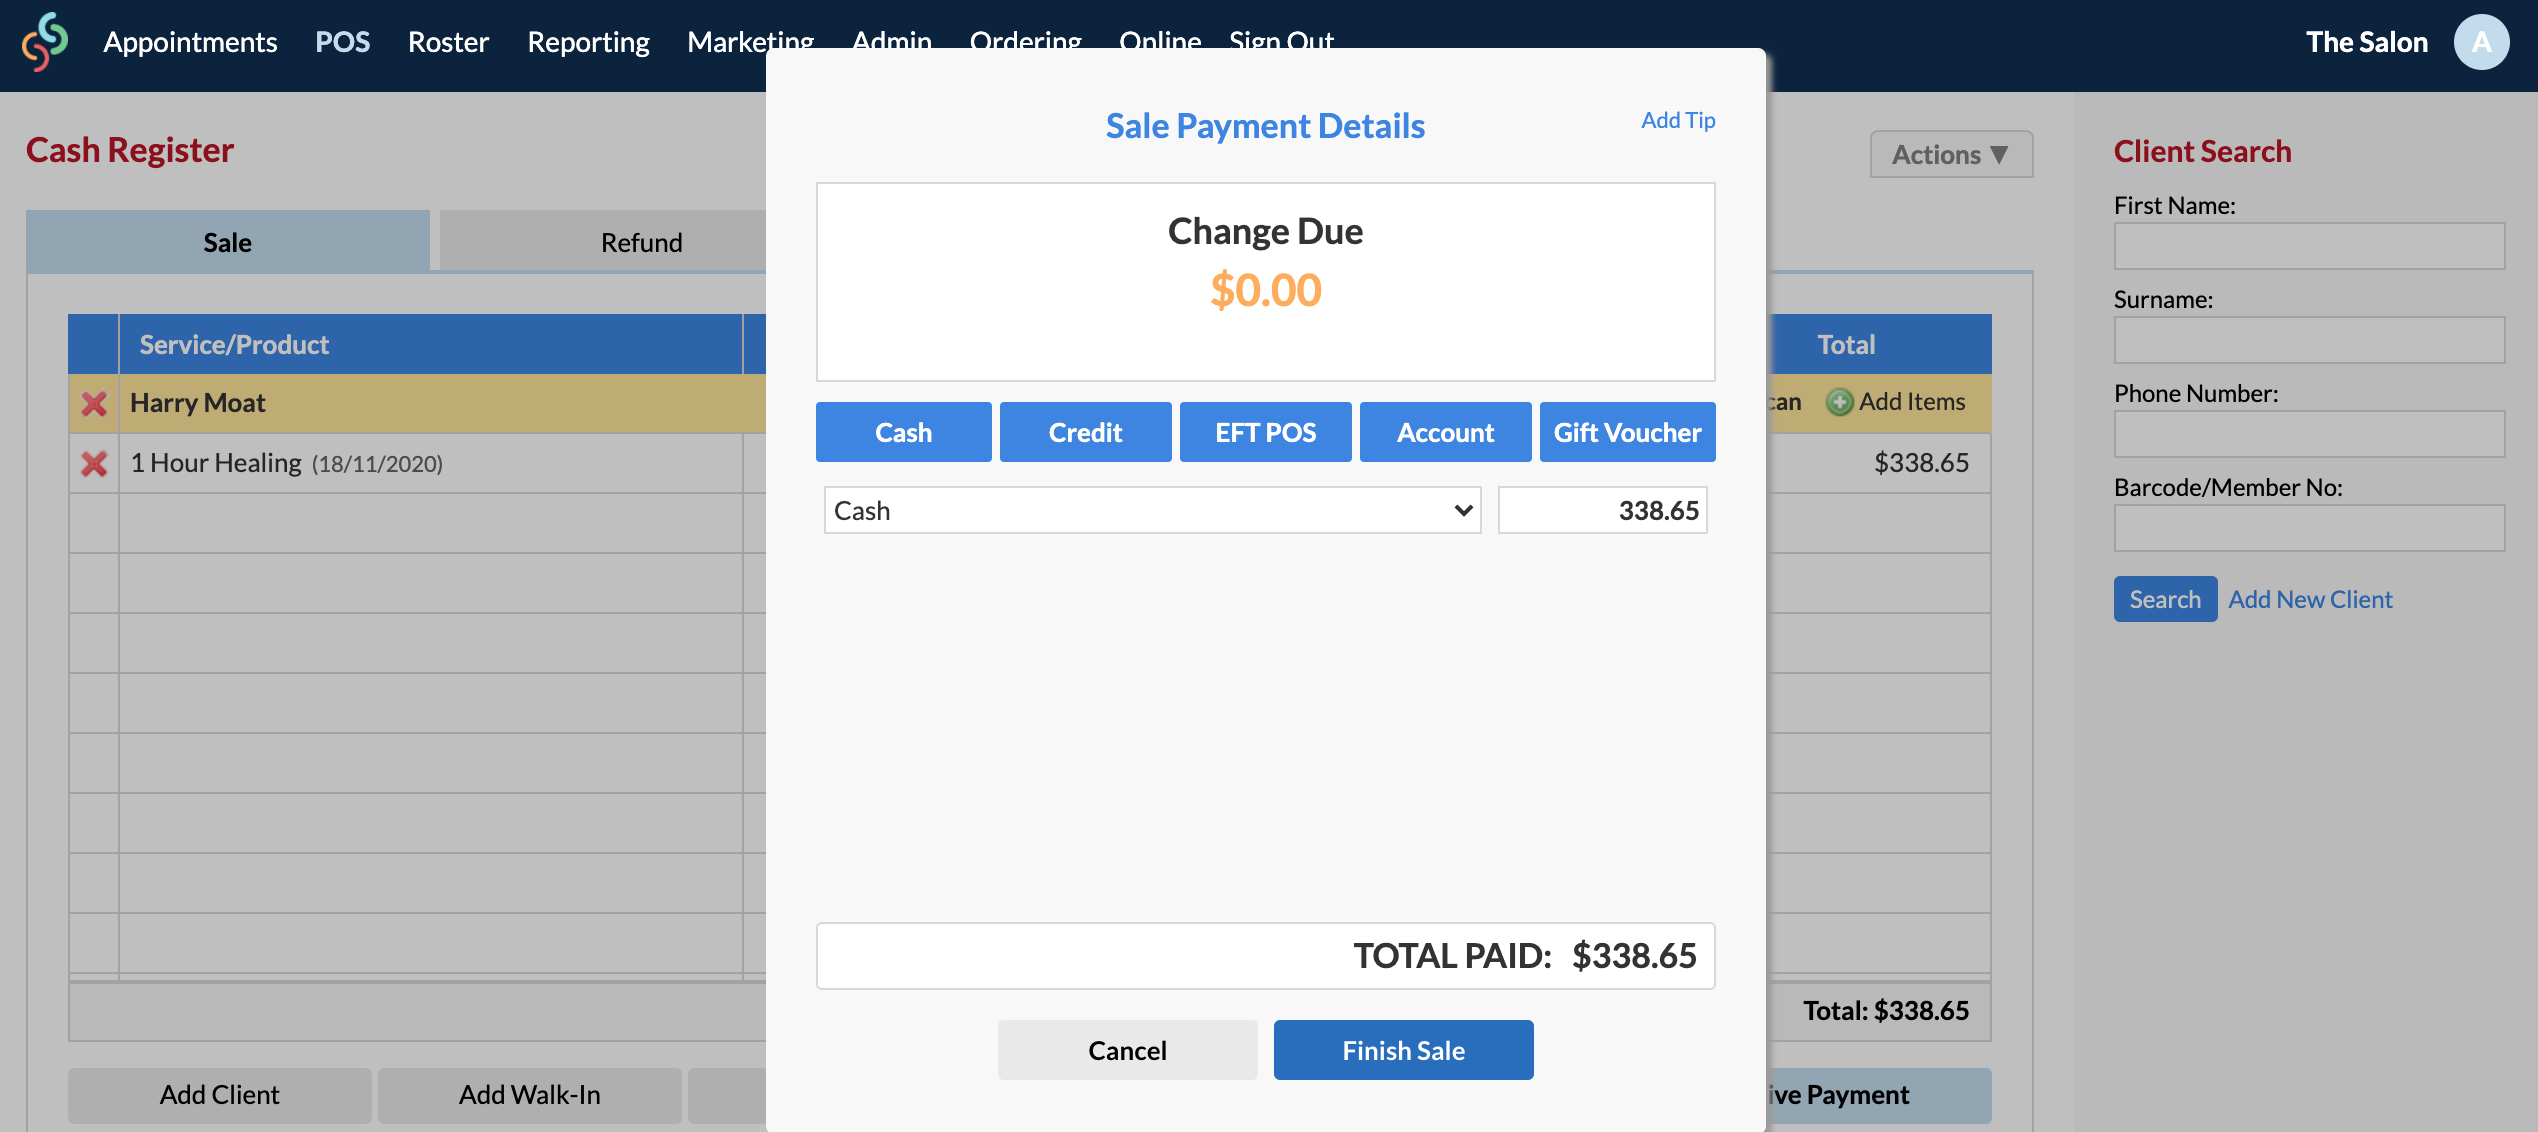
Go to POS, process a client sale and click Finish Sale:
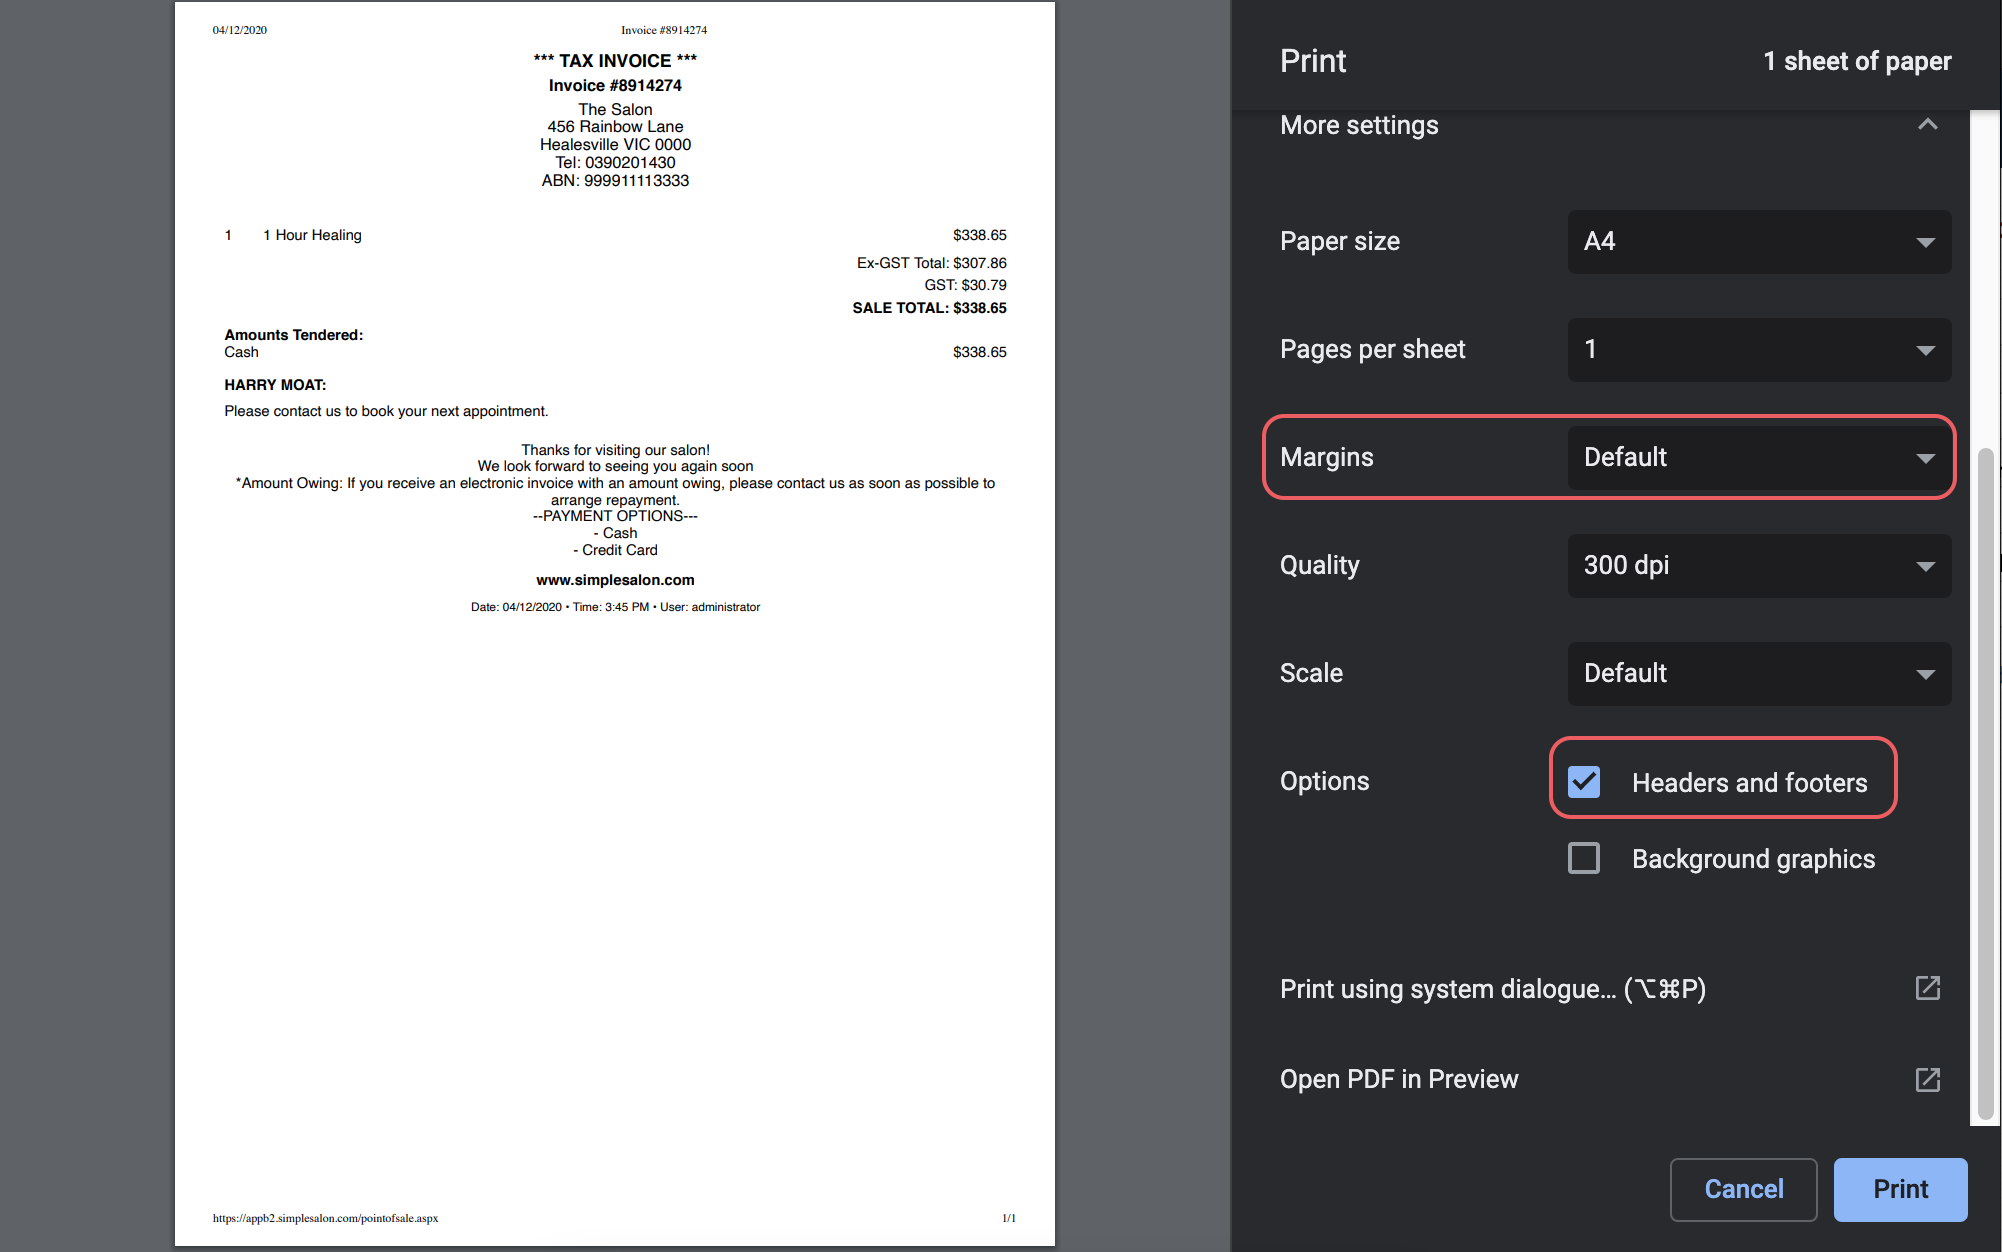
The printing details window will come up. If you can't see your headers & footers or margin settings, click 'More Settings' (it may be called something a little different on your end).
If you’re using a Receipt Printer, you’ll need make sure you disable Headers and Footers. You also want to ensure your Margins are set to none.
If you have any questions, please send them to us via the Submit a Request option in your Help & Support page.