To make it super easy for your clients to book online, and to also make sure that they are choosing the right components to make up their booking, you can group together your popular service combinations and display them as a group service online. This means that instead of choosing multiple services, the client only has to choose one group service, which has all the right components.
We call these popular service combinations Group Services e.g. "Full Head Foils + Style Cut".
Before you can create a group service, the individual services need to have been created. Please click here to learn how to set up your services.
Grouping individual services together to create a Group Service
Now that you have your individual services created, you can group them together to create the Group Service which will consist of the right individual services.
Still in the Admin section, in the Services tab, click New in the Services on the right.
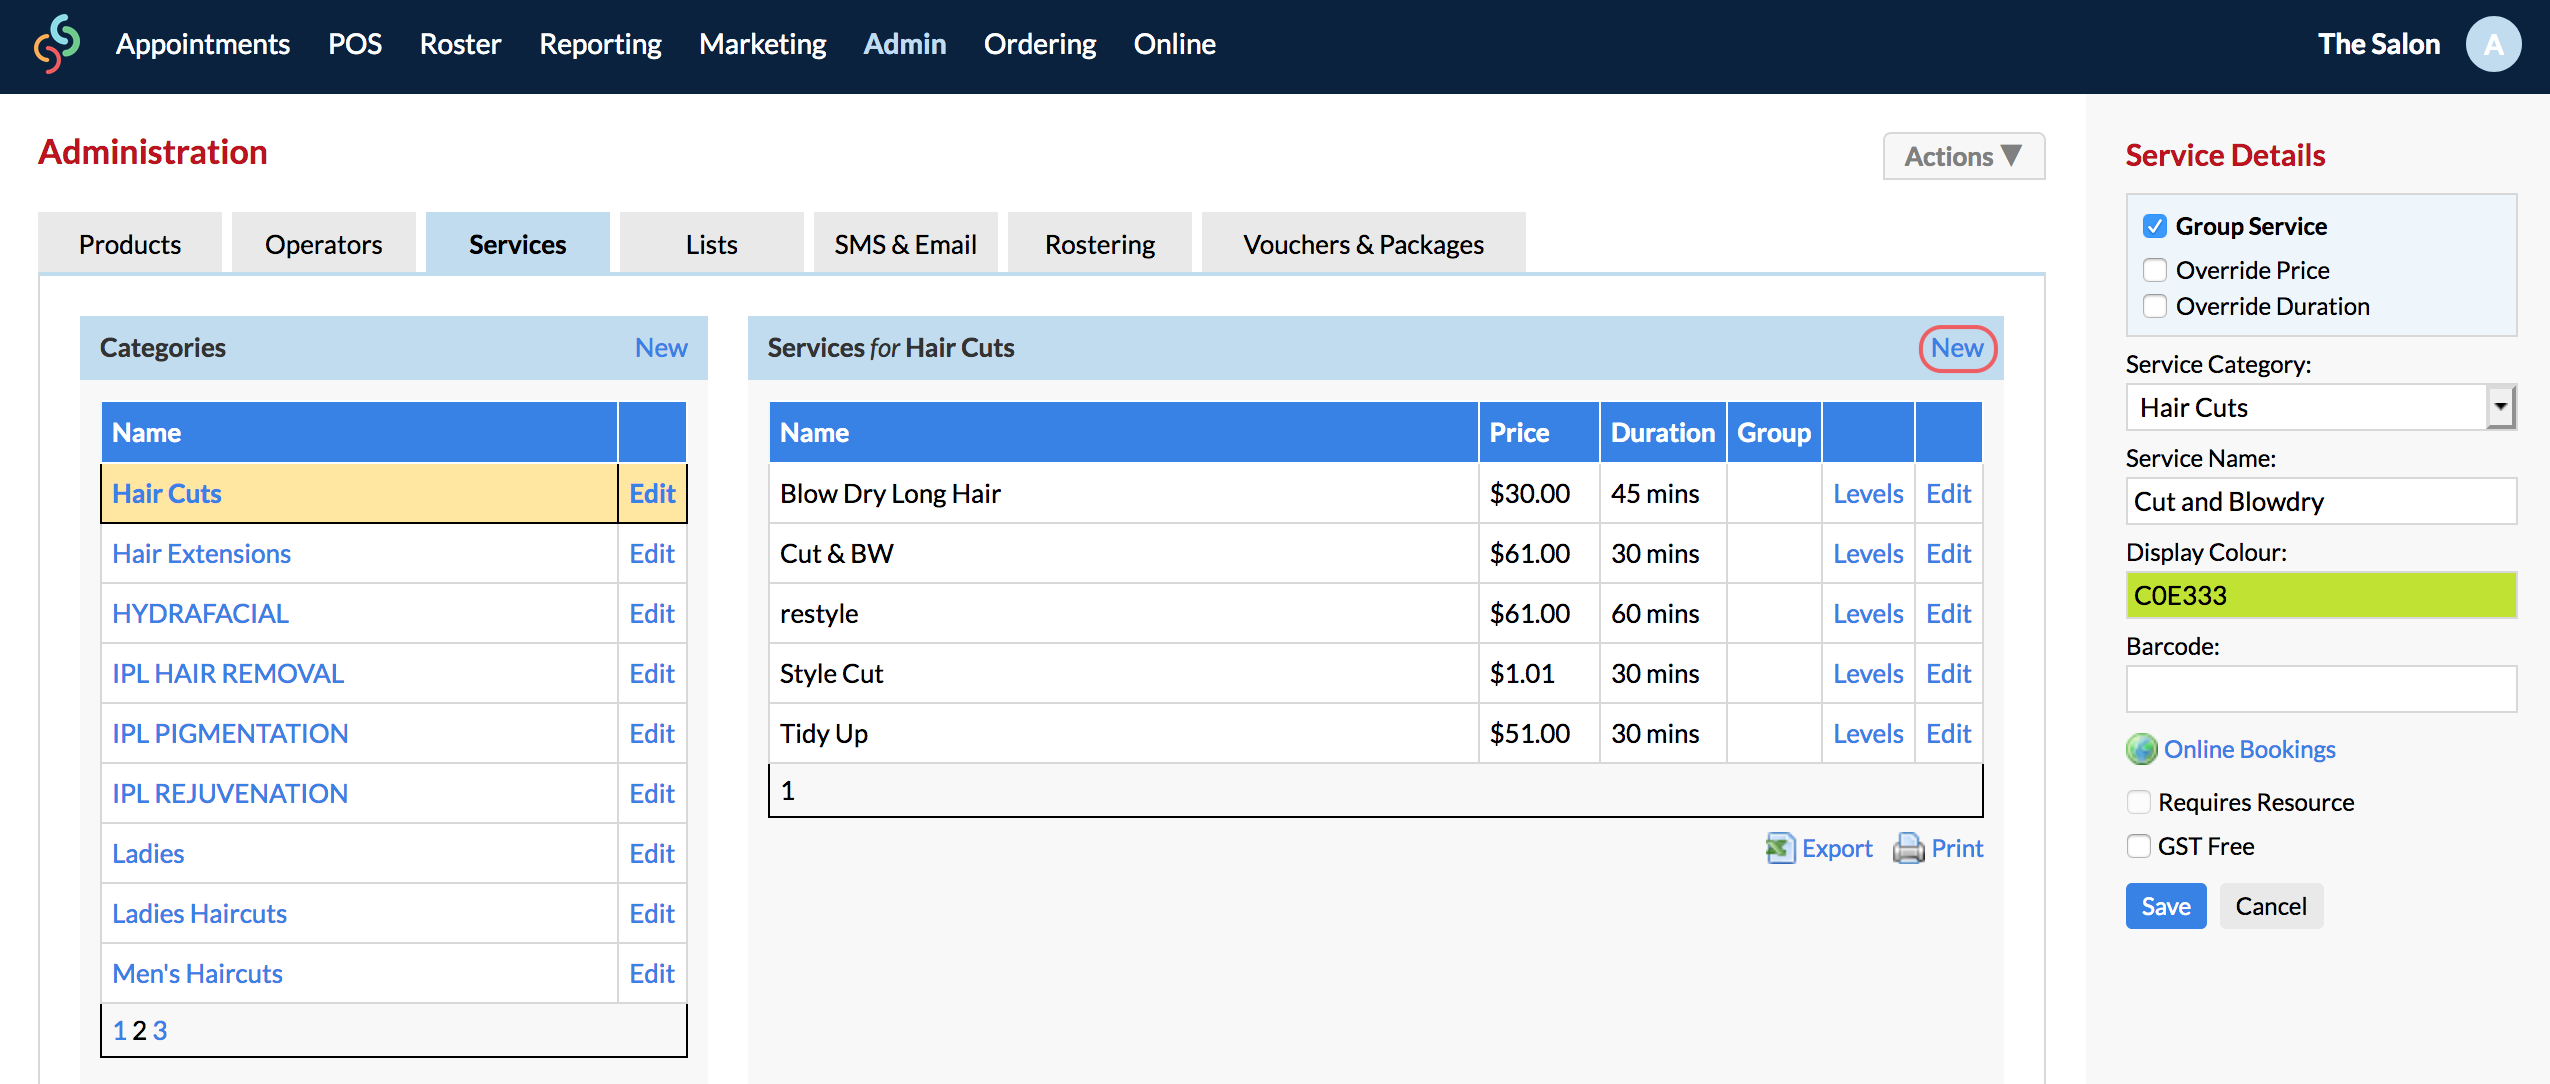
On the right side panel, tick Group Service and fill out the details i.e. Service Name.
(Note: Don't tick Override Price or Override Duration, as it will use the pricing and service duration which you have added to the individual services).
Click Save when you are complete.
Locate your newly created Group Service in your service list, and click Items.
(Note: Group Services have a folder icon next to them).
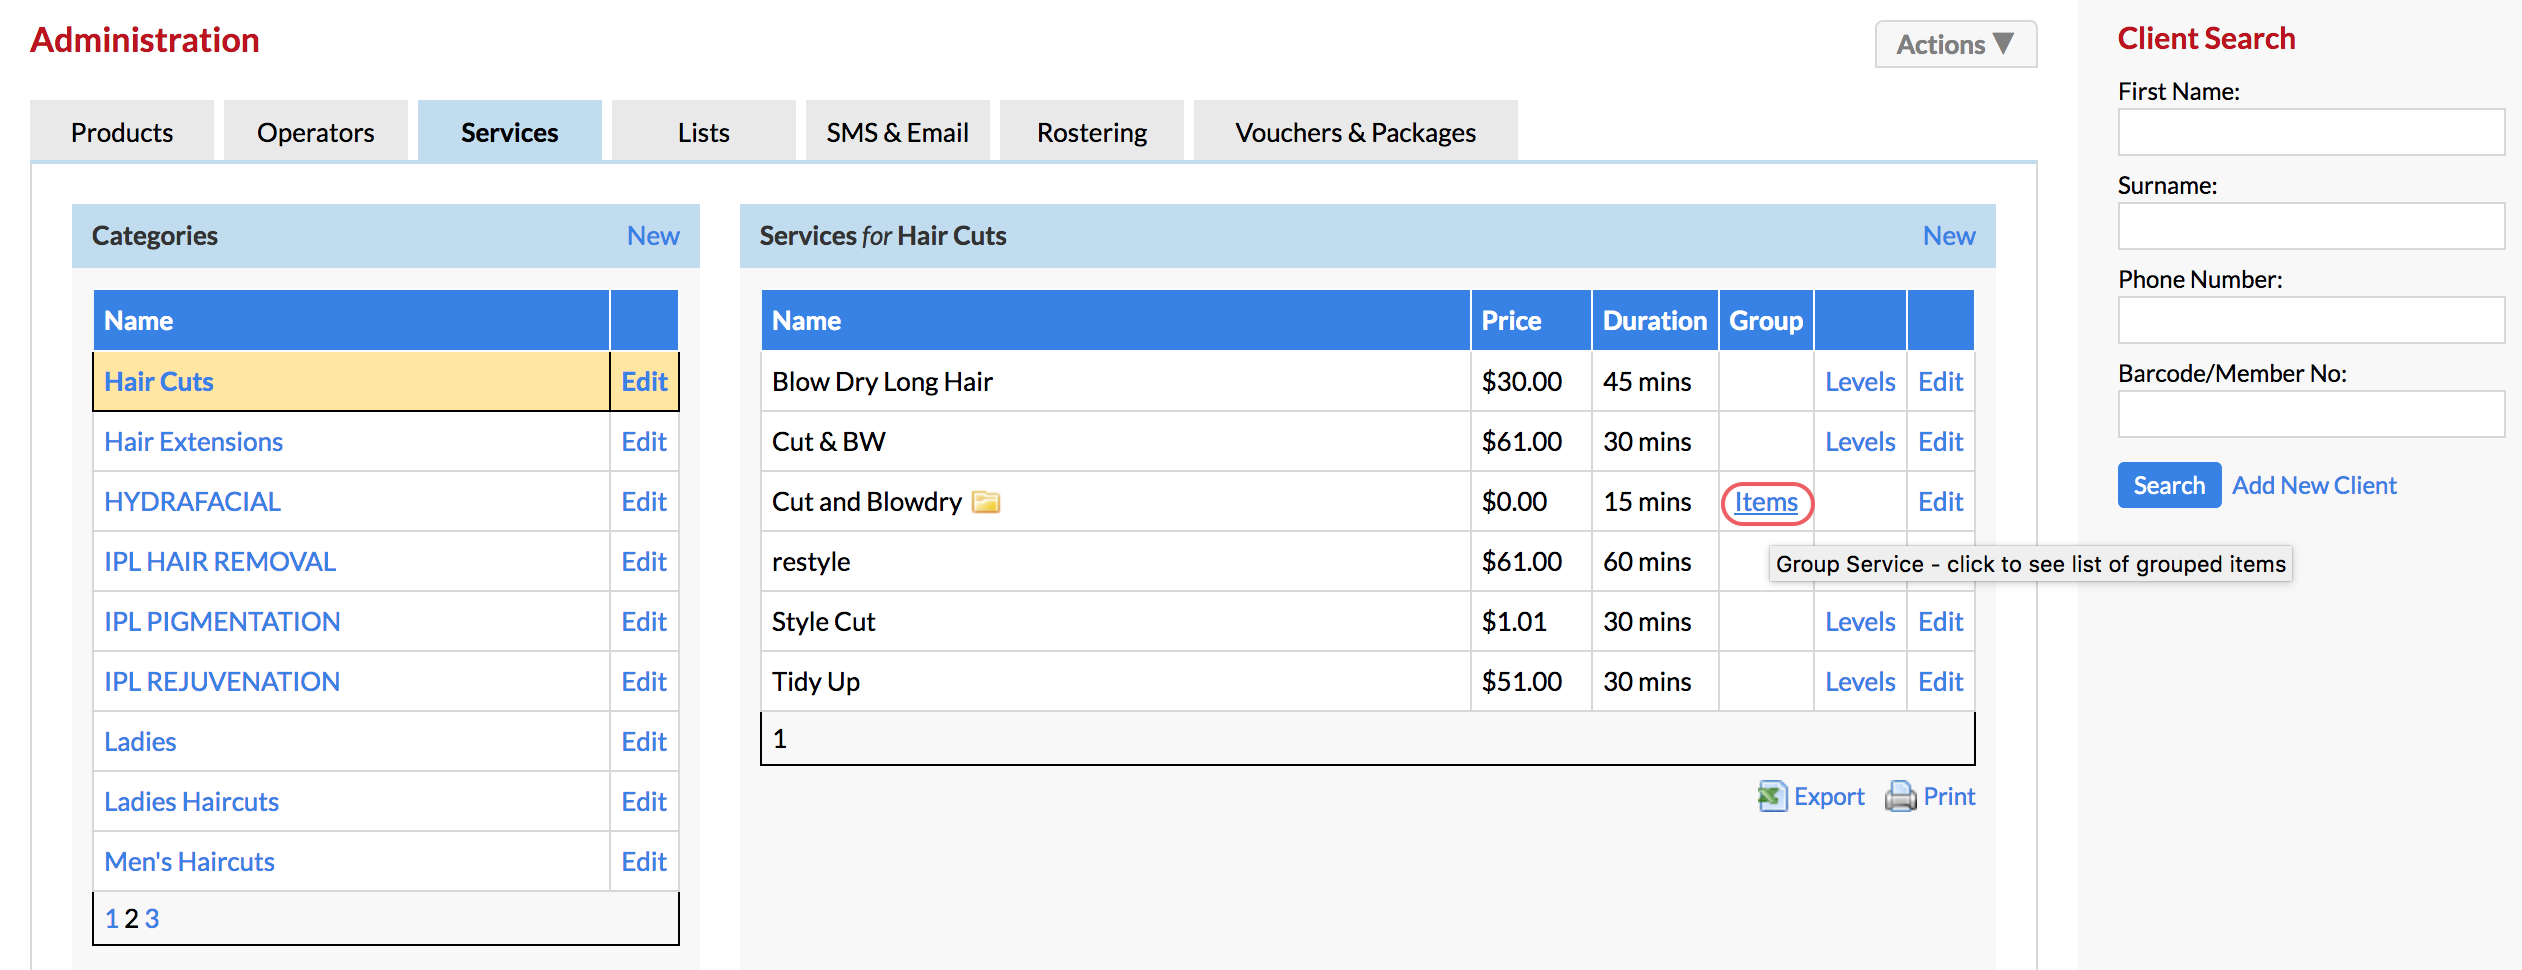
Click Add Item to add the first individual service to the Group Service.
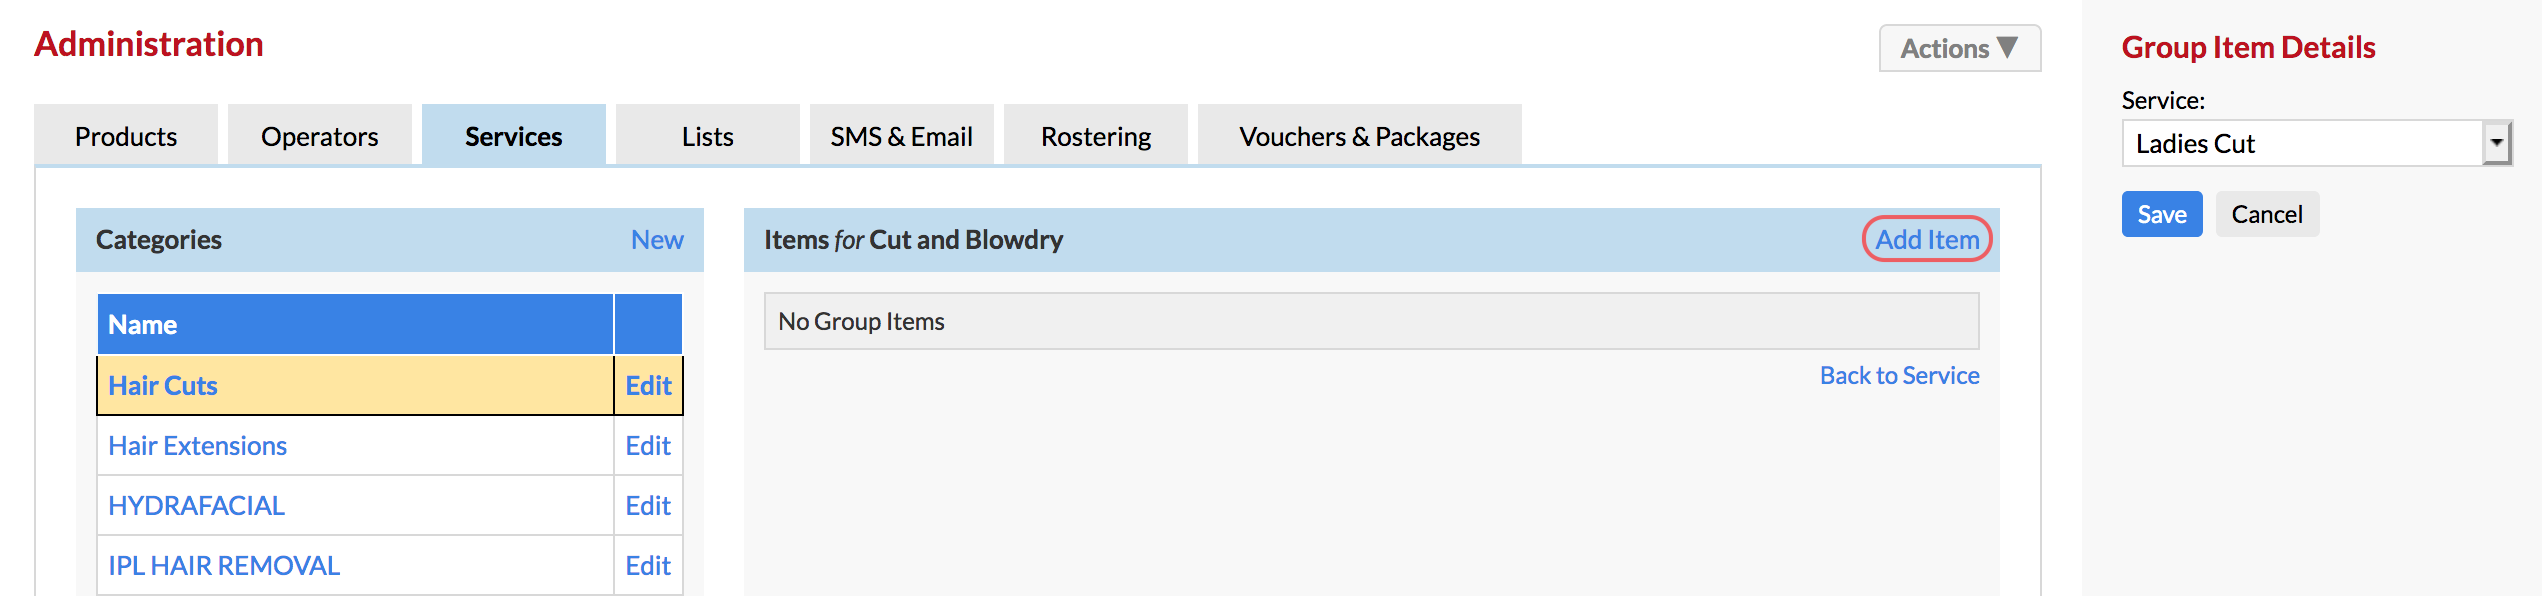
Choose the individual service from the right side drop-down menu and click Save.
The individual service is added to the Group Service.
Now do the same thing to add the next individual service (click Add Item).
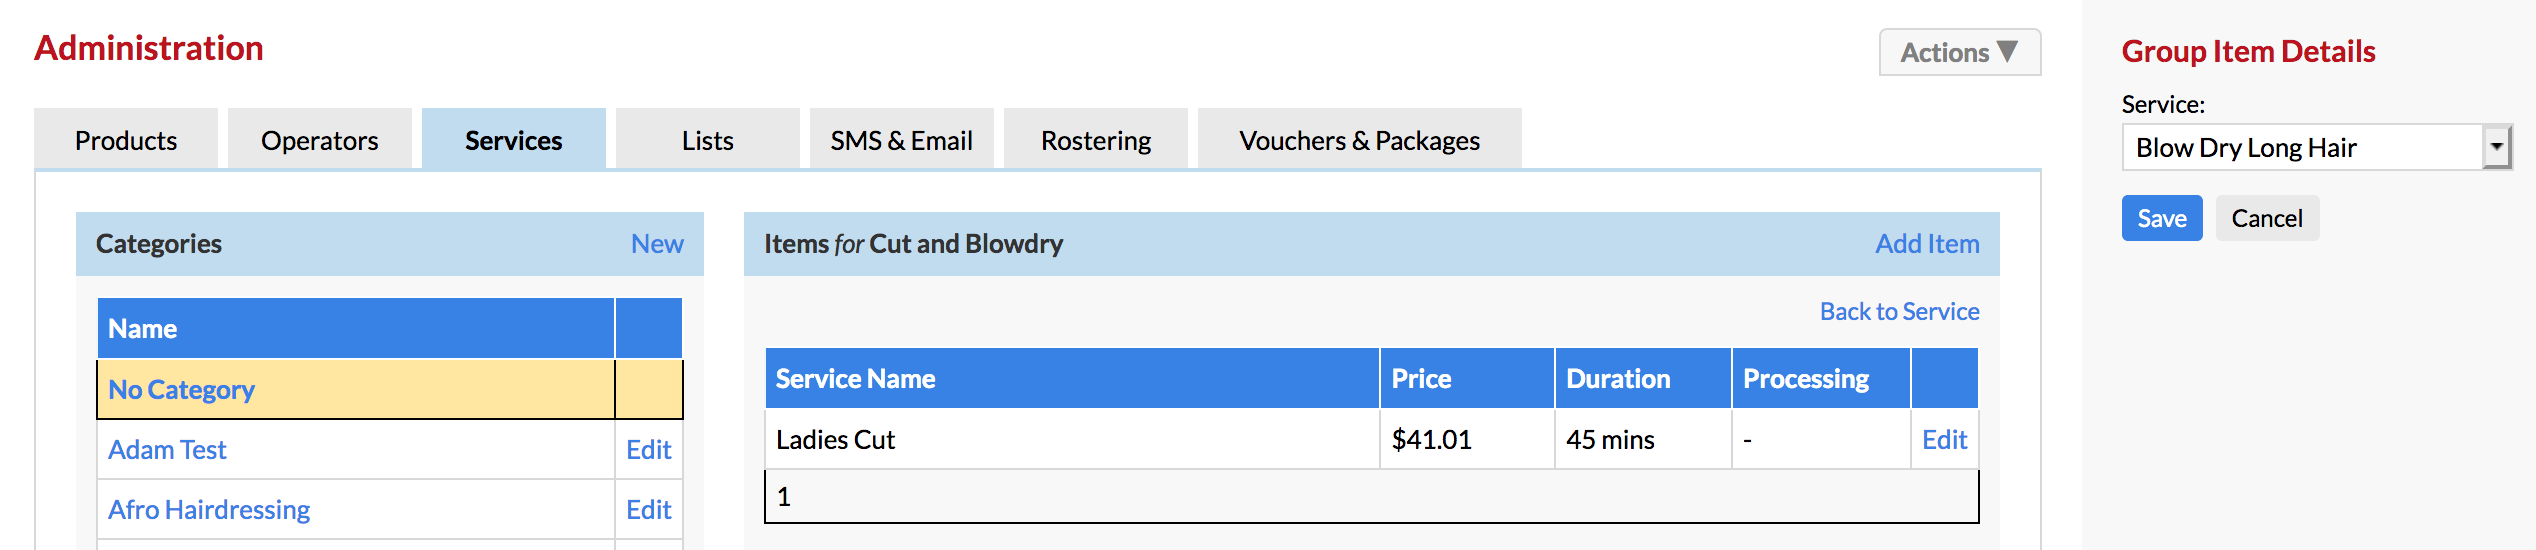
Choose individual service from the right side panel and Save.
Do this until all individual services are added to the Group Service.
Once all of the individual services are added to the Group Service, you're done—the group service is ready to be displayed online.
Displaying group services online
Note: If you haven't yet set up your Online Bookings (added operators, online categories and services to your online bookings site) please do so first by following the steps in this article. Then come back to here to add your Group Services to your online bookings site.
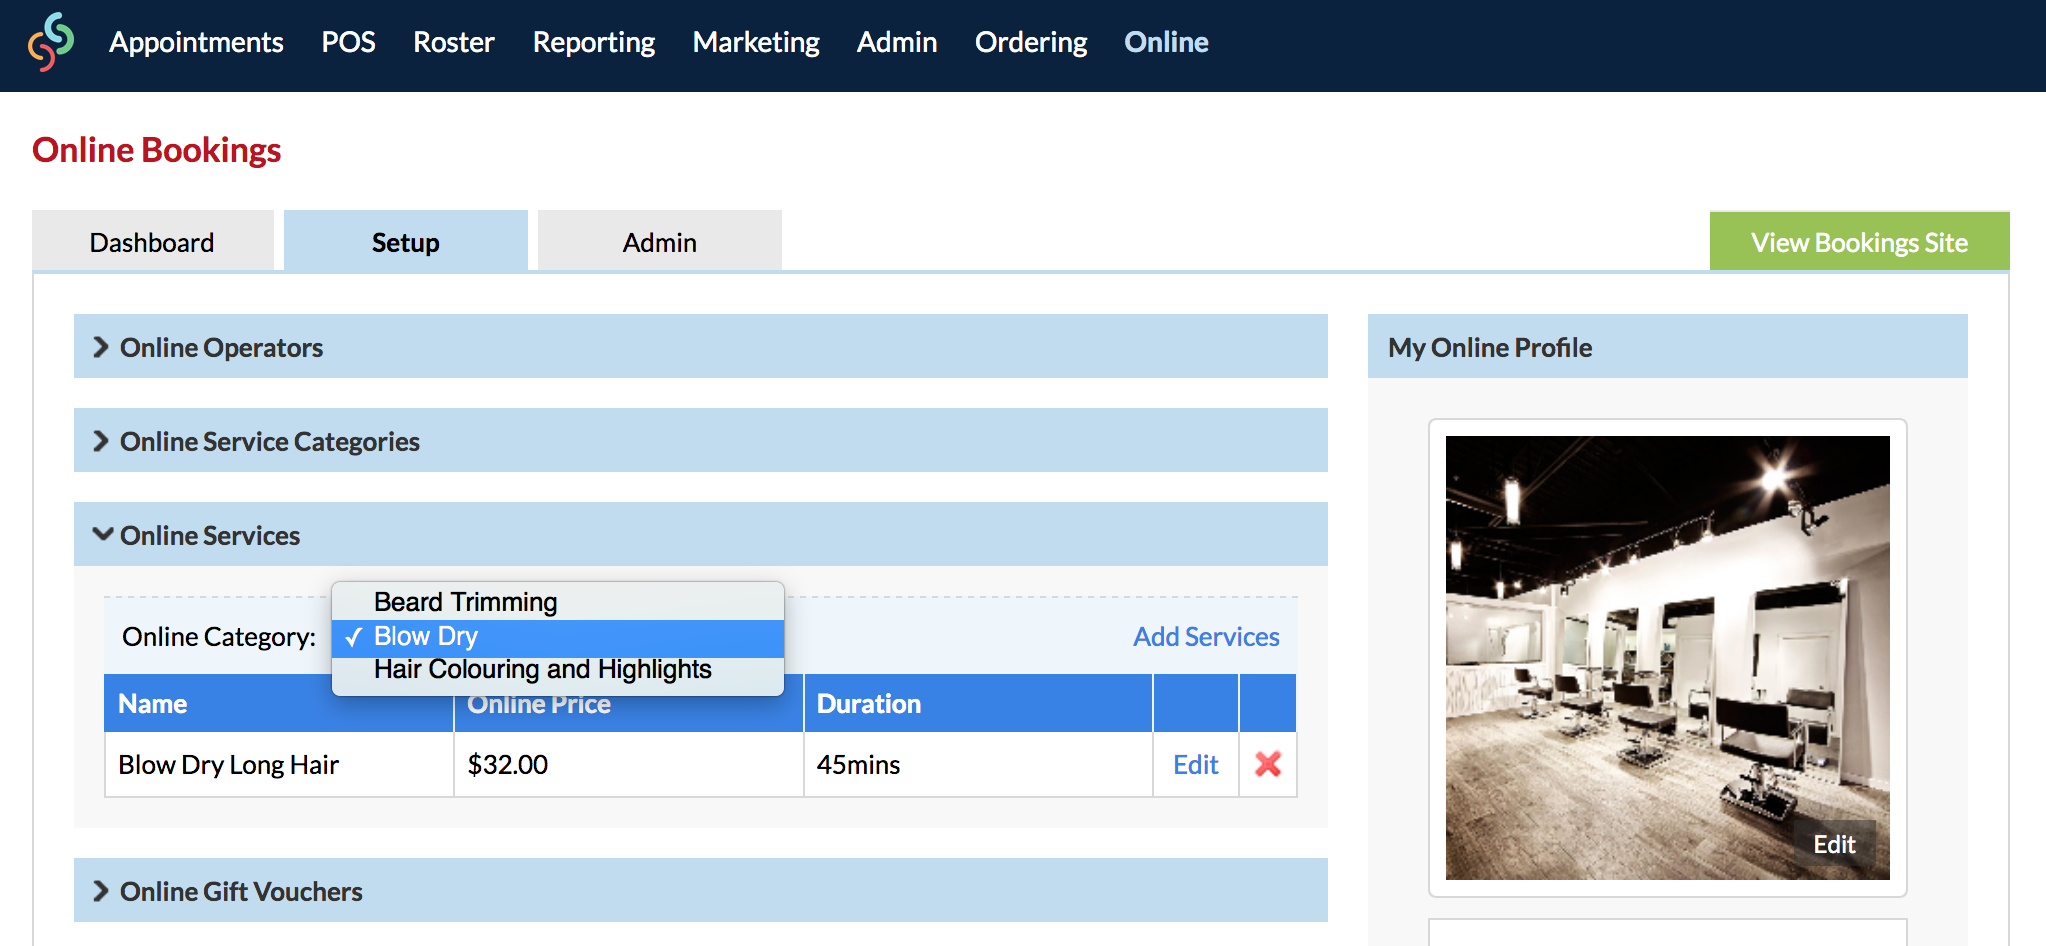
Go to Online then to the Setup tab. Click Services.
From the drop-down menu, choose the Online Category you wish to add your Group Service to. Then click Add Services:
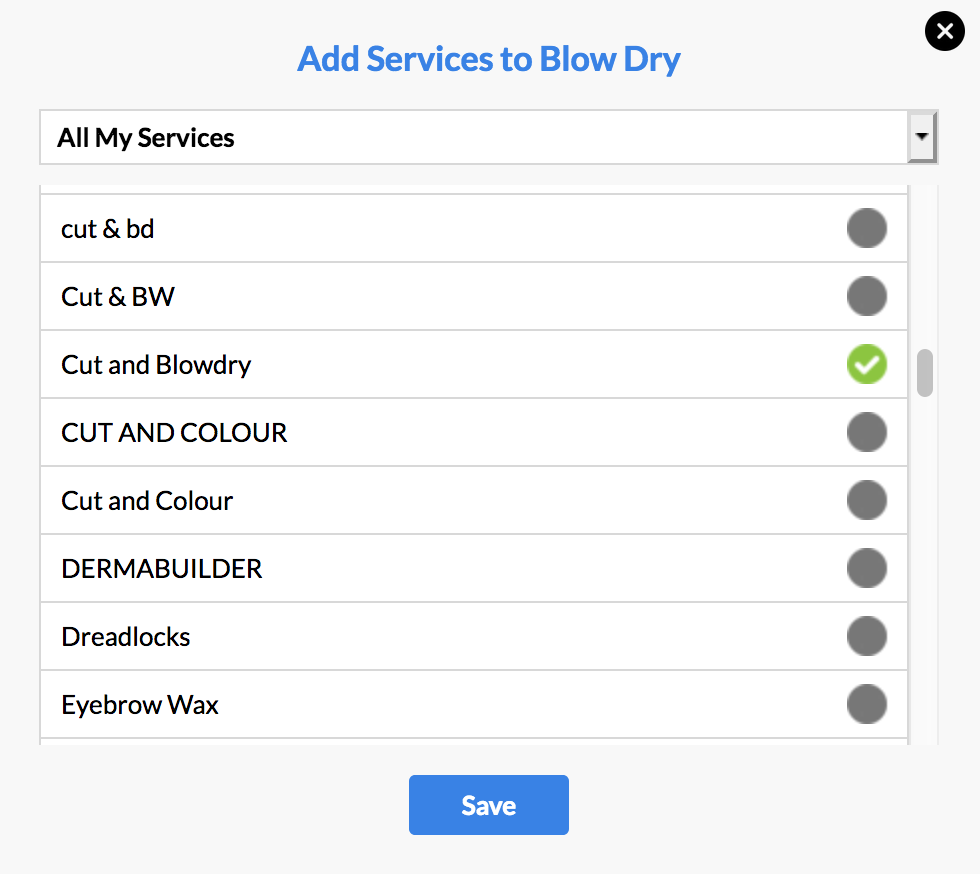
Tick your newly created group service from the list of services. Then click Save.
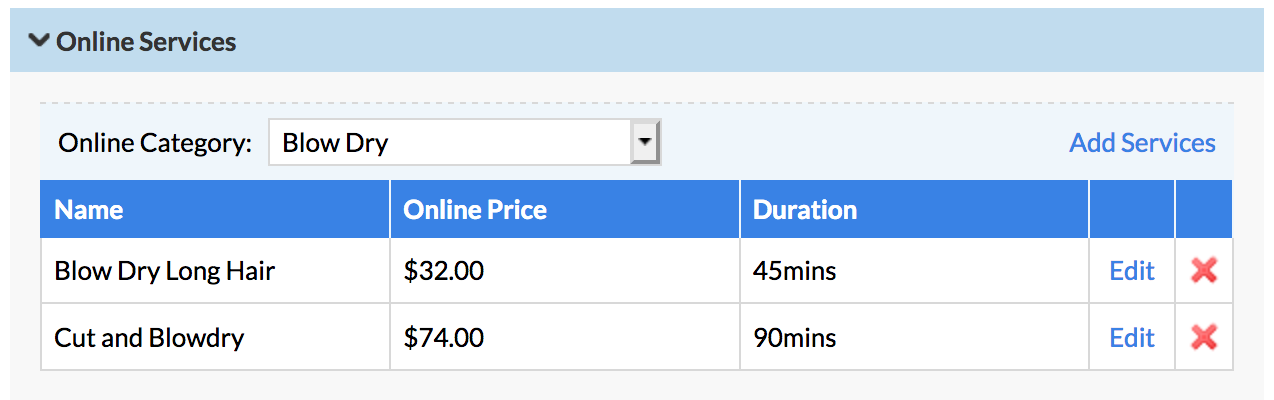
Now your group service is available for your clients to book online.
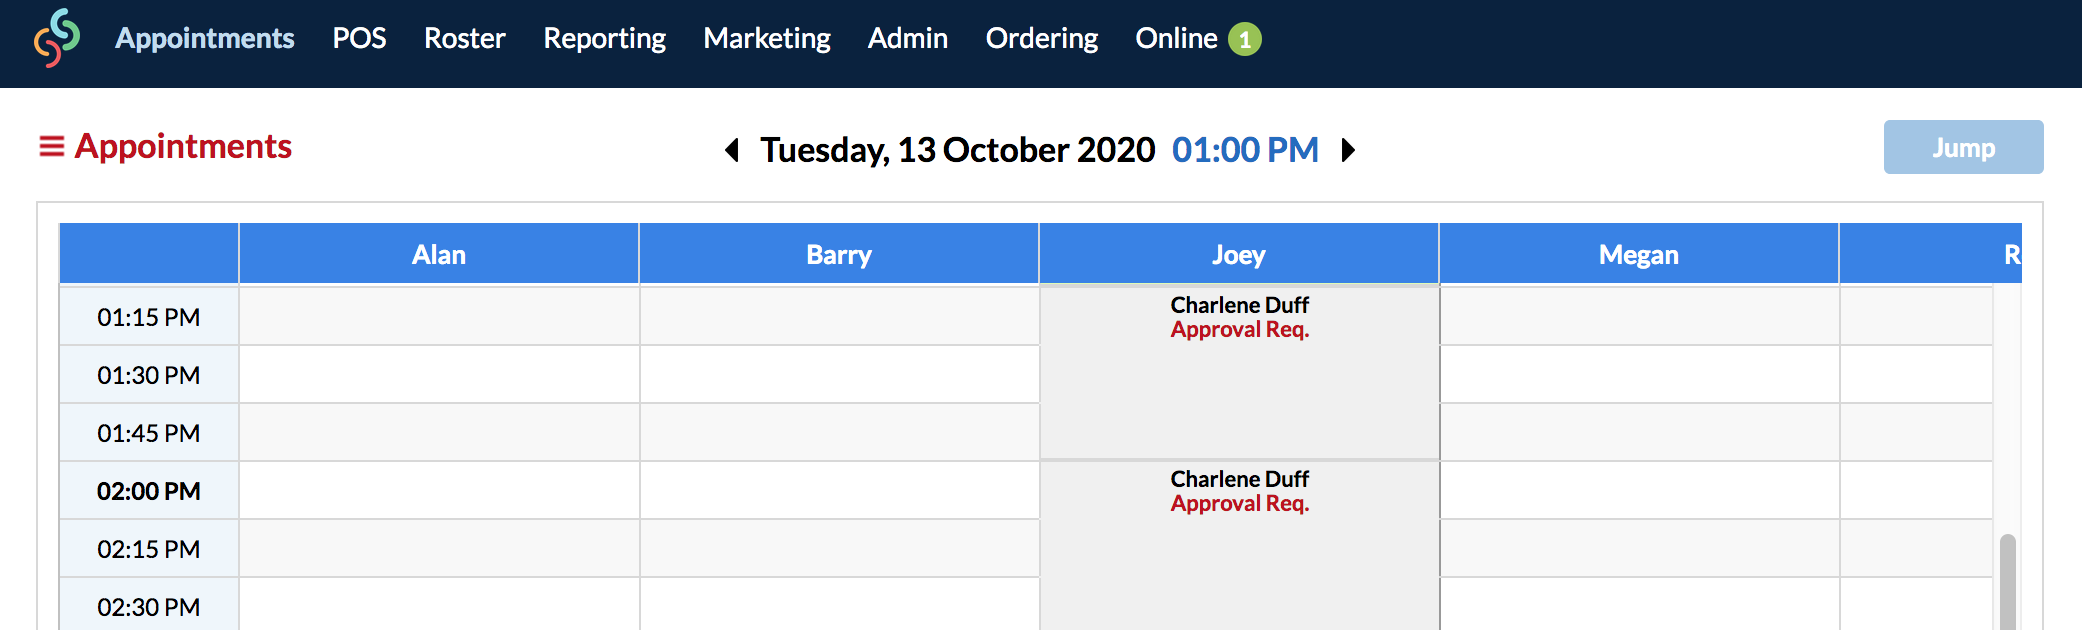
If you do not have auto approval on, you can approve the online appointment via your Online menu option:
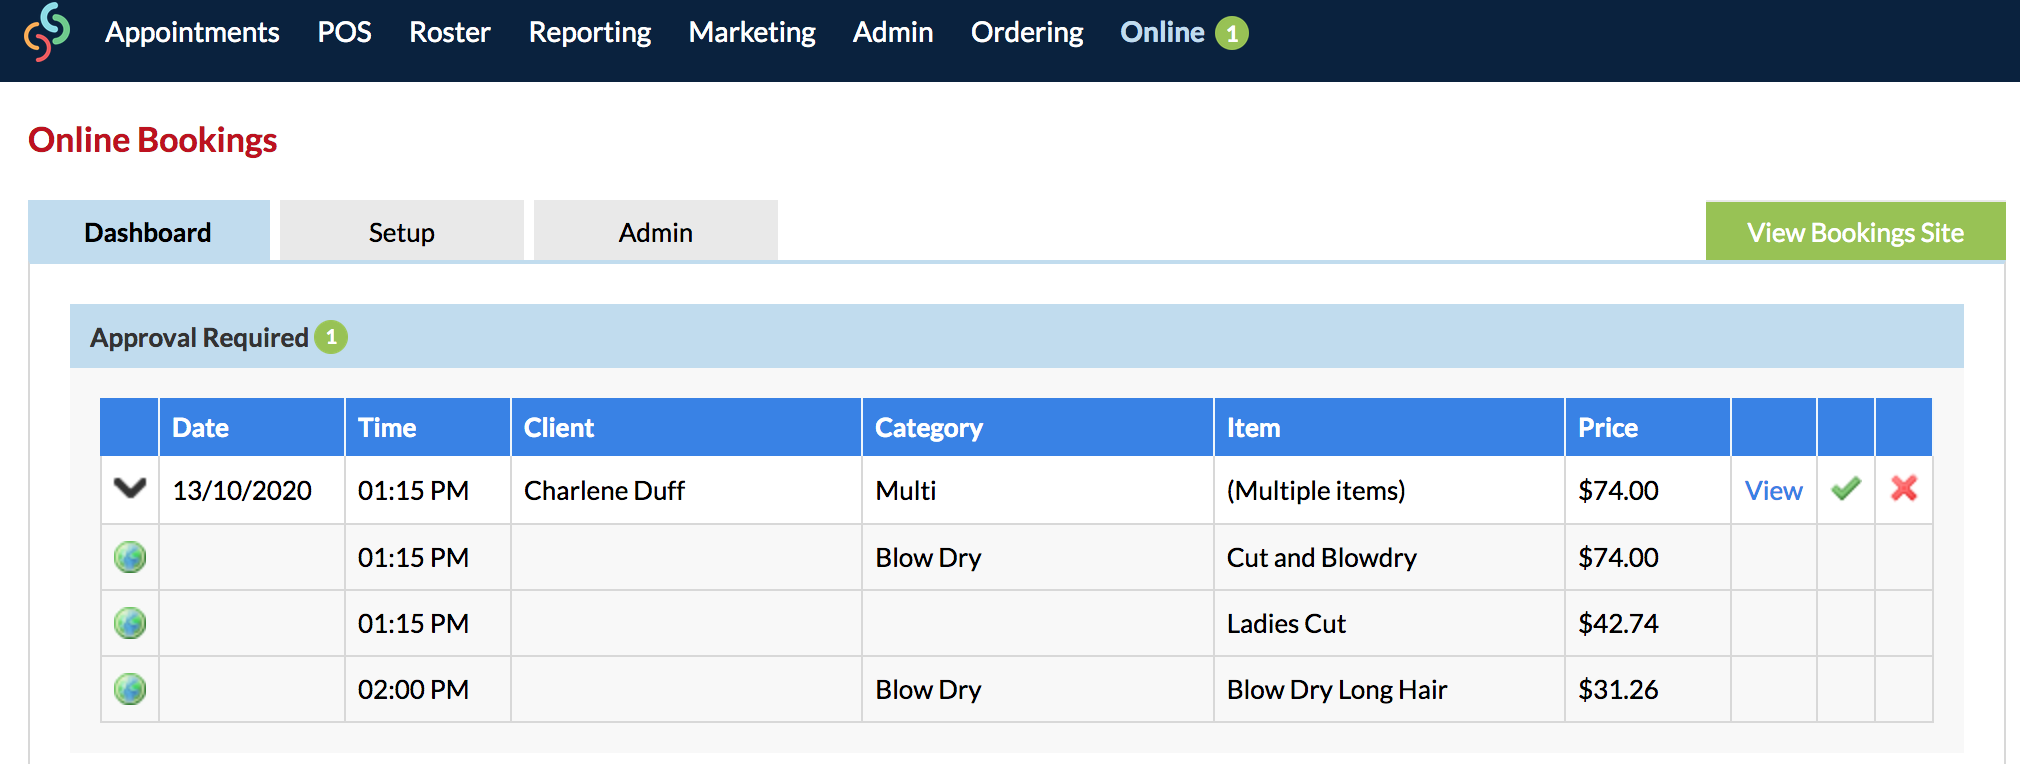
You can also click on the appointment directly from the Appointments page, which will bring you to the Approval Required section (as shown above):
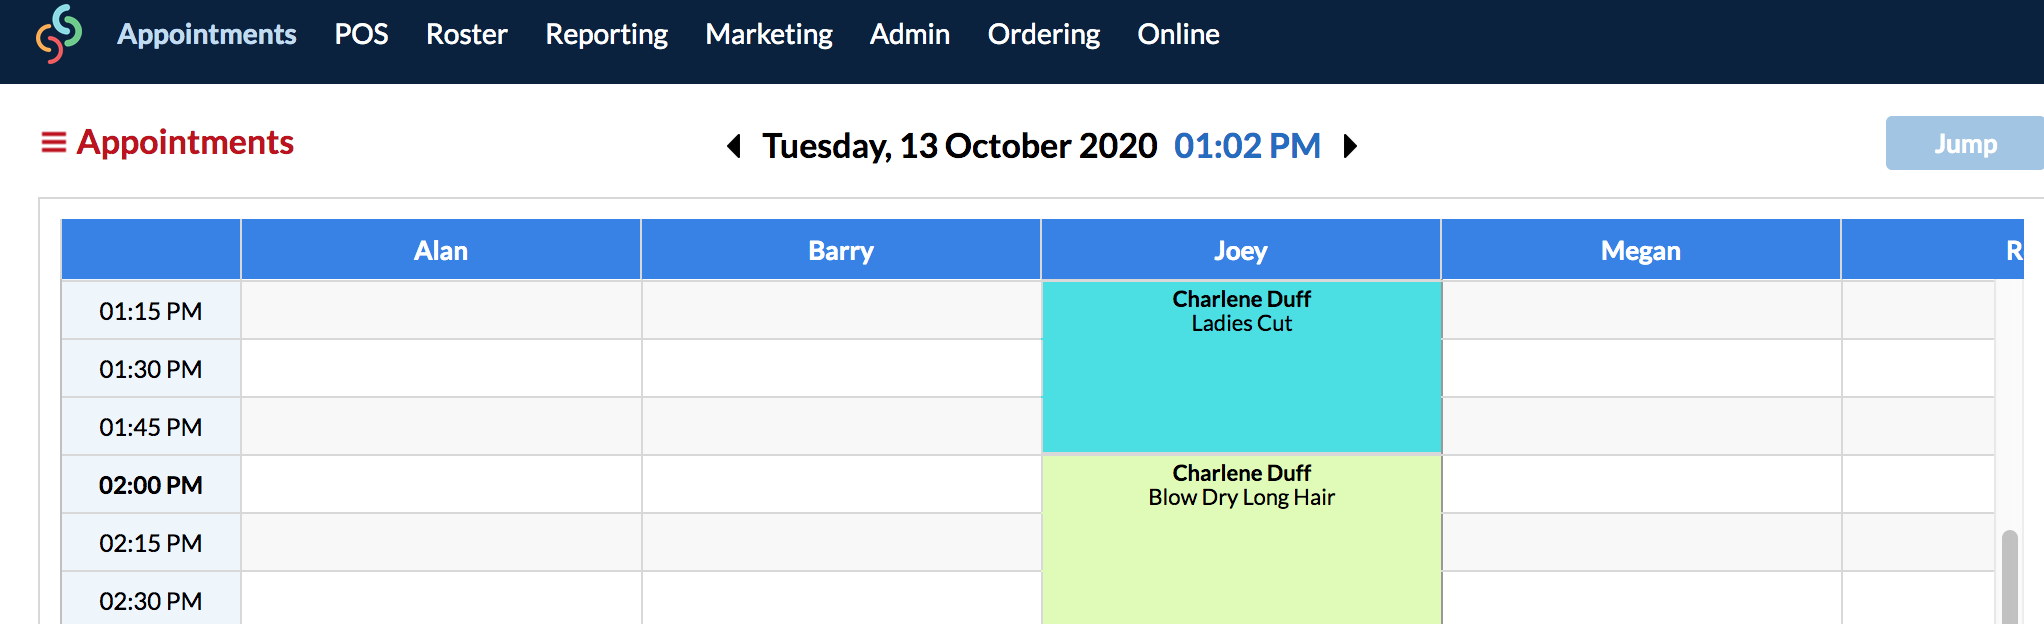
Once the appointment has been approved, it will display like this below (if the service has processing time attached, a gap will be left):
Go ahead and follow these same steps to create all of your popular service combinations as Group Services, making it easy for your clients and more convenient for you.
If you have any questions anytime, feel free to send them to us via the Submit a Request option in your Help & Support page.