Get more appointments by taking online bookings via your Facebook Book Now button.
Note: If you would also like to add the Book Now button to Instagram, you will FIRST need to complete the steps in this article. Then there is a link at the bottom of this article which will show you how to add one to Instagram.
You can also check out the video below to find out how to connect to Facebook (and Instagram):
Otherwise simply follow the steps below to connect to Facebook:
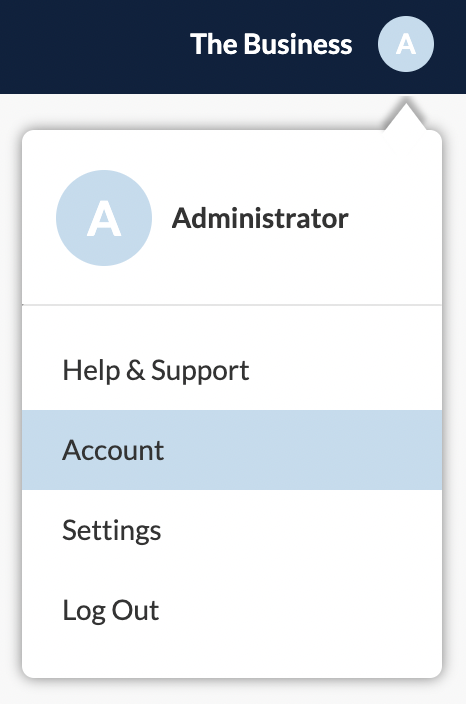
1. To set up your Facebook Book Now button, you'll need to log into your Simple Salon account as an administrator and click the blue circle in the top right corner, and go to the Account page.
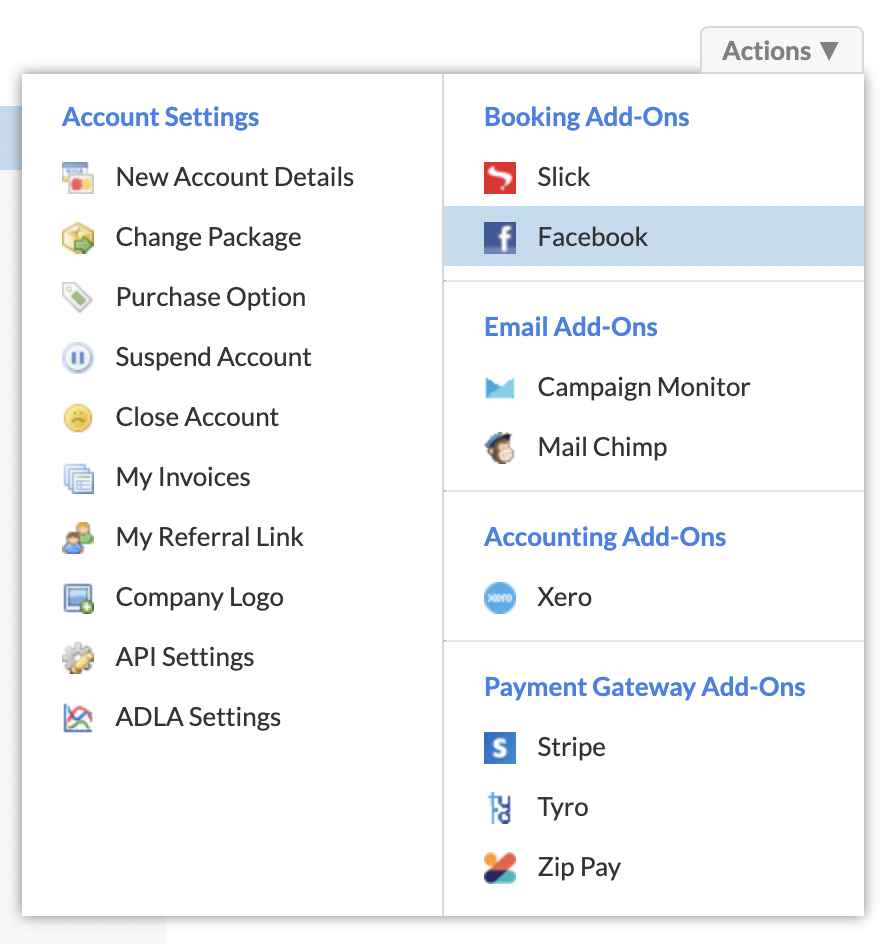
2. Drop down the Actions menu and select Facebook.
3. On the right side panel select Connect to Facebook.

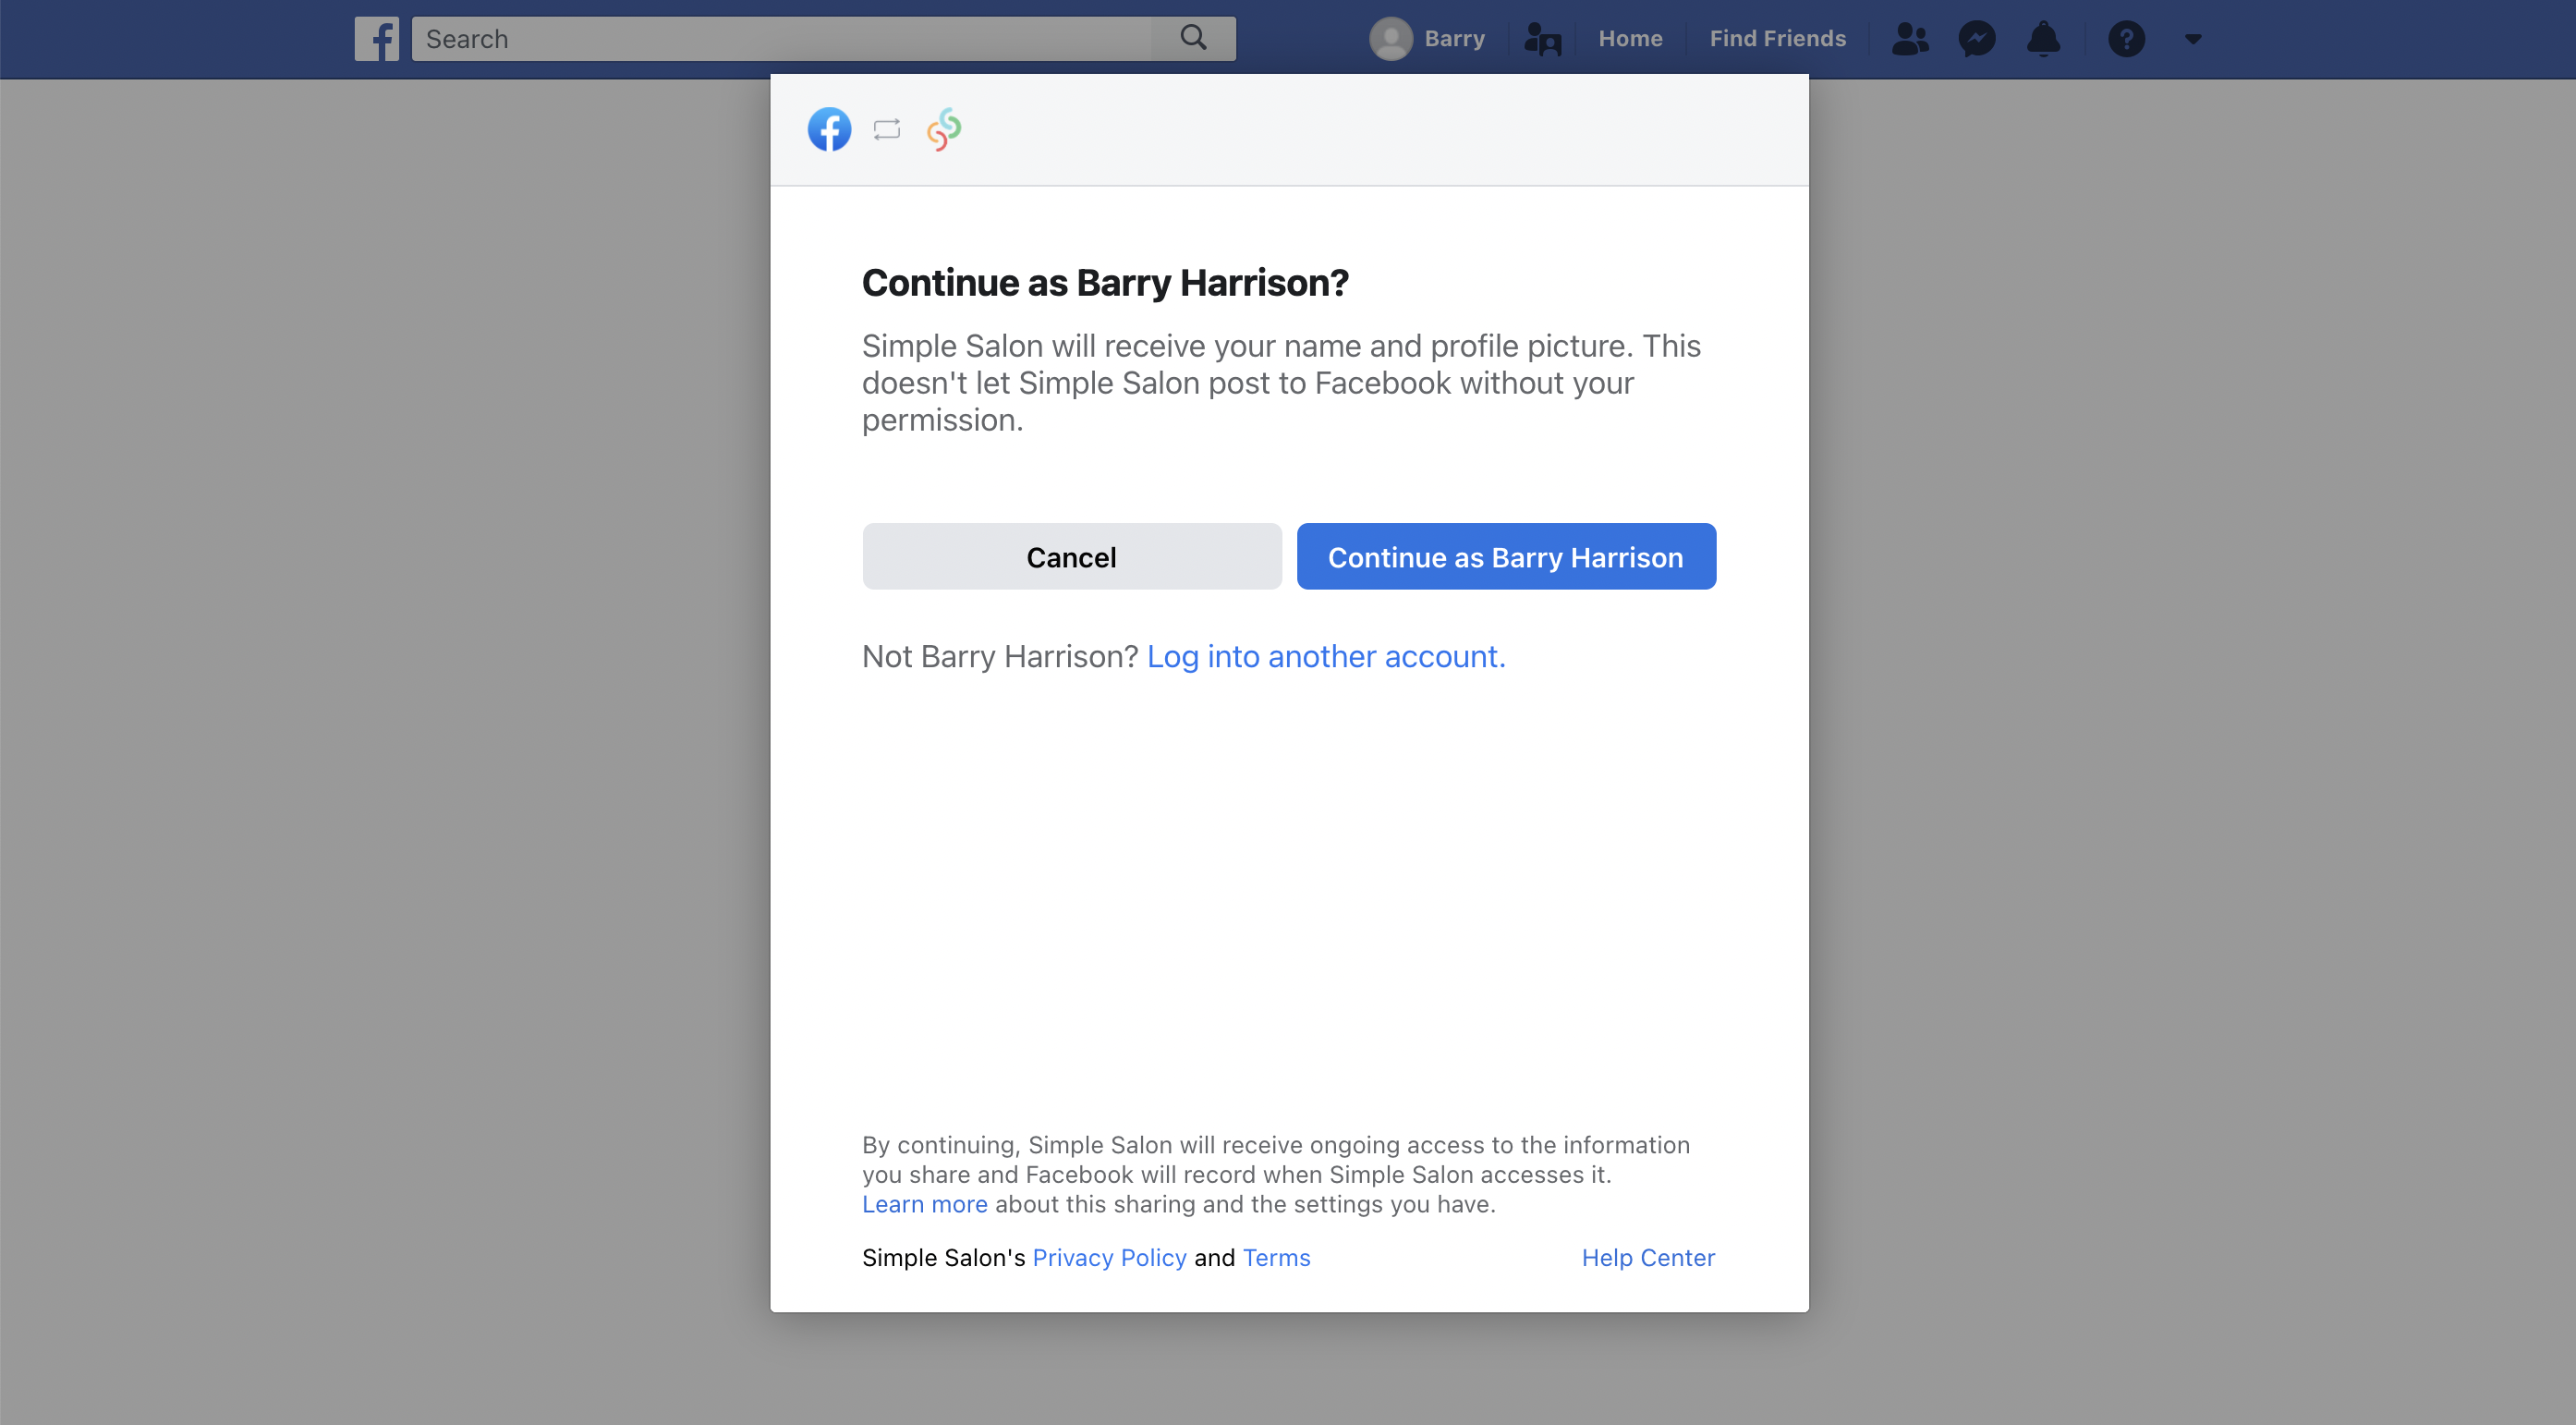
4. Follow the prompts to log into Facebook or click the Continue as button if you are already logged in.
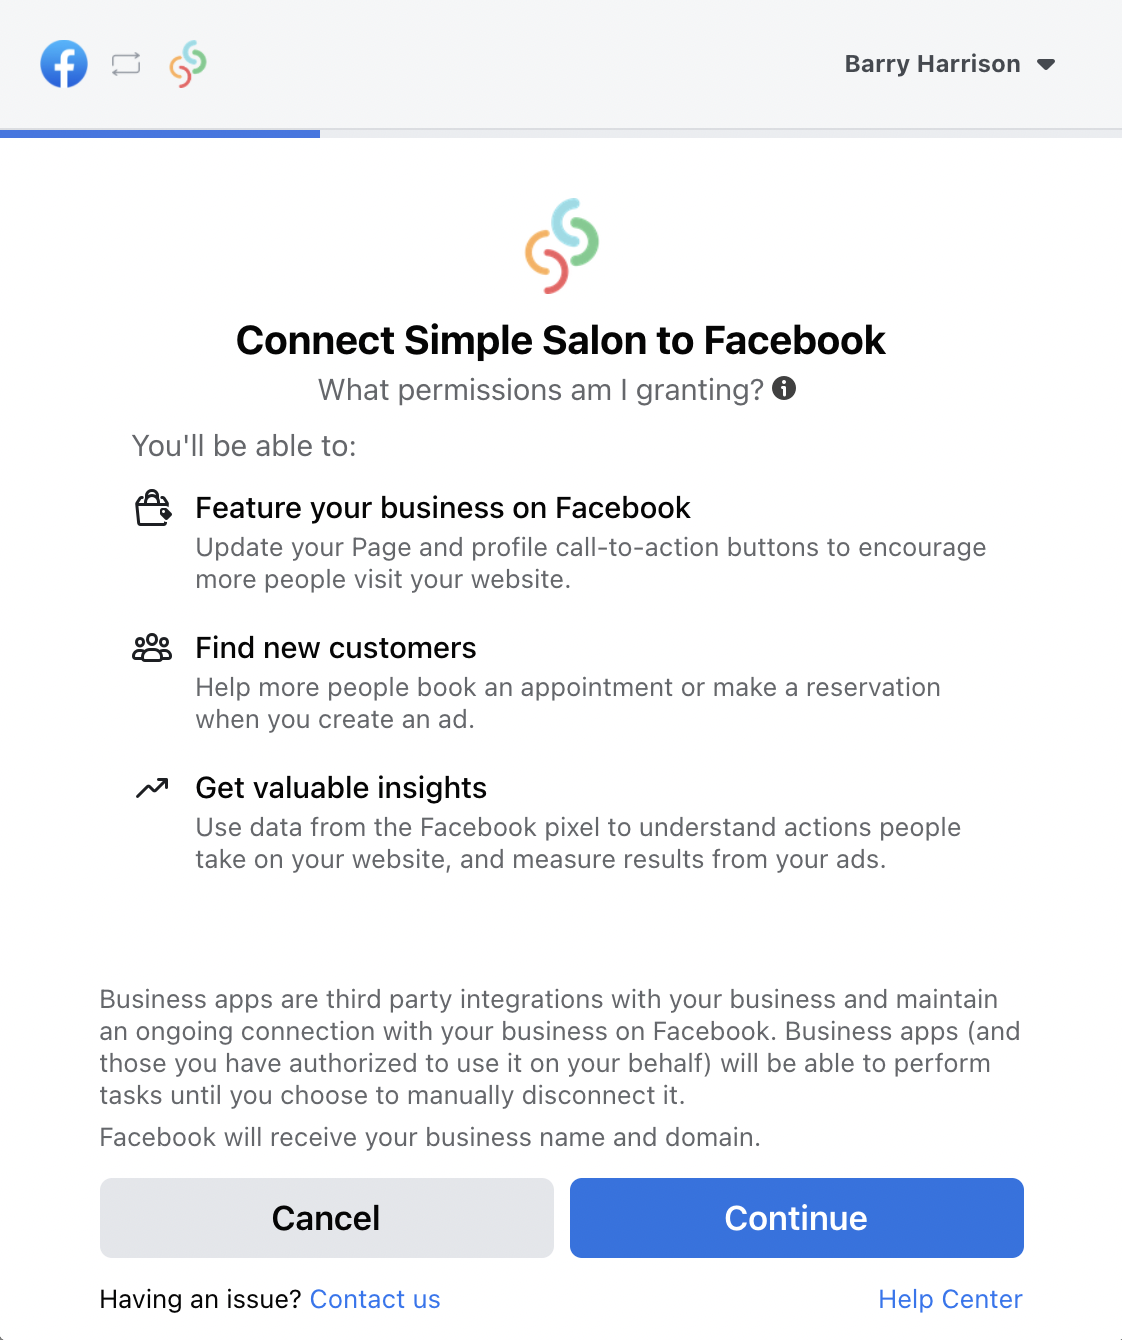
5. On the next screen click Continue.
6. At the step you might be prompted to create names for your Business Manager, Ad Account and Facebook Pixel. If so, please follow the steps from 6(a) - 6(g). If you have already created names for these, you can go to Step 7.
6(a). Replace the highlighted text with your business name, ensure you remove the dash (-). Click Continue.
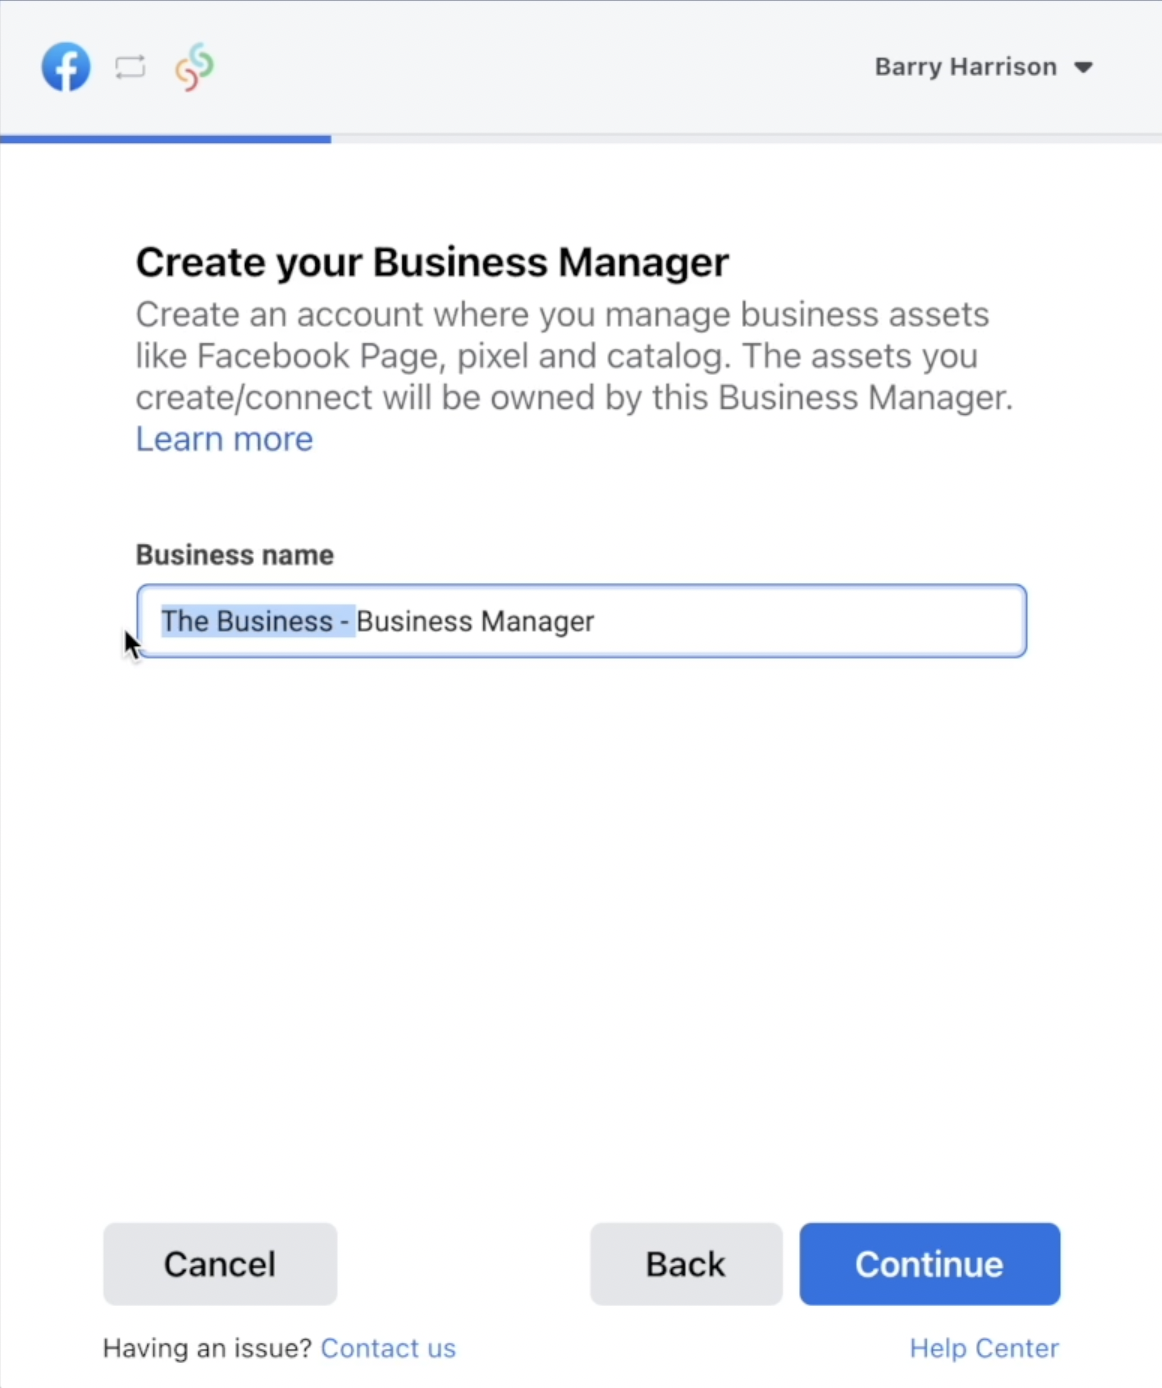
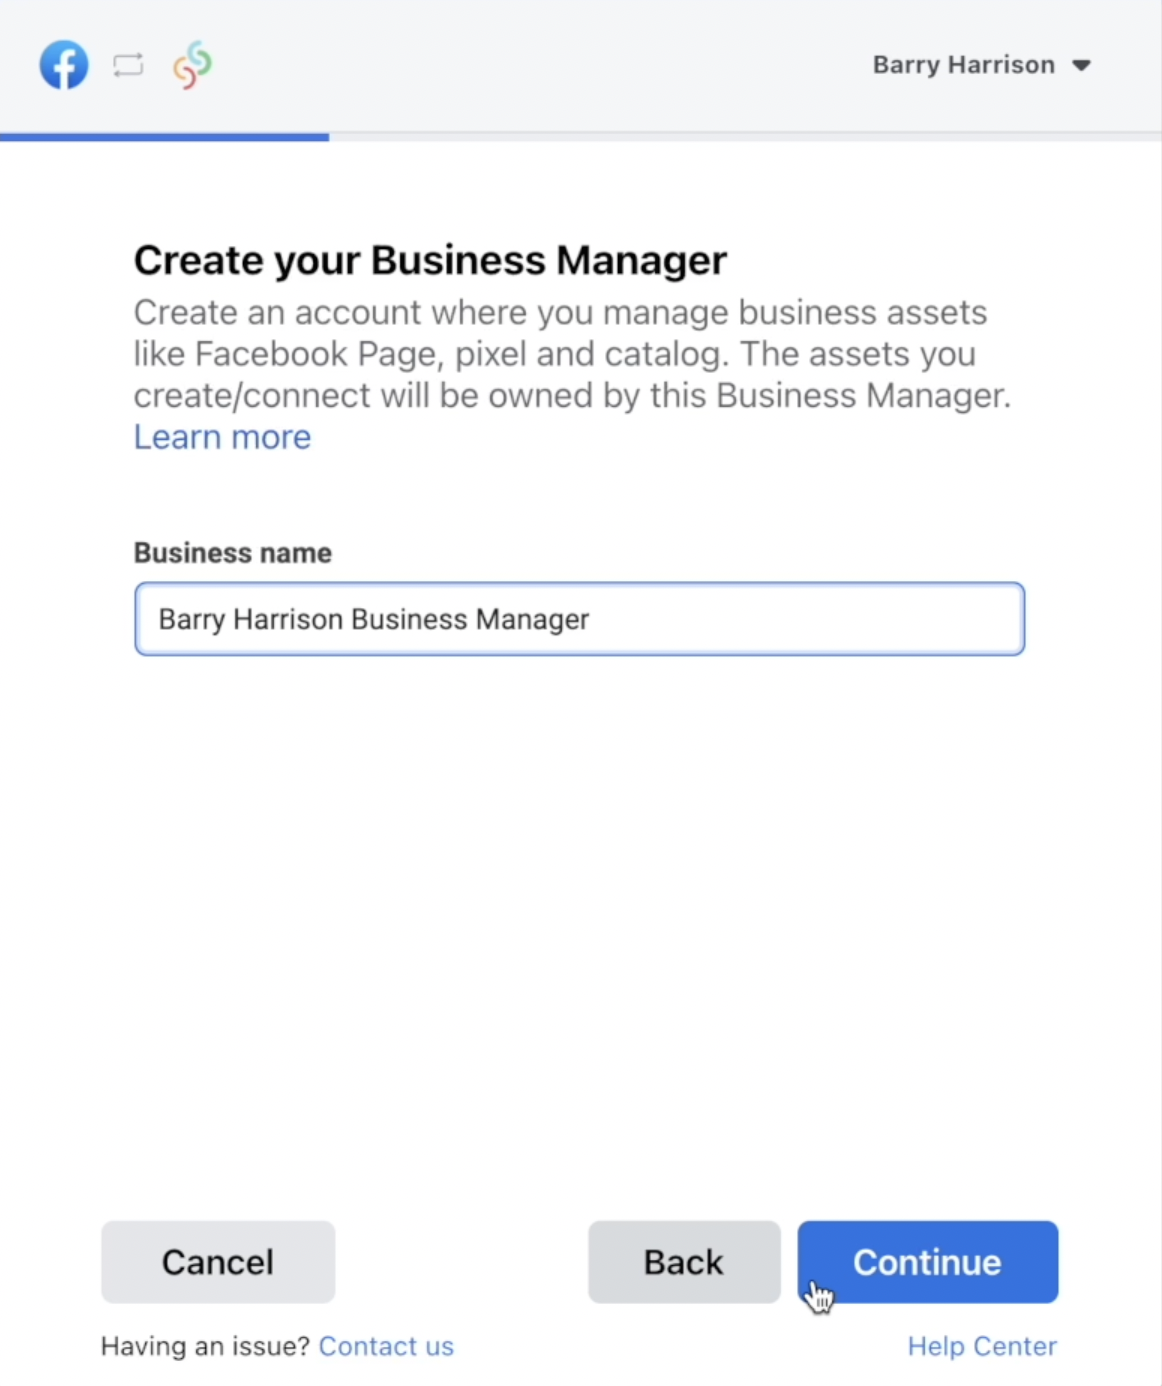
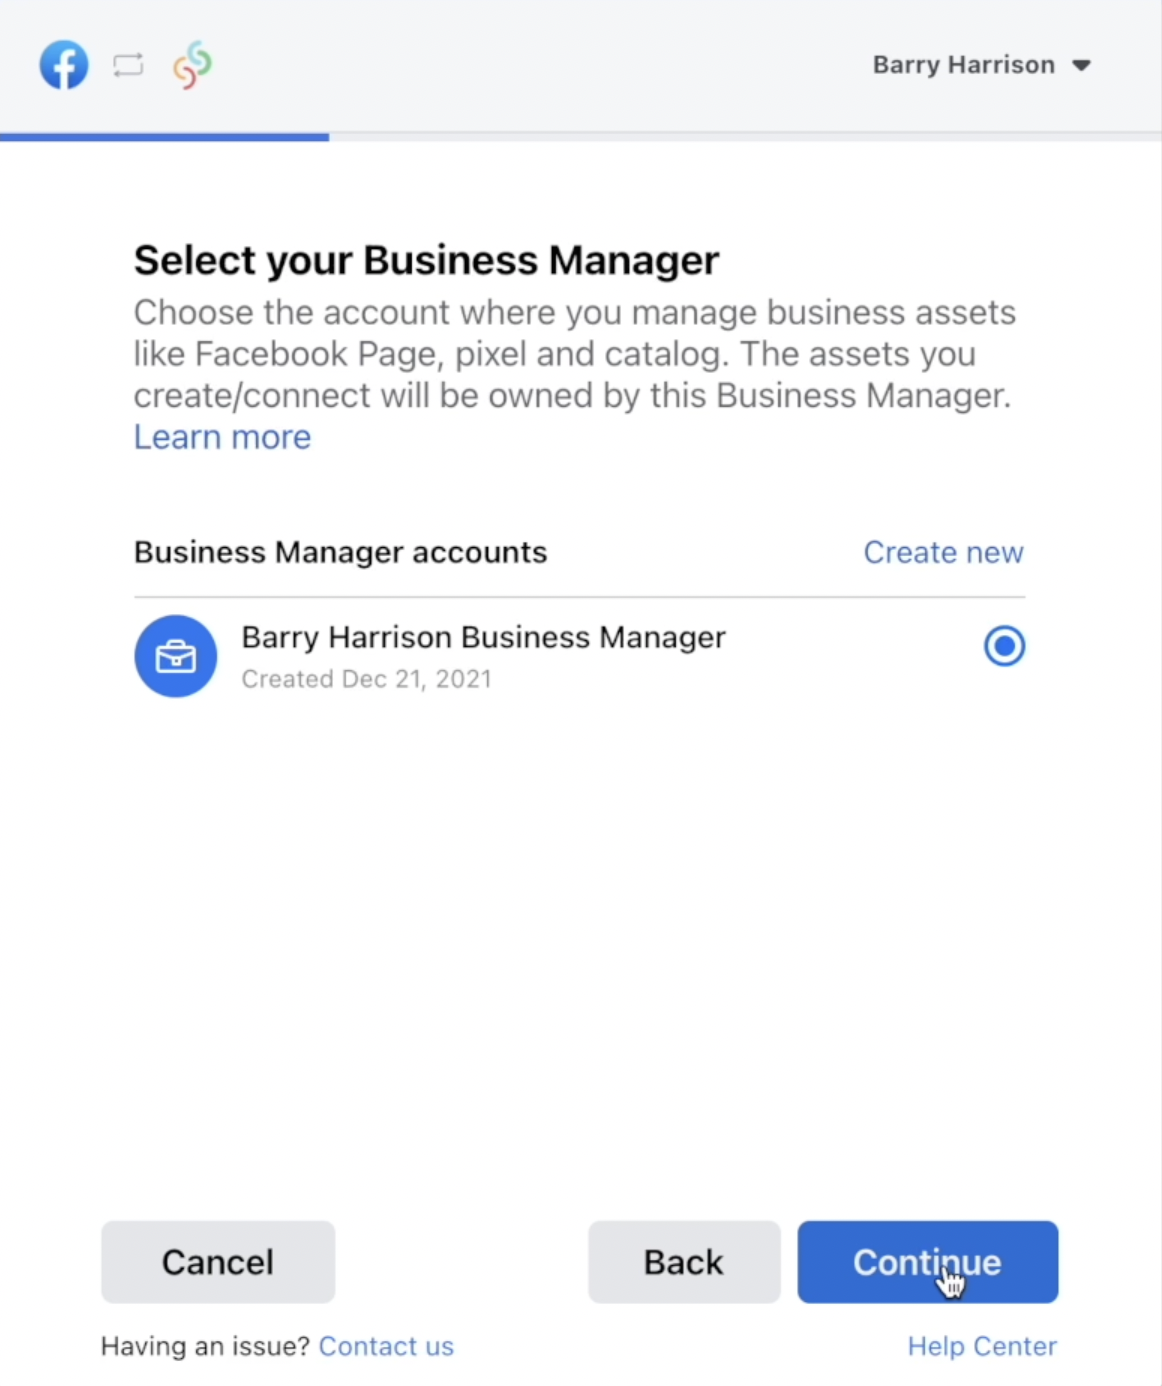
6(b). Choose the Business Manager account you just named and click Continue.
6(c). Click Create New if you haven't already got an Ad Account to choose. Create Ad Account by replacing the highlighted text with your business name, ensure you remove the dash (-). Click Continue.
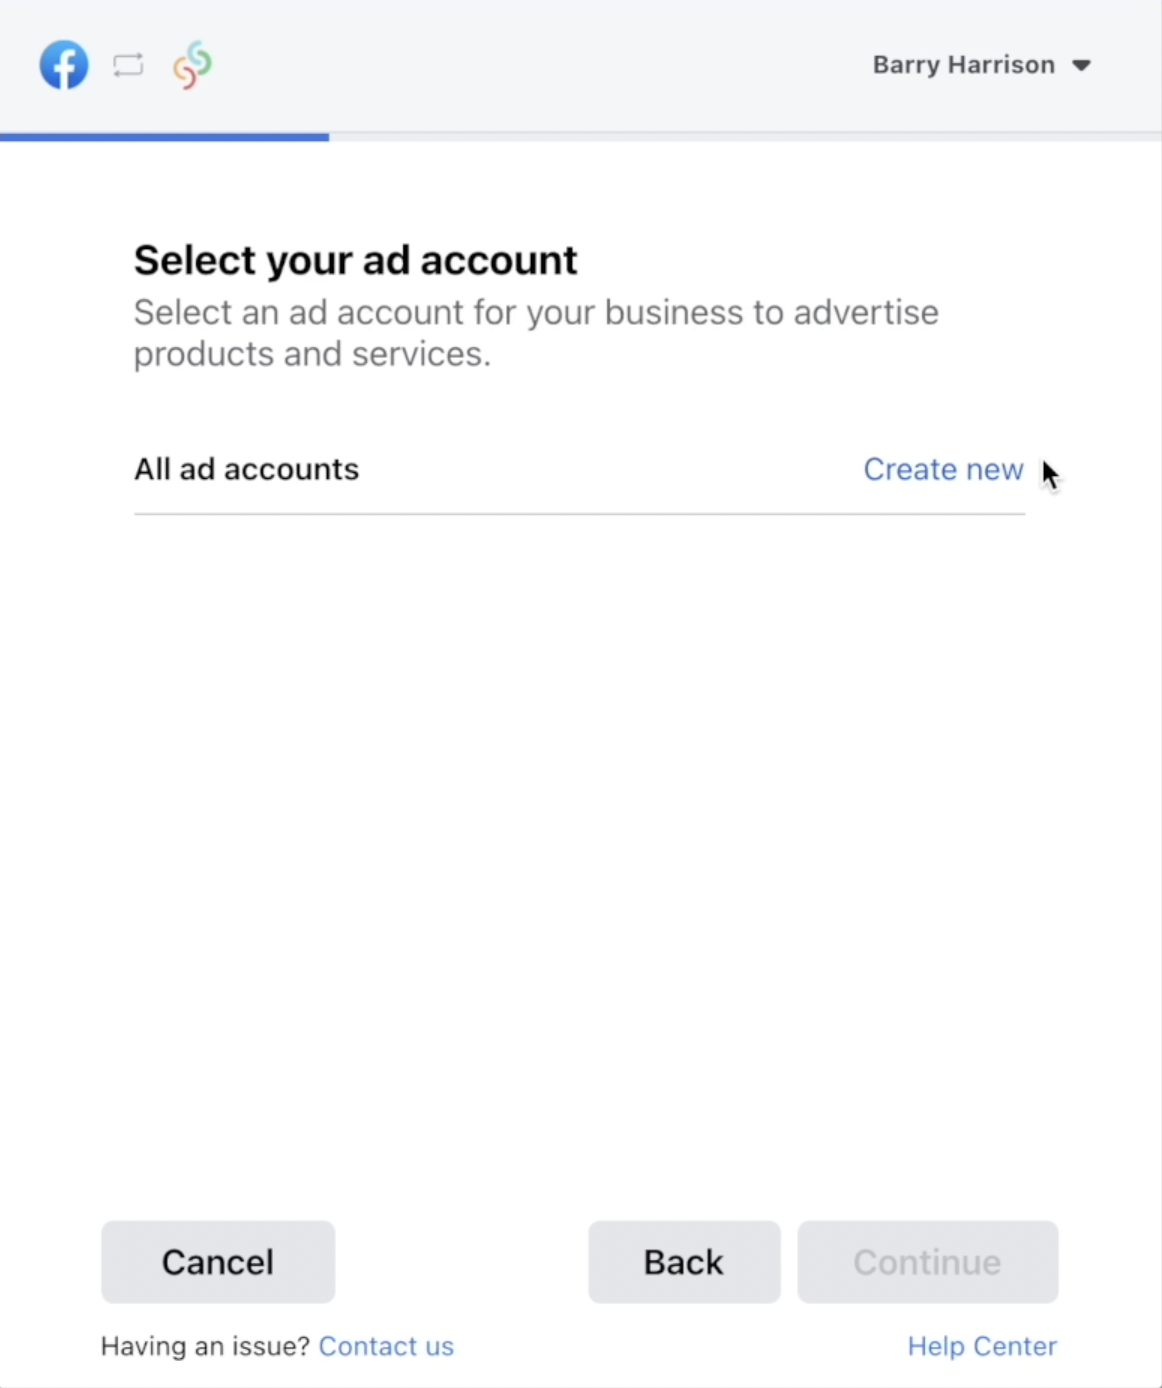
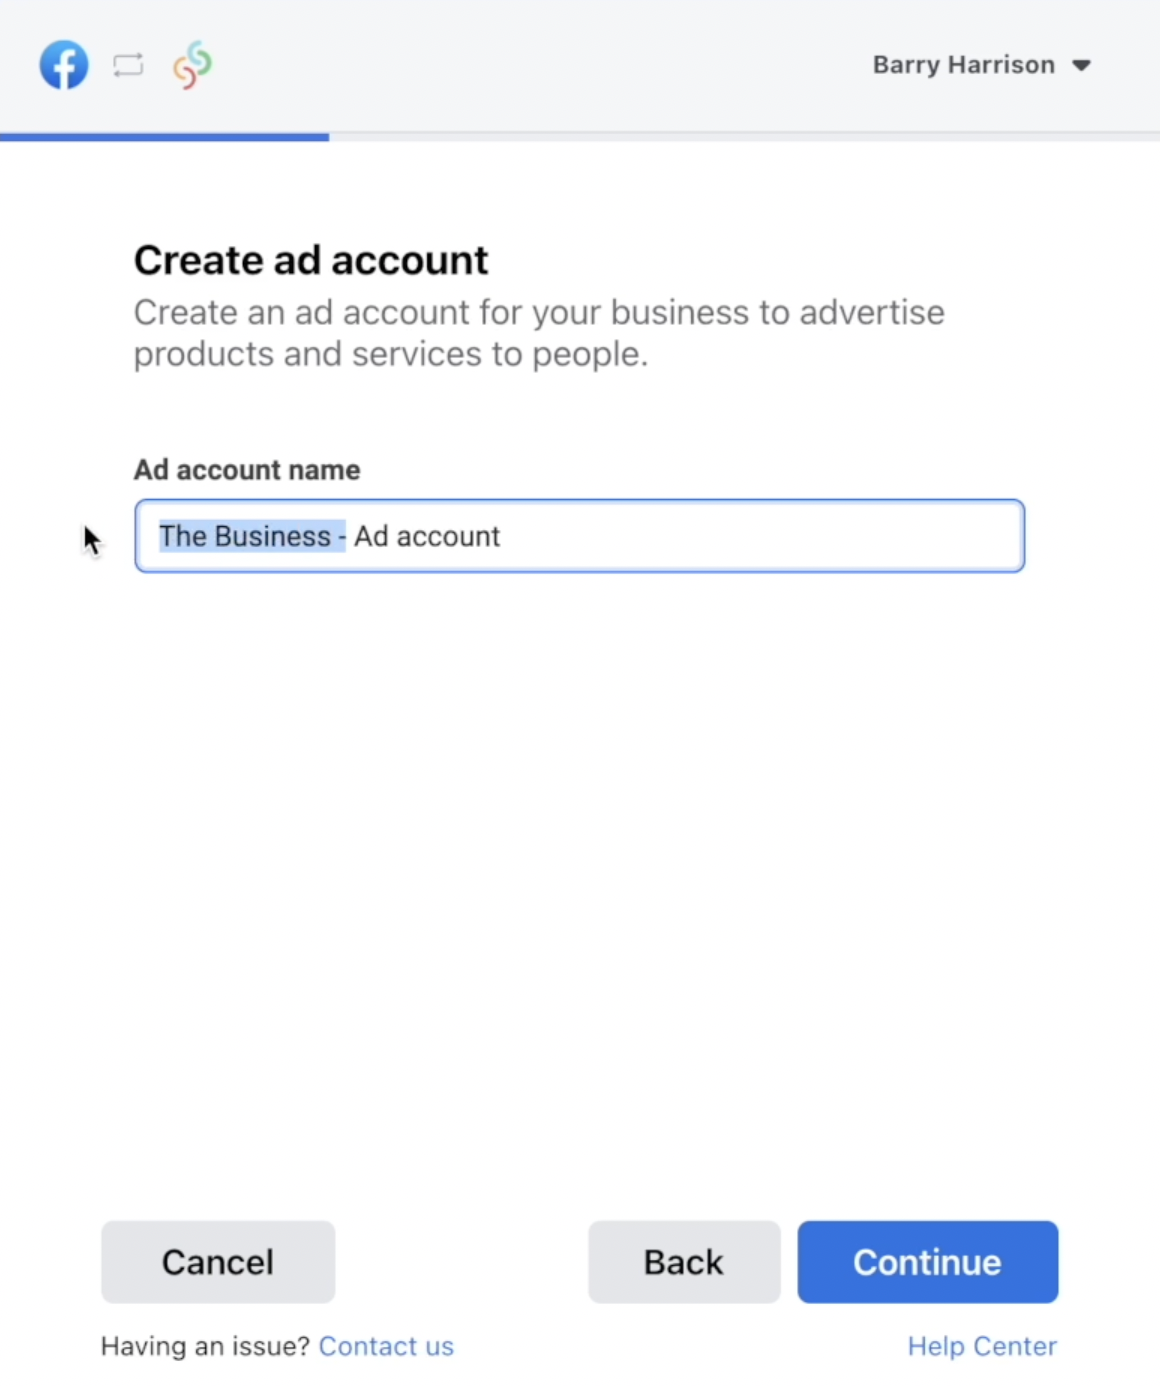
6(d). Choose the Ad Account you just named and click Continue.
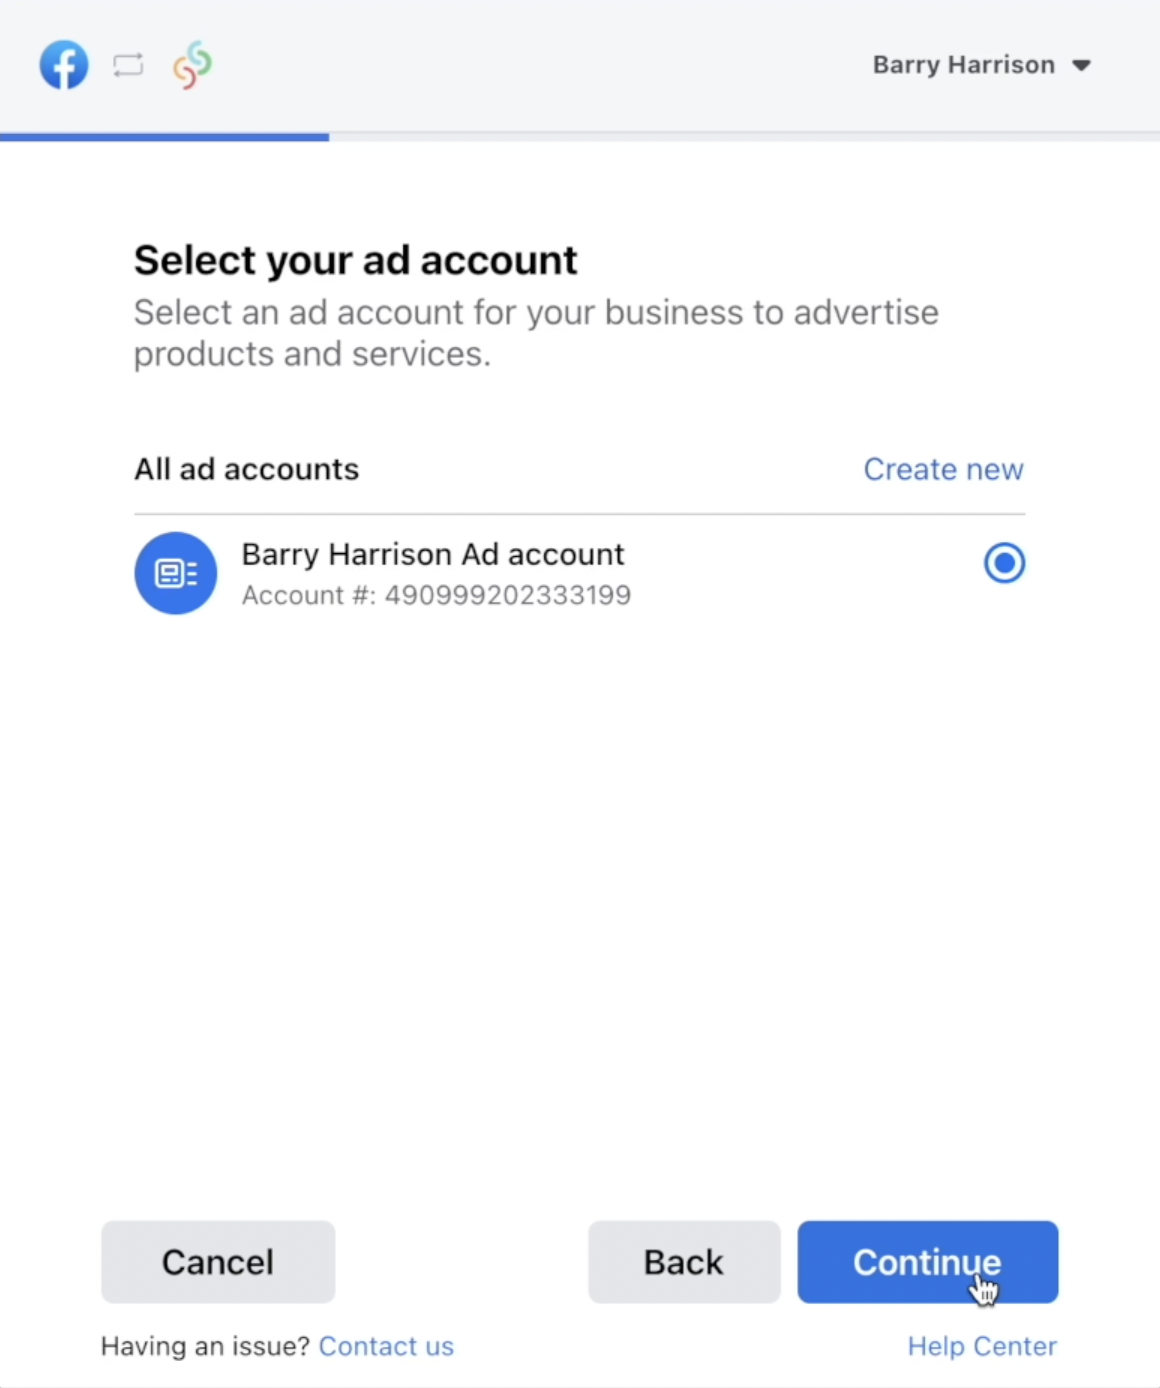
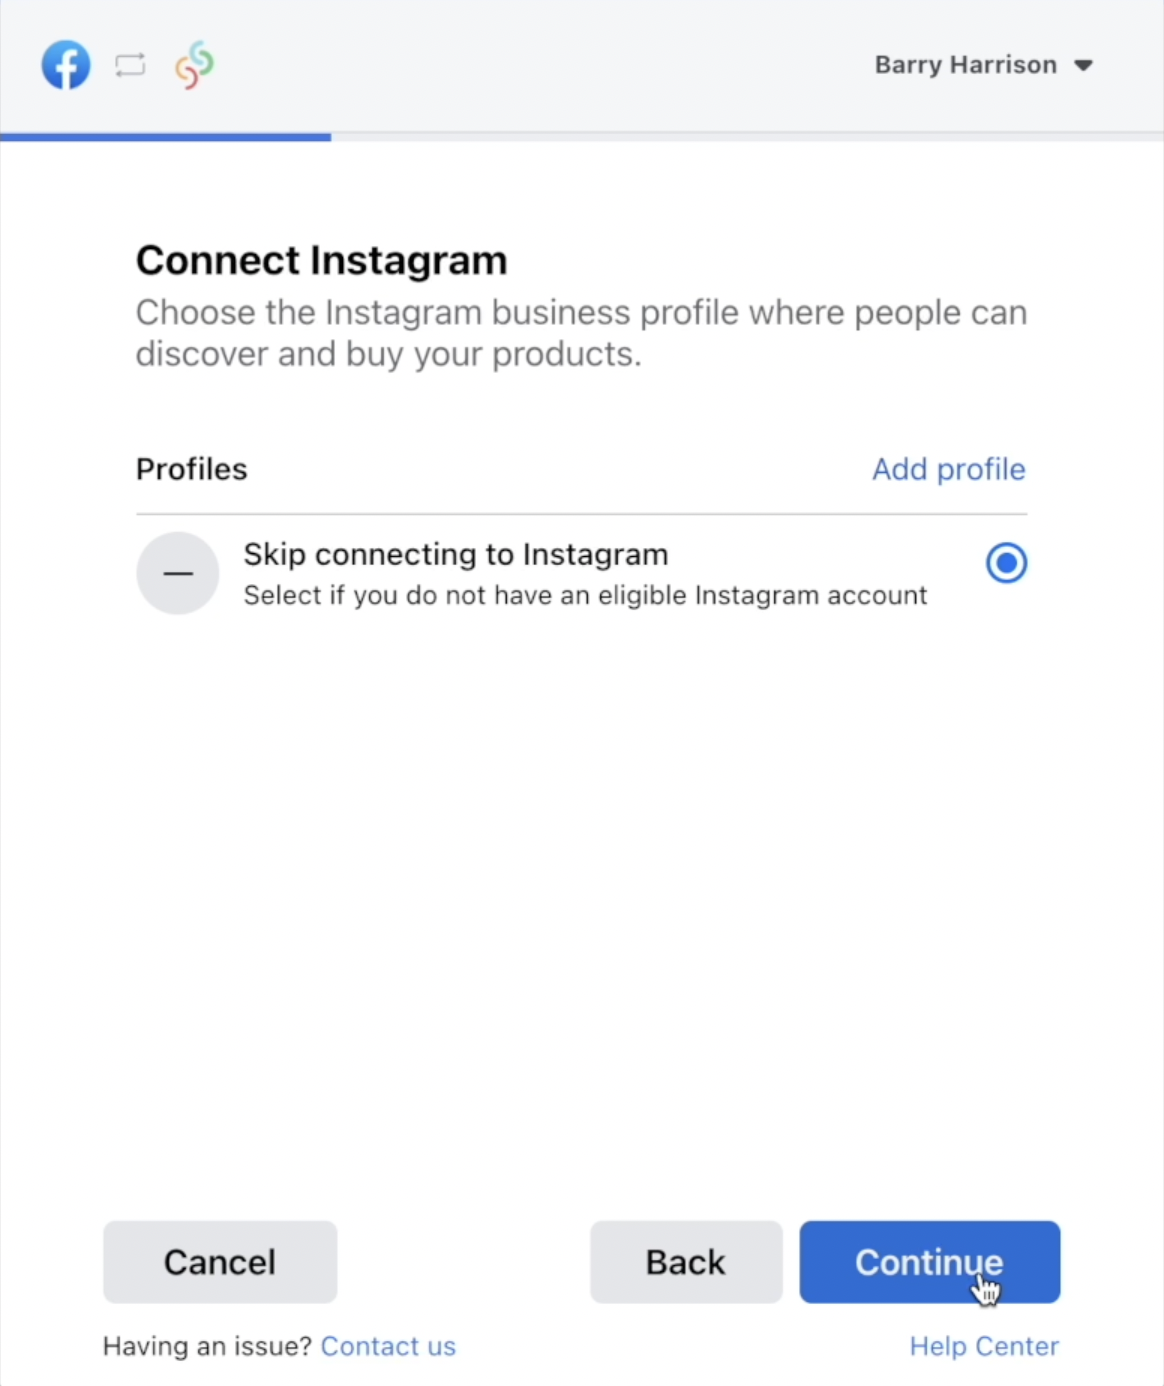
6(e). On the next screen choose the Skip connecting to Instagram option, then click Continue.
(Note: If you want to add a Book Now button to your business Instagram account, there is a different way to do it, we will show you how via the link at the bottom of this article, but first you'll need to complete the steps in this article.)
6(f). Click Create New if you haven't already got an Facebook pixel to choose. Create Facebook pixel by replacing the highlighted text with your business name, ensure you remove the dash (-). Click Continue.
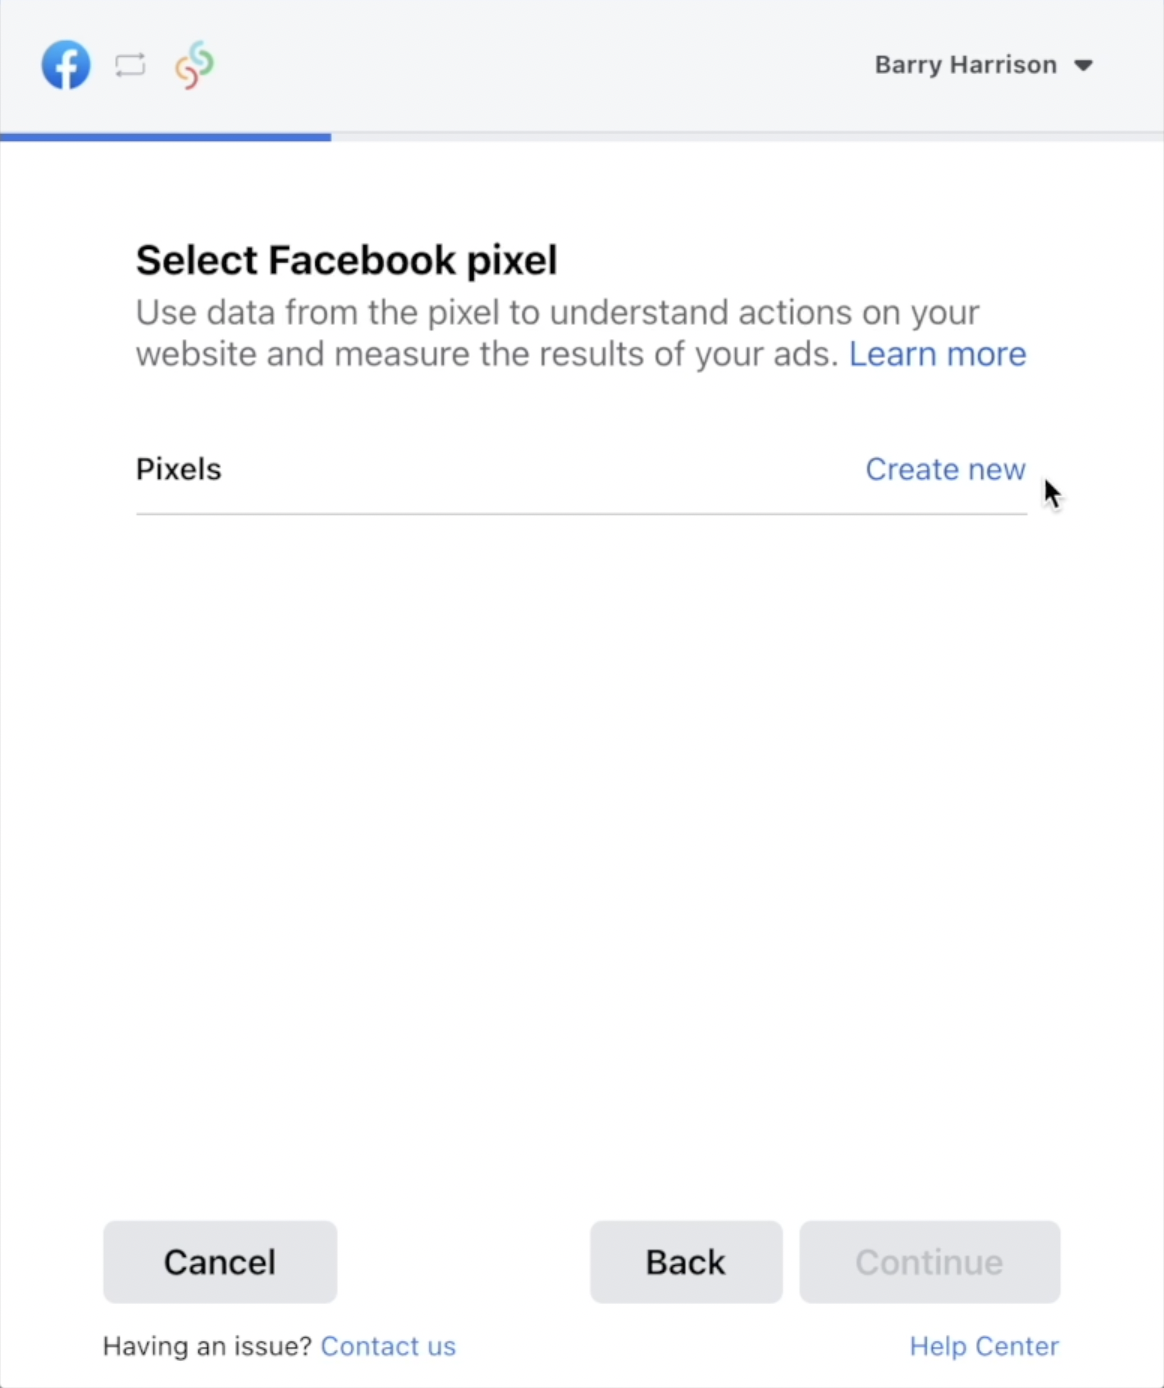
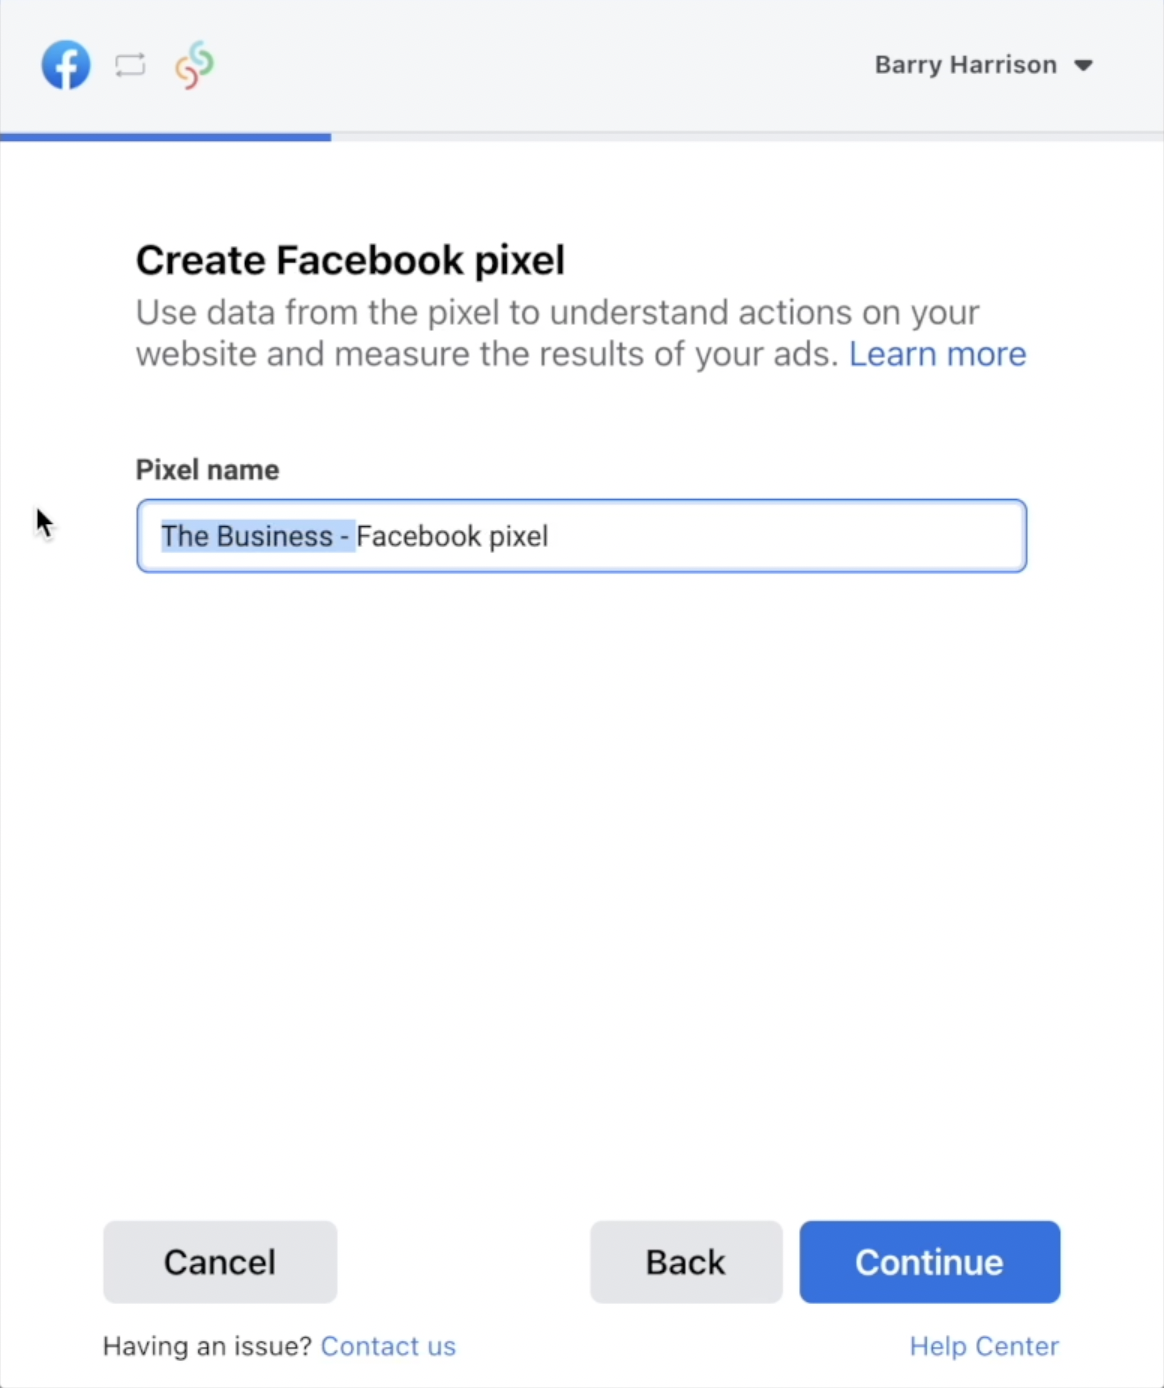
6(g). Choose the Facebook pixel you just named and click Continue.
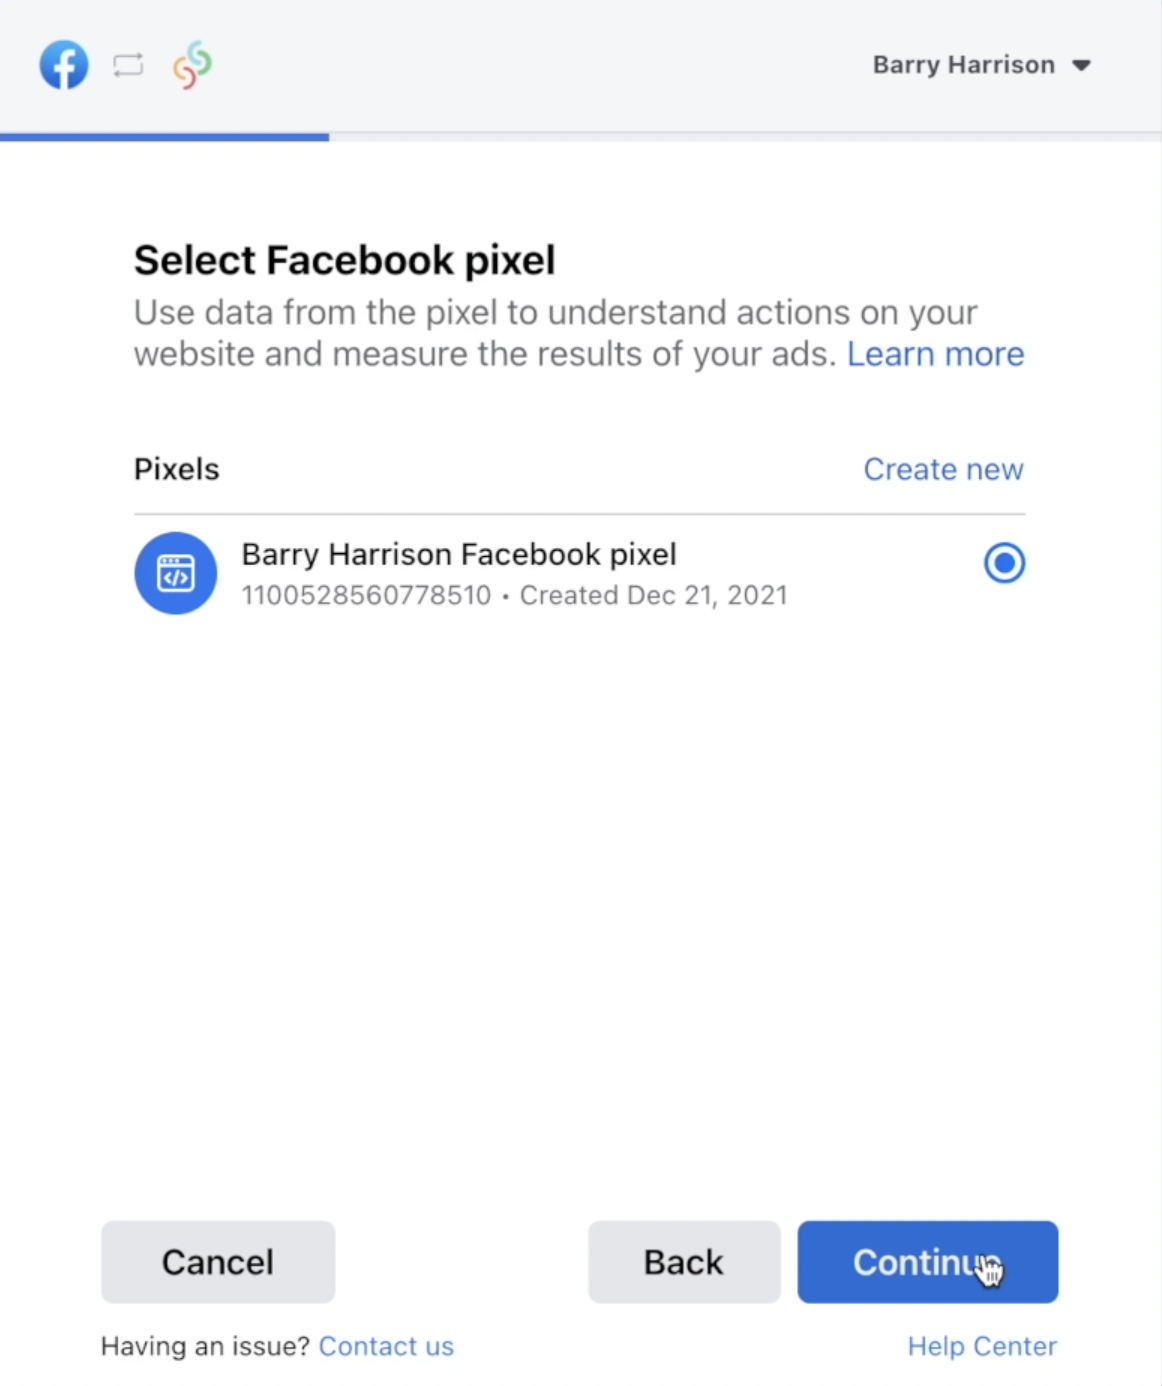
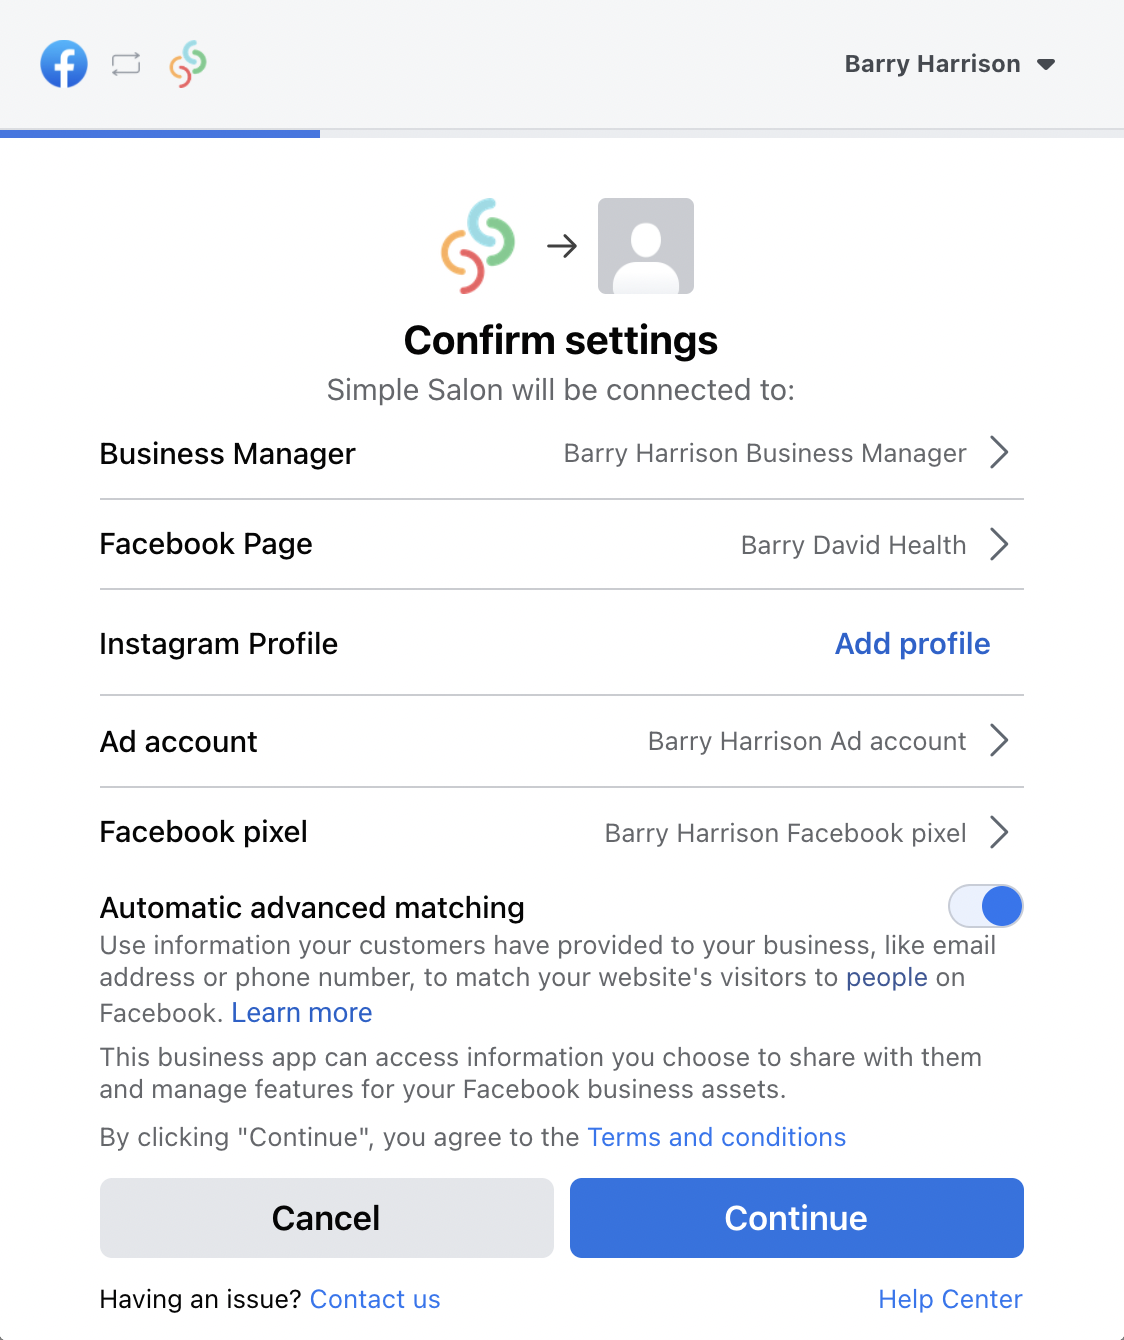
7. Once you have your Business Manager, Facebook Page, Ad Account and Facebook pixel settings named and set (it will look like the screenshot below but with your business name), click Continue.
8. On the next screen click Next.
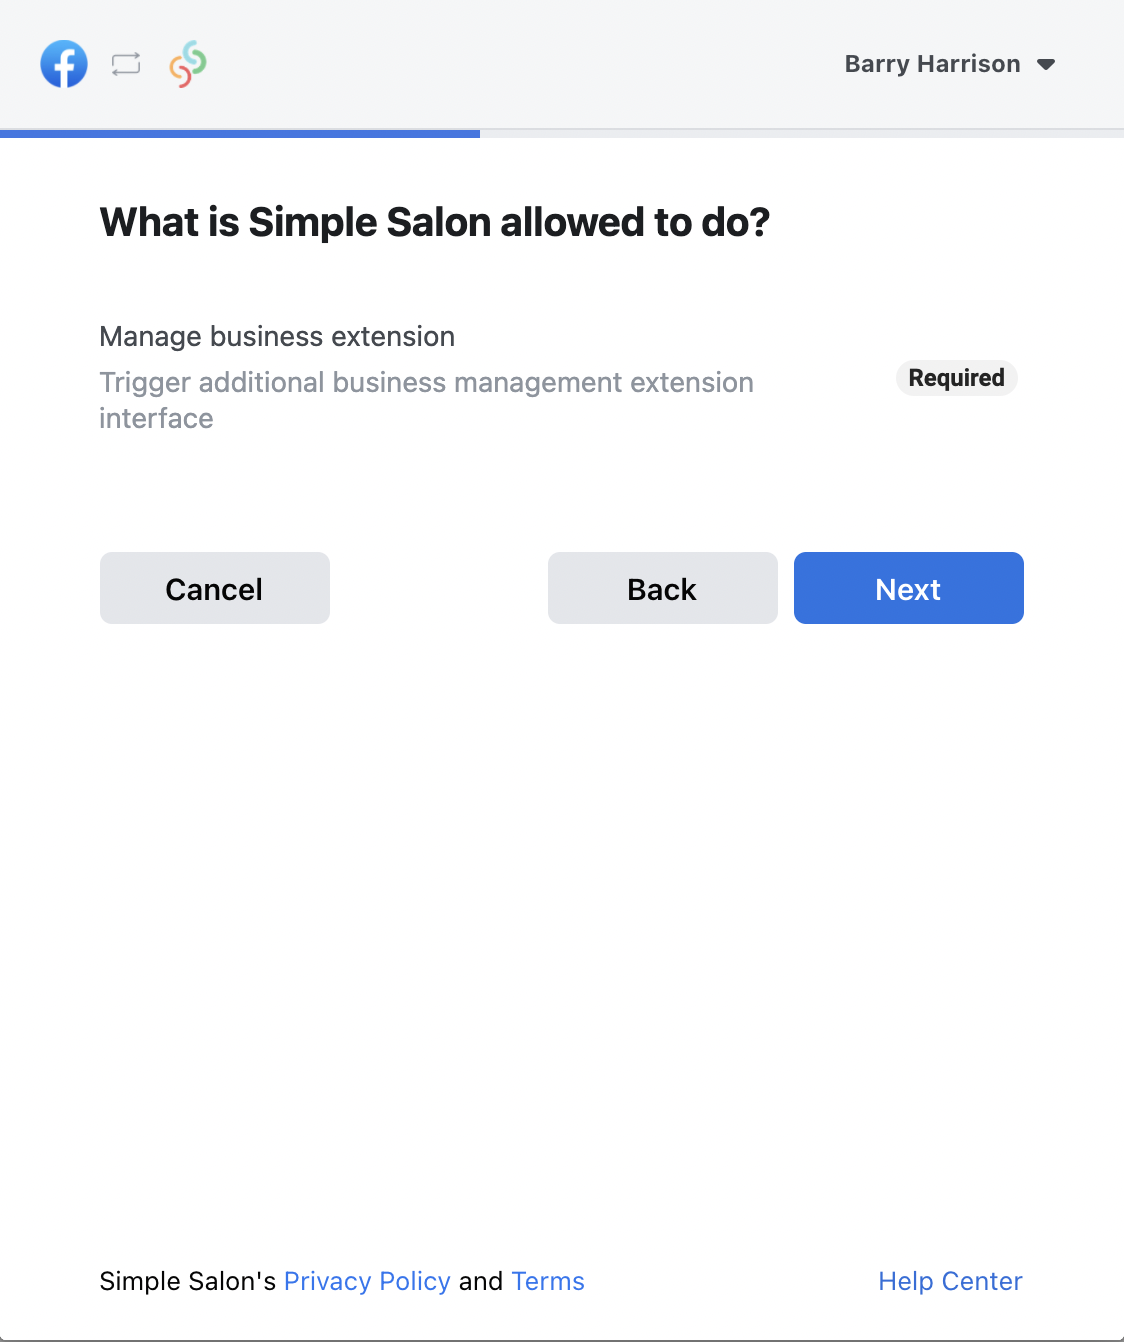
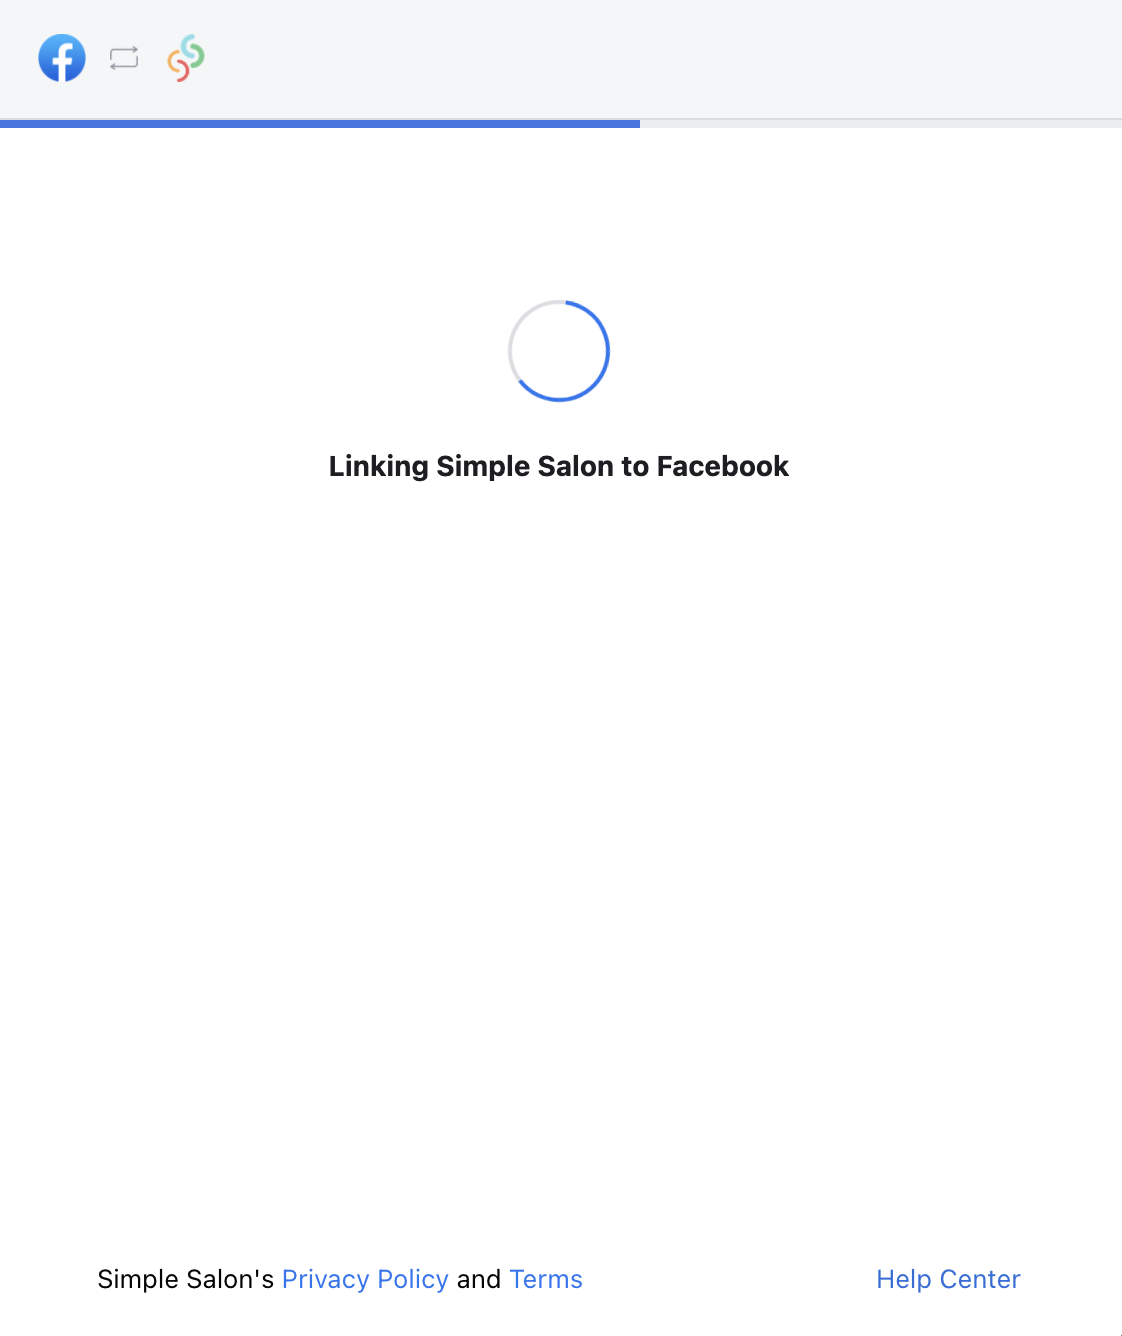
9. Wait a few moments while it links your Simple Salon account to your Facebook account.
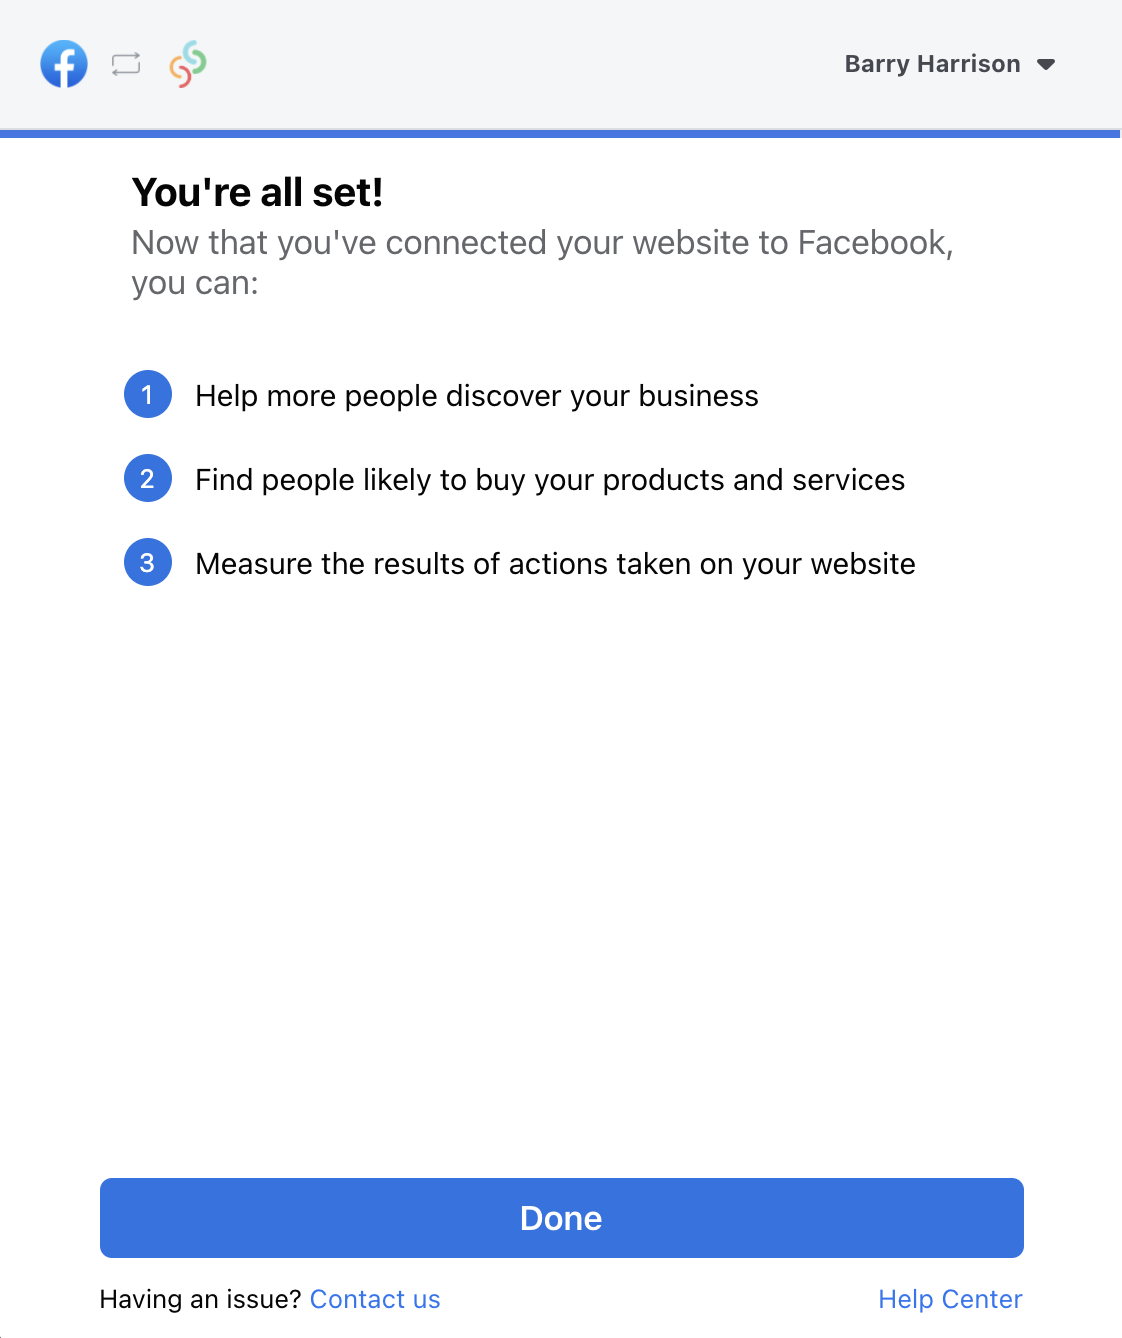
10. You're all set. Click Done.
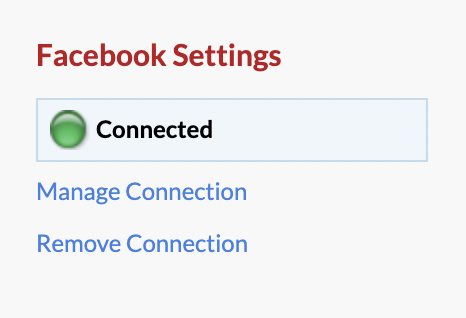
11. You'll be taken back to your Simple Salon account where it will say Connected on the right side panel.
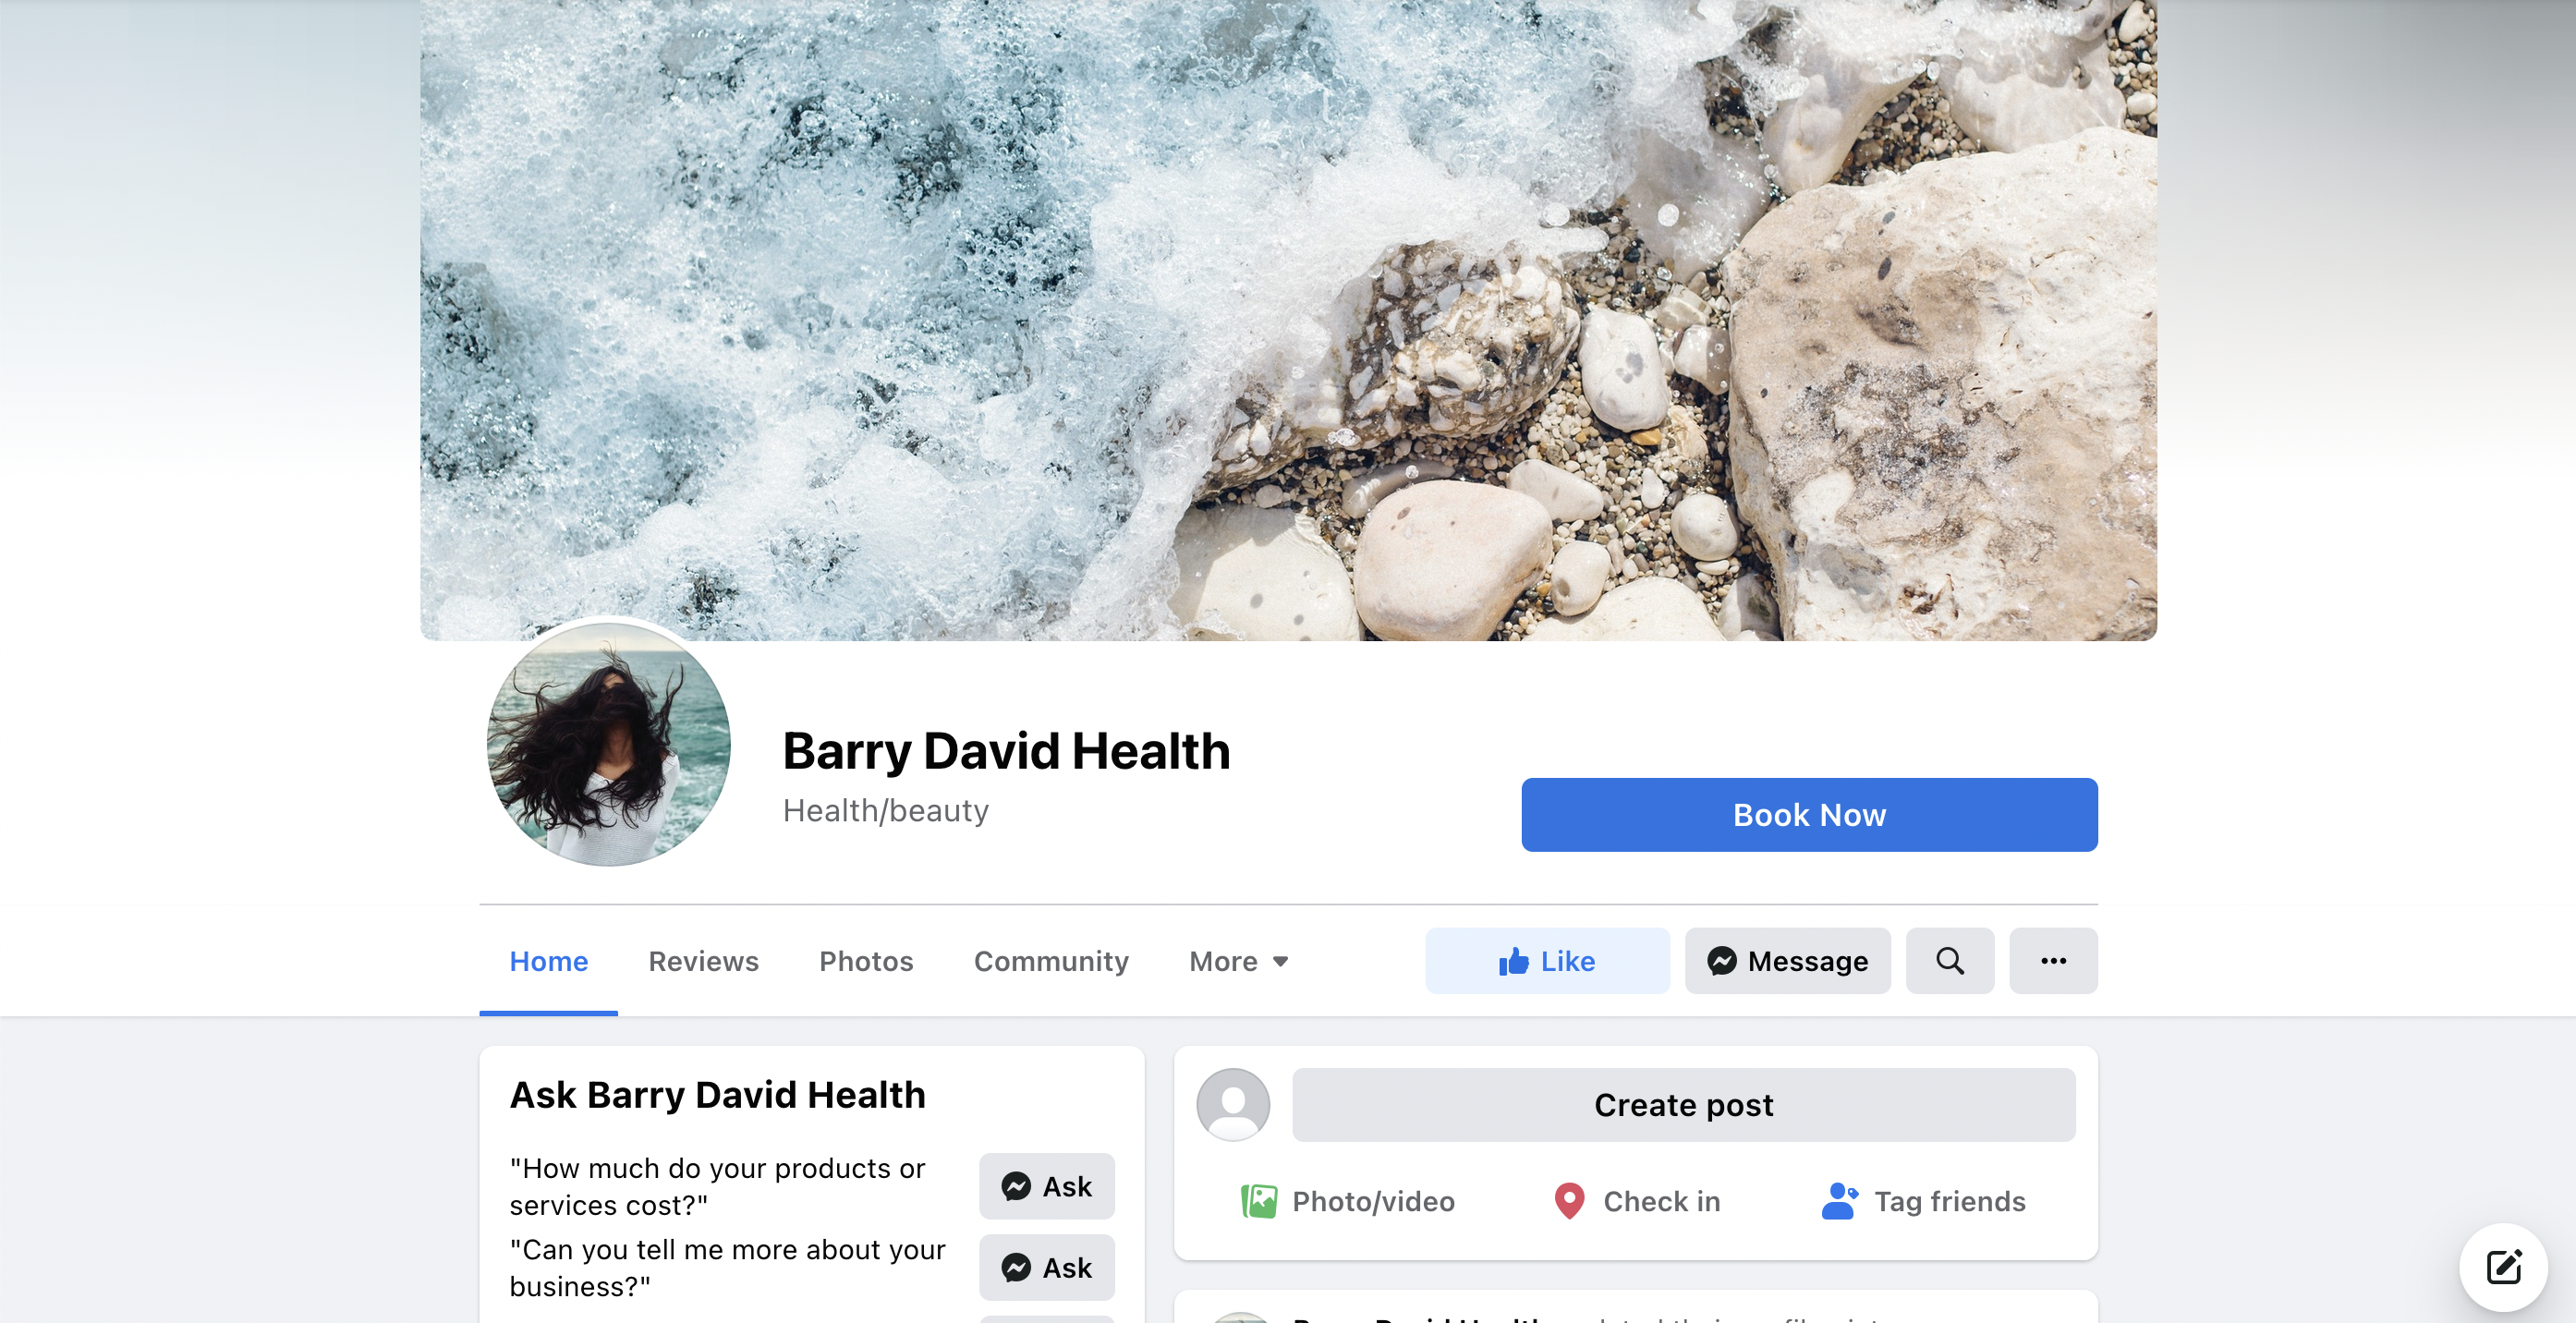
Here's what it will look like for your client's when they go to your Facebook page—they will see a nice big Book Now button. When they click it, it will take them to your Simple Salon online booking platform.
If you would also like to add a Book Now button to Instagram, you can do so only after you've completed the steps in this article and added the Book Now to Facebook. Click here to see how to also add a Book Now button to Instagram.
If you have any question you can send them to us from the Help & Support page and we'll get back to you promptly.