In this article we will explore how to create and edit forms in your Simple Salon account. Forms can be quickly created from a template, then adjusted to uniquely match your business.
Digital forms can be conveniently signed and securely stored in the client's profile, allowing for easy retrieval whenever needed.
Say goodbye to the hassle of paper forms and hello to the convenience of digital forms!
We will take you through the following:
Creating a New Form
1. Go to Admin
2. Then the Lists tab
3. Click the Select List dropdown menu, and choose Forms
4. Click the New button to the right:
5. In the Form Details, first give your form a Name:
6. Decide if you want to enable Auto Lock:
- If Auto-Lock is disabled, clients can update and resubmit their form answers, which will overwrite any previous responses.
- If Auto-Lock is enabled, the form will automatically lock after the client submits it, making it non-editable.
7. Choose your Starting Template by clicking Select...
You can start with a Blank Form, or you can start using one of our premade templates:
Click Save to start editing your form:
You will be taken over to the Form editor to start making changes!
Editing Forms
To add various sections to your form, you can click or drag the different options available in the Toolbox, located on the right-hand side of the screen.
If you click on these items, it will add the section directly onto the Form.
You can keep clicking on different items in the Toolbox to add them to the form one after the other, like so:
If instead you drag an item from the Toolbox, you can place it anywhere on the form.
For example, you might have two sections already placed - so you can drag another section inbetween them:
Once you've placed a section on the form, you'll notice the following three buttons:
The first button allows you to Edit the section.
The second button will Delete the section from the form.
The last button allows you to Move the section around the form. Simply click and drag as needed.
Let's go through the items that you will be using the most:
Header Text
You can use this to let your clients know what the form is about, or to put your business name at the top of the form.
Simply press the Edit button to customise as needed using the text editor:
Paragraph
You can use this to add a sentence, or a few words to your form that you want your clients to read.
Simply press the Edit button and you can customise as needed using the text editor:
If you want to add a link to any of the text - highlight the text and then click the link button, like so:
Enter in the URL link into the Link Target section.
Choose if you want the link to open in a new window, and then click Add.
Line Break
This will add a line break to separate information.
It can make things easier to digest when the form is sectioned off, like so:
Dropdown
This allows clients to choose one option from a list of options displayed in a dropdown menu, like so:
Once you've added the section to the form, press the Edit button.
Under Display Label, customise your question as needed:
Then under Options, enter in the options you want clients to pick from.
Use the plus (+) and minus (-) buttons to add or remove options from the drop-down menu:
Tags
This allows clients to select multiple answers from a list of options via a drop-down menu:
Each time they select from the drop-down menu, it adds a tag. They can continue selecting from the drop-down menu until all relevant options are listed.
Once you've added the section, click Edit.
Under Display Label, customise your question as needed:
Then under Options, enter in the options you want clients to pick from:
Checkboxes
Client can choose multiple answers from a list of options:
Press the Edit button to make changes once you've added the section to the form.
Under Display Label, customise your question as needed:
Then under Options, enter in the answers you want clients to pick from:
Use the green plus (+) buttonto add more options in or the red minus (-) to remove.
Multiple Choice
Client can choose one answer from a list of options:
After pressing the Edit button you can rename (and add) options.
First under Display Label, customise your question as needed:
Then under Options, enter in the answers you want clients to pick from:
Use the green plus (+) button to add more options in or the red minus (-) to remove.
Text Input
This allows clients to enter in text:
They can write whatever they want, so you can ask for specific information, say in the event the multiple choice doesn't suit the question.
Click Edit once you've added the section to the form.
Under Display Label customise the question that you want clients to answer:
Multi-line Input
This works the same as Text Input, but it allows the client to write multiple lines of text.
The size of the text box will get longer as they are typing:
Click the Edit button then under Display Label, customise your question as needed:
Image
This allows you to link to an image that is hosted on the internet (it can't be uploaded from your device).
For example, if you right click an image on your website (e.g. website logo)
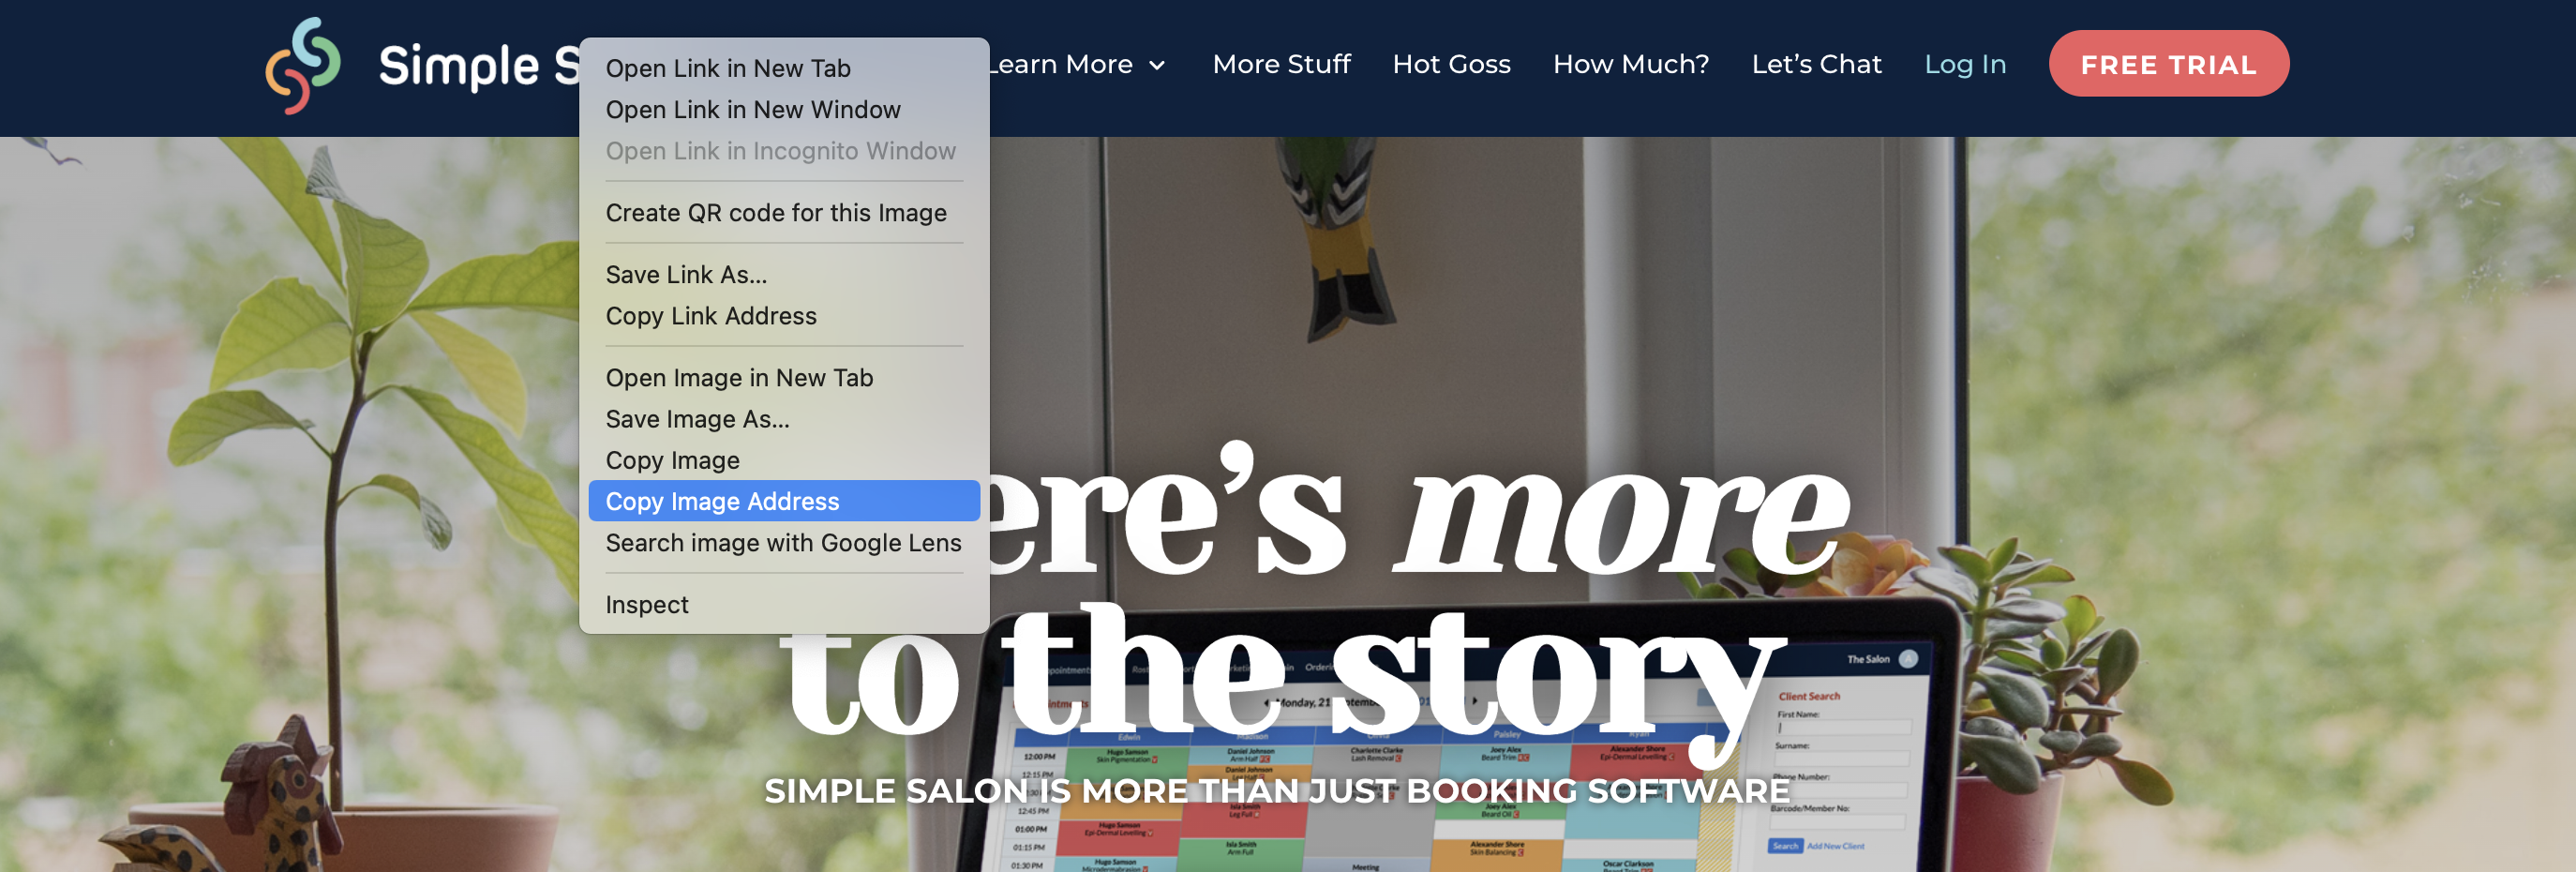
You'll be able to choose Copy Image Address, Copy Image URL or Copy Image Location (it will say something like that).
Once you have your Image URL, click Edit on the Image building block:
Next, paste your Image URL into the Link To section.
You can also adjust the Width and Height of the image. Play around with different dimensions to see what looks best:
Rating
This allows the client to choose between 1 - 5 stars:
Click Edit then under Display Label, enter in the question or statement:
Date
Allows the client to select a date from a calendar:
Signature
Allows the client to sign by drawing on their device in the box provided:
Range
Allows the client to select from a range of numbers.
For example, you may ask "On a scale of 1-10, how satisfied are you with our product?"
The range would be from 1 (the lowest level of satisfaction) to 10 (the highest level of satisfaction), and the client would choose a number within that range to indicate their level of satisfaction.
Click Edit, then under Display Label, enter in the question or statement:
Enter in the Names that will be on either end of the range (you can also change what Min and Max numbers display on the range):
Camera
This allows the client to upload an image to the form:
Add a description by pressing Edit, and let the client know what photo they need to upload in the Display Label:
To learn more about what you can do with forms in Simple Salon, you can check out our Forms Overview.