Initial Setup
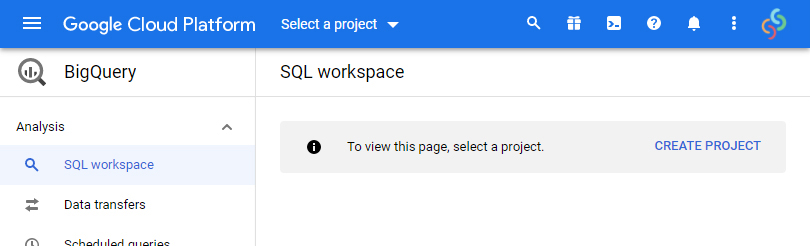
1. Create an account with Google BigQuery at https://console.cloud.google.com/bigquery
2. You will be prompted to Create Project if you have not used Google Cloud before: enter a project name and continue.
3. Once your own project is created, please provide us with the email address of your account, so that we can grant you access to your company's data. Your BigQuery email address can be found by hovering over your user icon at the top right of BigQuery.
After providing us with your email address, you will be given a Project name to use in the rest of the instructions.

4. After you've received your Project name from us, open up https://console.cloud.google.com/bigquery again.
5. In BigQuery, in the left column, next to the Explorer heading, there is an 'Add Data' button. Click that button, then hover over 'Pin a Project', then click 'Enter project name'.
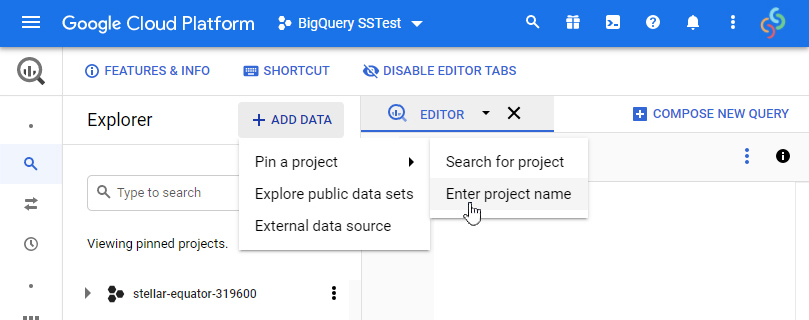
6. Enter the Project name given to you in Step 3. Then click 'Pin'.
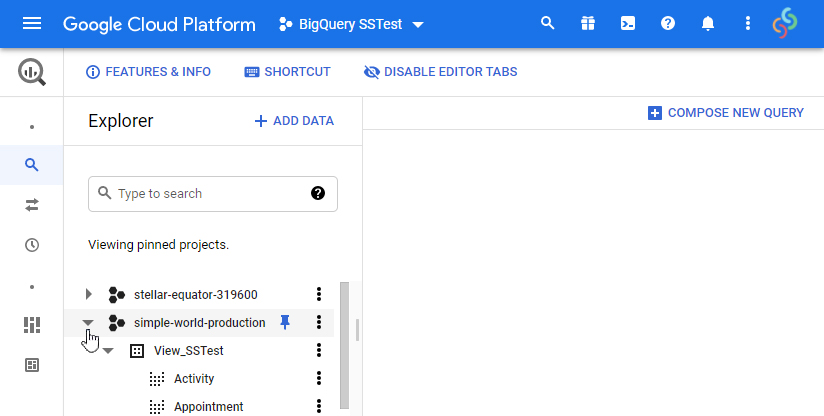
7. The new project now appears on the left, underneath your own project. Click the arrow to the left of the project name to view the data tables available to you.
Usage
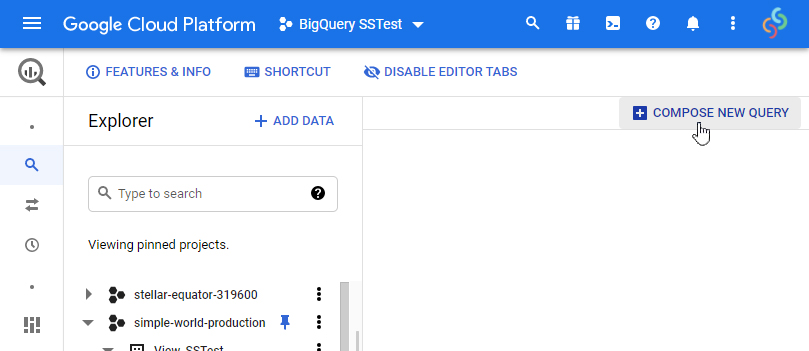
Once you've completed the Initial Setup, you can now write queries to view the data. Click 'Compose Query' to open the query entry box.
Here is an example query to view all clients with the firstname "Pam":
SELECT * FROM `your-project-name.View_YourCompany.Client` WHERE FirstName='Pam'
Copy the query text into the blank text area of the Editor tab, and click Run. The results will appear below the query text:

The cost of queries will be charged to your account by Google - you can view pricing details here: https://cloud.google.com/bigquery/pricing.
You can view how much data a query will process before running it by viewing the note next to the green tick, above your query text at the right - see the previous screenshot example, where it says "This query will process 66.5 KiB when run."
If you copy data to tables in your own project, the cost of that storage will also be charged to your account.
Note: Data is synced at certain intervals in the day, it is not real time.
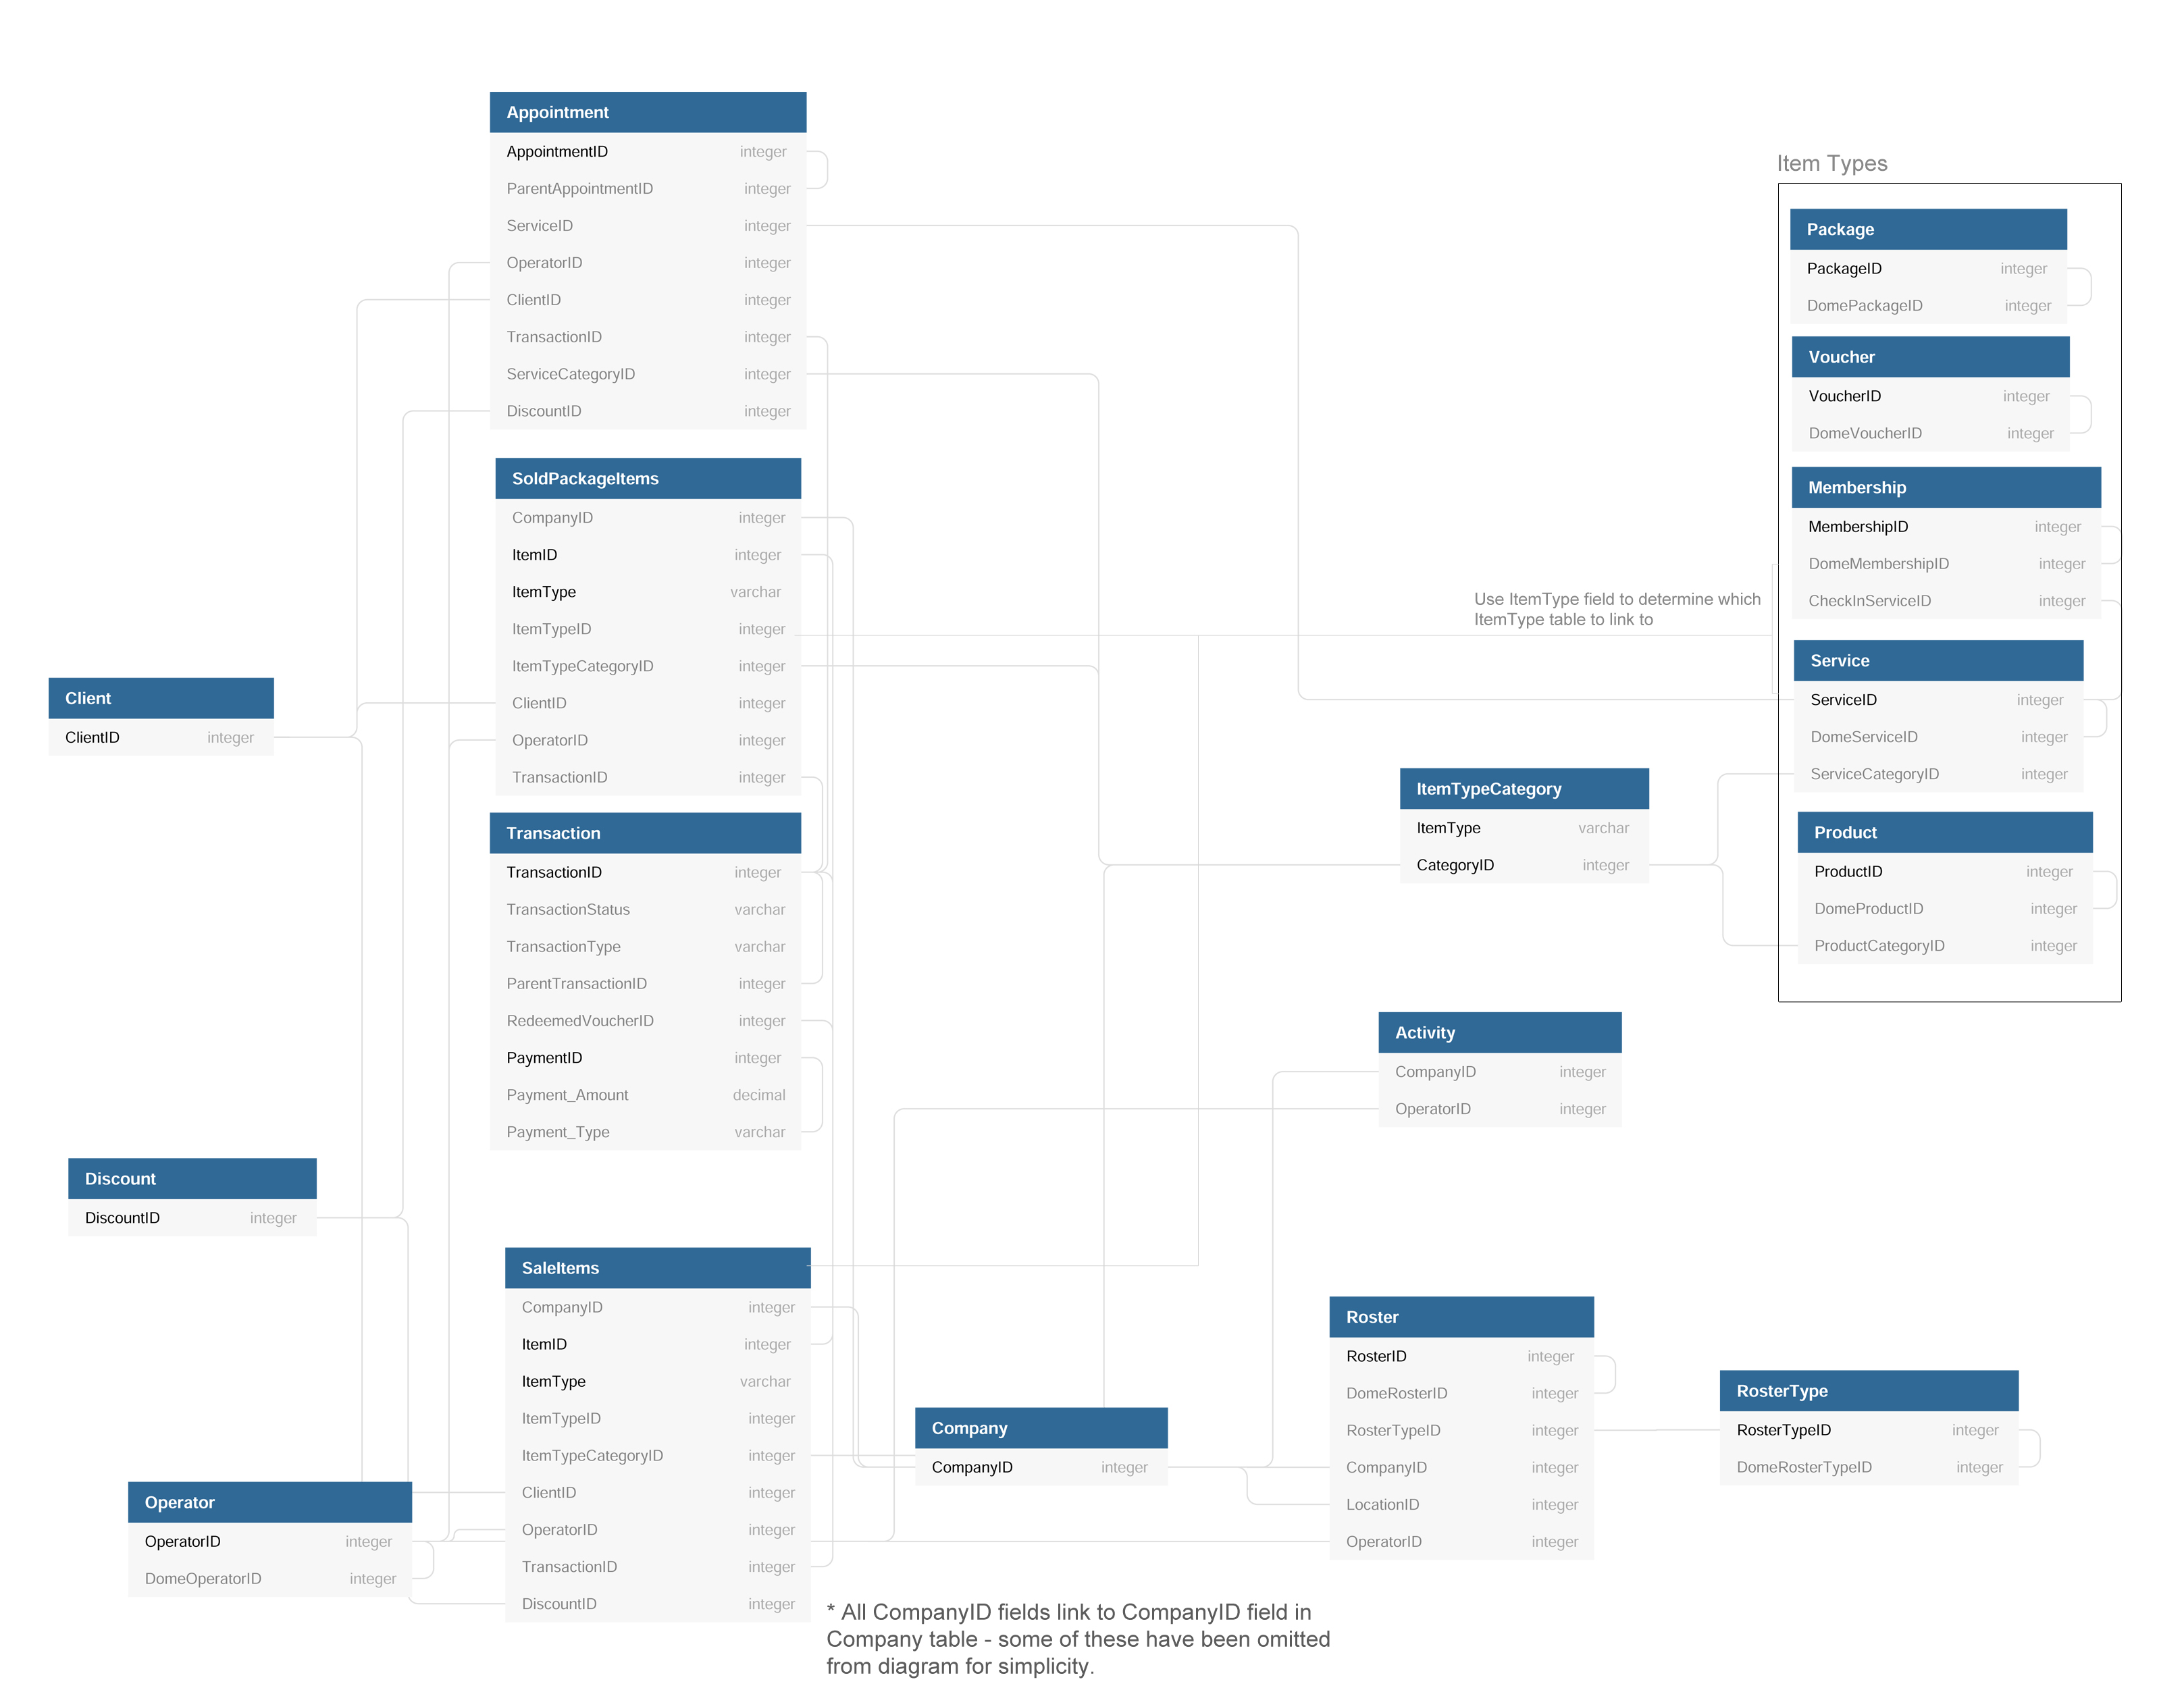
Database Diagram
This diagram offers a quick overview of how the tables link up with one another:
Tables
This is a brief summary of the tables available to you.
Note that almost all Date fields are in UTC timezone. The exception is dates that are independent of timezone, including Date Of Birth, and Service Date.
|
Table Name |
Description |
|
Activity |
This table displays the data from the Activity Log report. |
|
Appointment |
This table displays all Appointments. |
|
Client |
This table displays all clients. |
|
Company |
This table displays your company information, and your company list (if you are using the Dome) |
|
Discount |
This table lists your discount types. |
|
ItemTypeCategory |
This table lists the categories for your products & services. The ItemType field specifies what type of item (Product/Service) the category applies to. |
|
Operator |
This table lists your operators, with their KPI and Commission values. |
|
Package |
This table lists your packages. |
|
Product |
This table lists your products. |
|
Roster |
This table lists your rosters. |
|
Roster Type |
This table lists your roster types. |
|
SaleItems |
This table lists all the items sold. The ItemType field determines what type of item was sold (Product/Service/Voucher/Package). Some item types have specific fields, these are prefixed (eg. Service_Duration) - these fields will be null for other item types. |
|
Service |
This table lists your services. |
|
Sold Package Items |
This table lists the items that have been sold as part of a package. The ItemType field determines what type of item was sold (Product/Service/Voucher). Some item types have specific fields, these are prefixed (eg. Service_Duration) - these fields will be null for other item types. |
|
Transaction |
This table lists your transactions. |
|
Voucher |
This table lists your gift vouchers. |
If you have any questions, please send them to us via the Submit a Request option in your Help & Support page.